

Hot Jewelry How-Tos

How To: Make a stretchy rose ring out of elastic and beads
Start with a polymer clay rose, some beads and elastic thread. Thread a big-eye needle, and then string the beads along your elastic thread. Once you have enough beads, string on your clay rose. Then tie off, and you have a fun piece of rosy jewelry!
How To: Make a tiger tail floating bead double strand necklace
Create a necklace with the 'floating' style look using the nearly invisible tiger tail jewelry wire. Follow this tutorial and thread the beads, then use the flat crimp technique to keep the beads in place. Attach a clasp, and your new necklace is ready to wear!

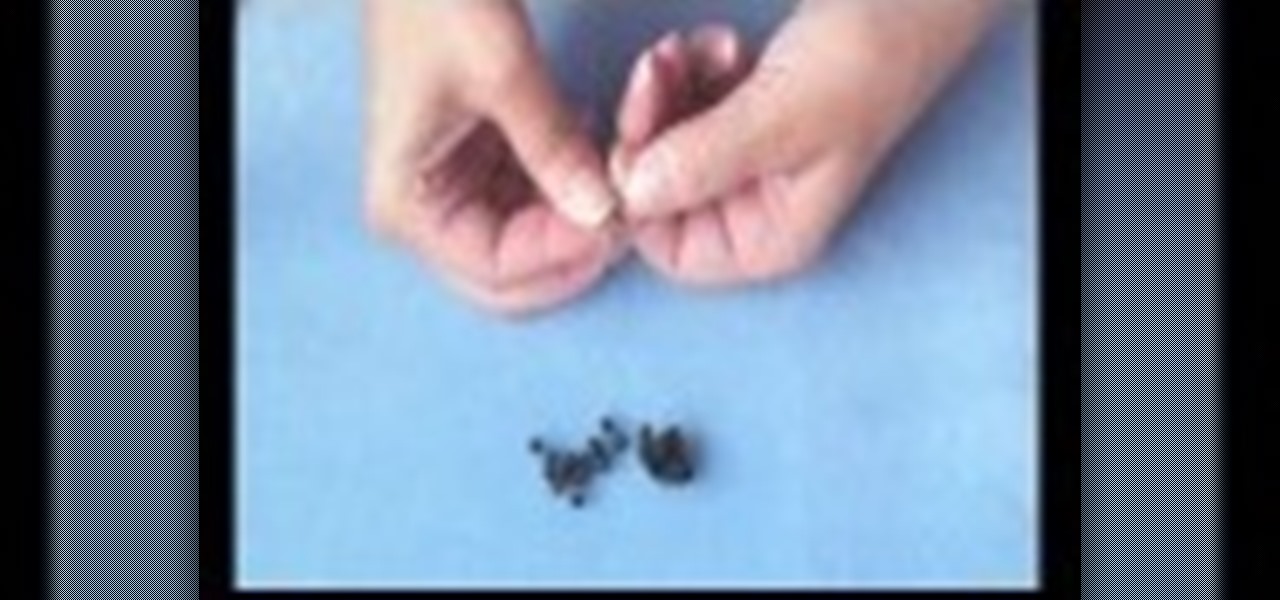
How To: Create your own pirate style earrings with beads and skull charms
Perfect for the pirate, punk, goth or anyone on your list who might appreciate a pair of skull and crossbones earrings. This tutorial shows you how to make a simple pair of dangling piratey earrings using the charms, a few beads and some earring posts.
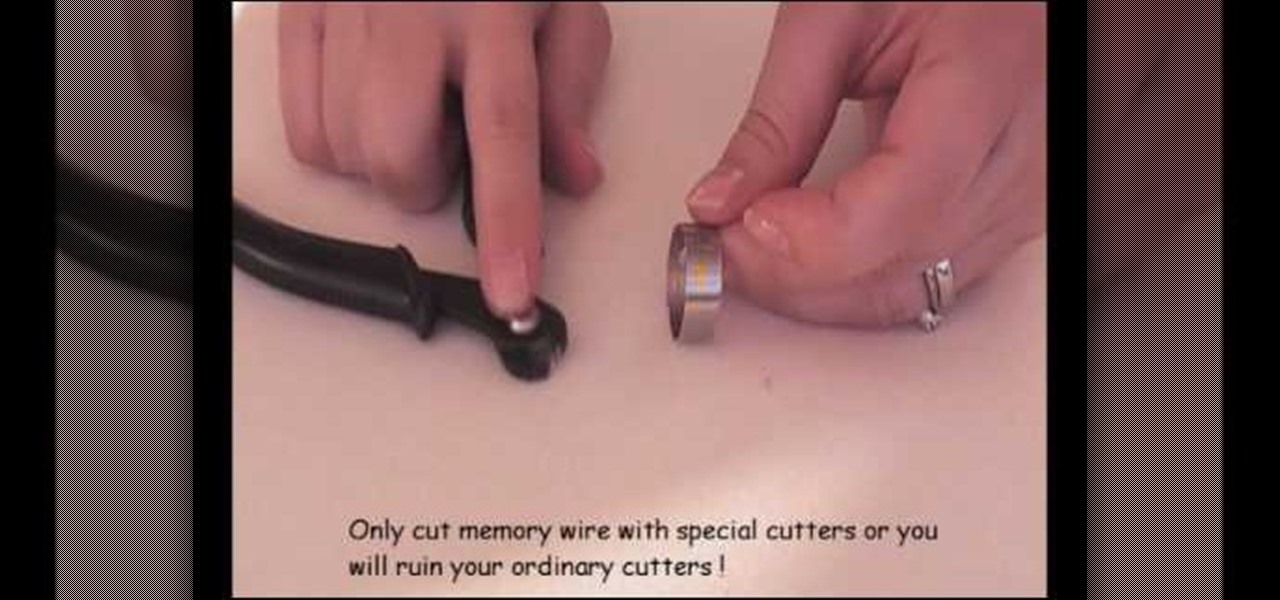
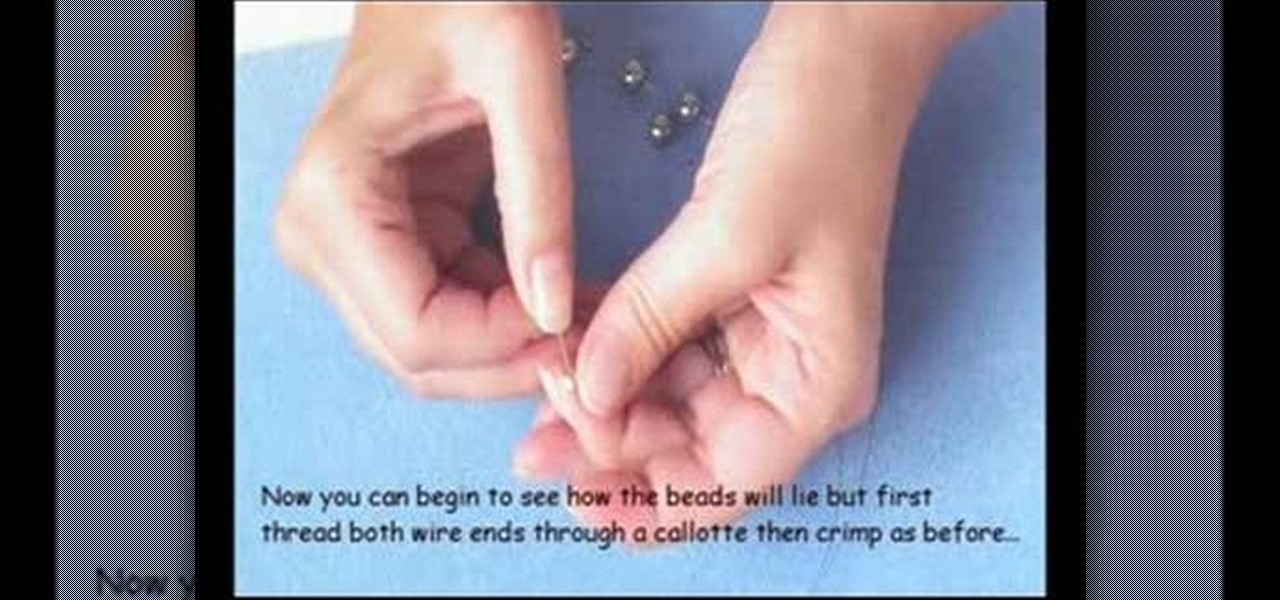
How To: Make your own summery wine glass charms
Wine glass charms go around the stems of wineglasses to help guests at your BBQ, dinner or other party identify their glass of wine. You can use any sort of bead or charm to make these, but this tutorial shows you how to make a set of summery charms using beads and memory wire.
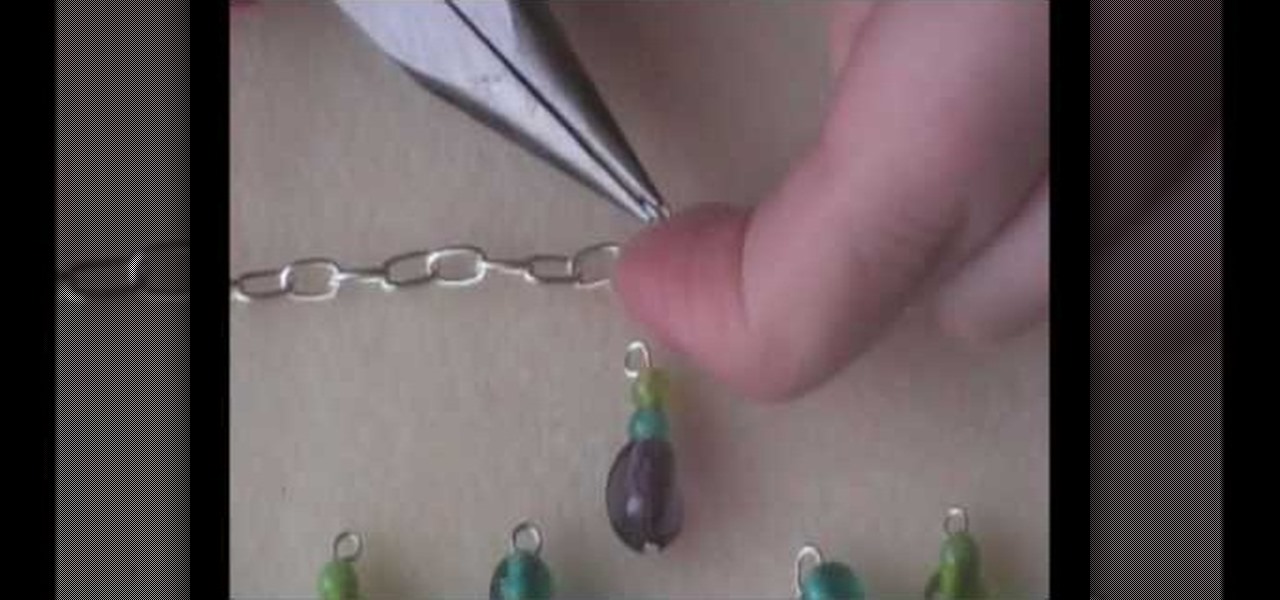
How To: Make your own beaded silver charm bracelet
You may be able to find a blank silver chain for making a charm bracelet in stores, but if not, you can easily make your own with a length of jewelry chain, a toggle clasp and some jewelry pliers. Once you have the base chain, just string your beads using jump rings for a lovely beaded charm bracelet!
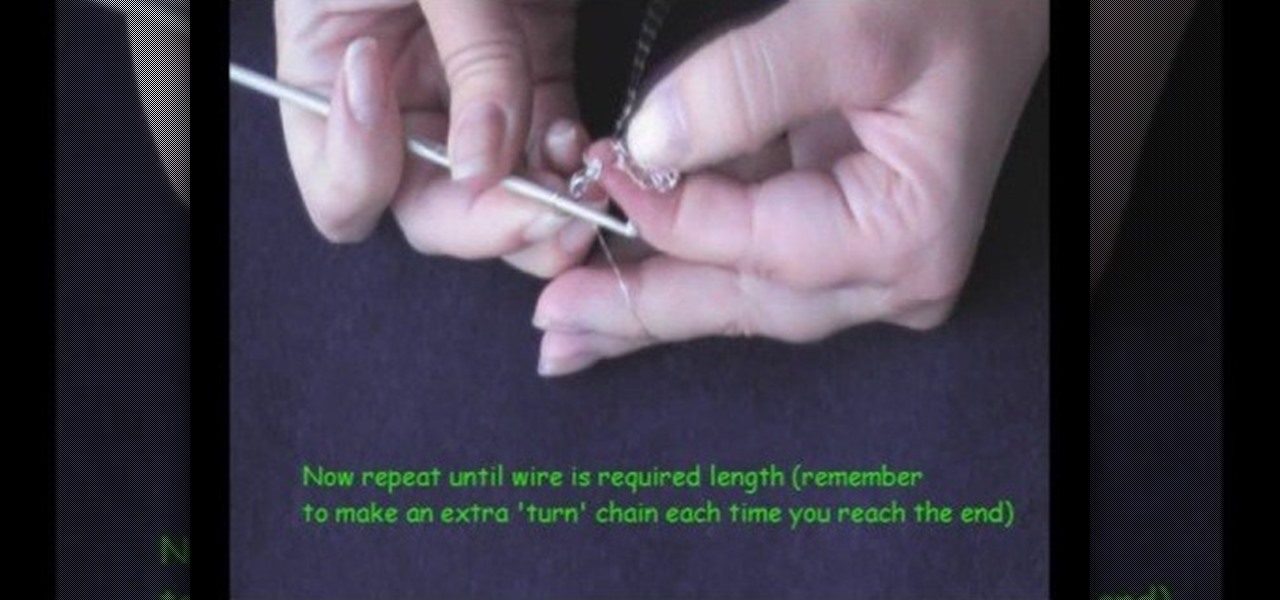
How To: Create a filigree wirework ring out of silver wire
Make a lovely and elegant silver ring out of jewelry wire. By using a small crochet hook and carefully crocheting your wire, you can create a beautiful ring which looks like it has been made with silver filigree. You don't need anything more!
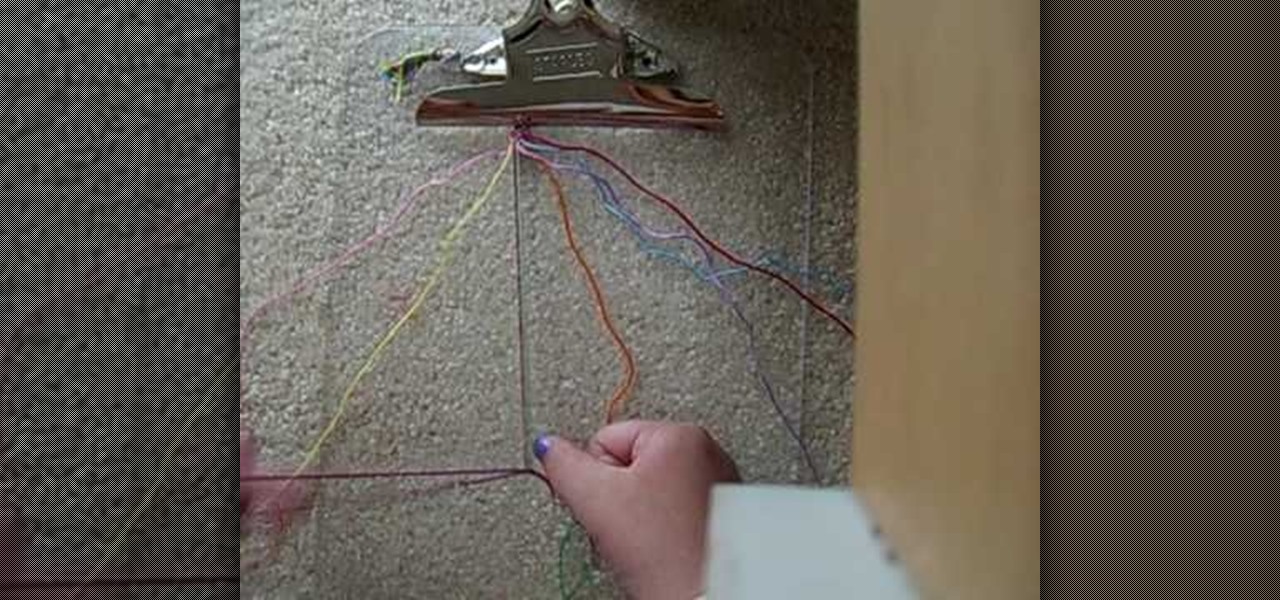
How To: Make a confused-style friendship bracelet
In this tutorial, we learn how to make a confused-style friendship bracelet. First, you will need to clip down your thread on the top and then start to braid the thread together. You will need to have two different colors, white and blue. Then, you will tie the right and left side together and start to braid the middle of it. Then, you will start to braid the bracelet together until you reach the bottom. When you are finished, you can tie this around your wrist and wear it whenever you would ...
How To: Make a dual-colored line friendship bracelet
In this tutorial, we learn how to make a dual-colored line friendship bracelet. Start by creating knots in the strings going from left to right. After you have covered all of the strings on the bracelet, you can start to braid. Make sure the strings are clipped at the top to keep them in place. When you start to braid, take the two to strings on the left, and braid them in with the others going from left to right. Then you can continue to do this process until you reach the end of the strings...
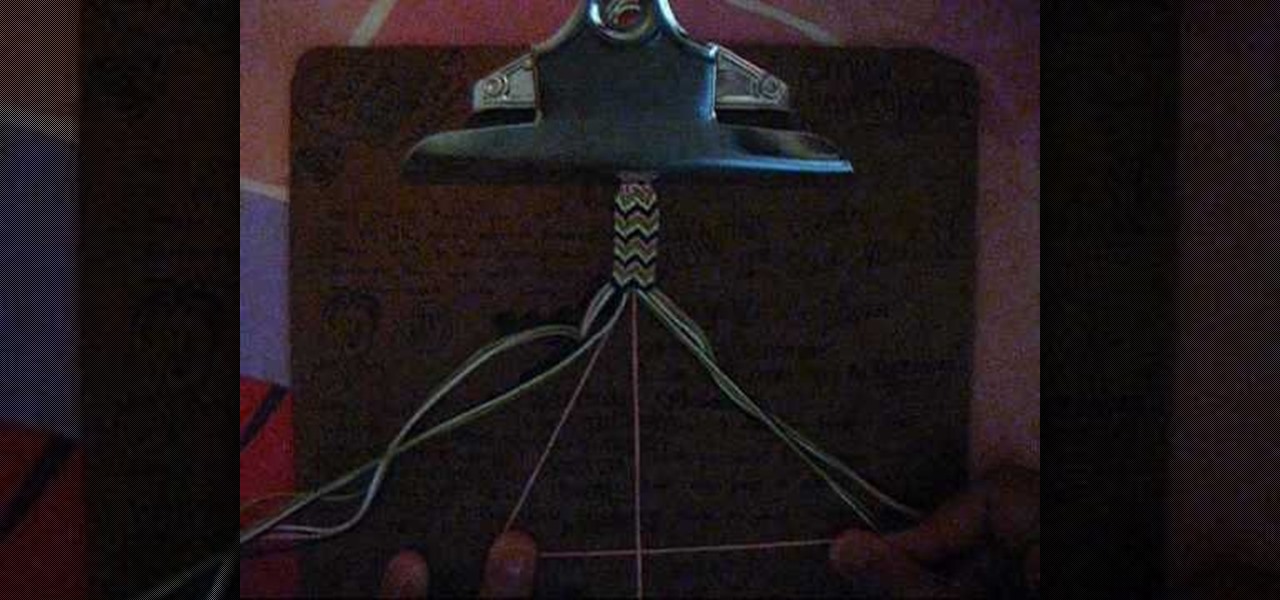
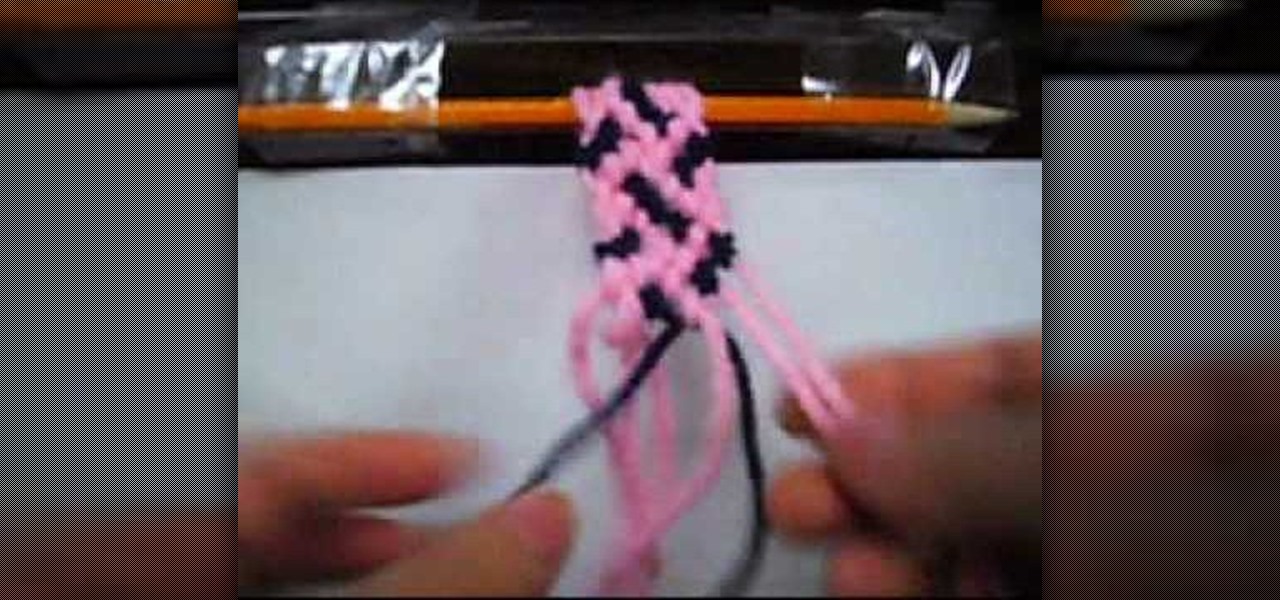
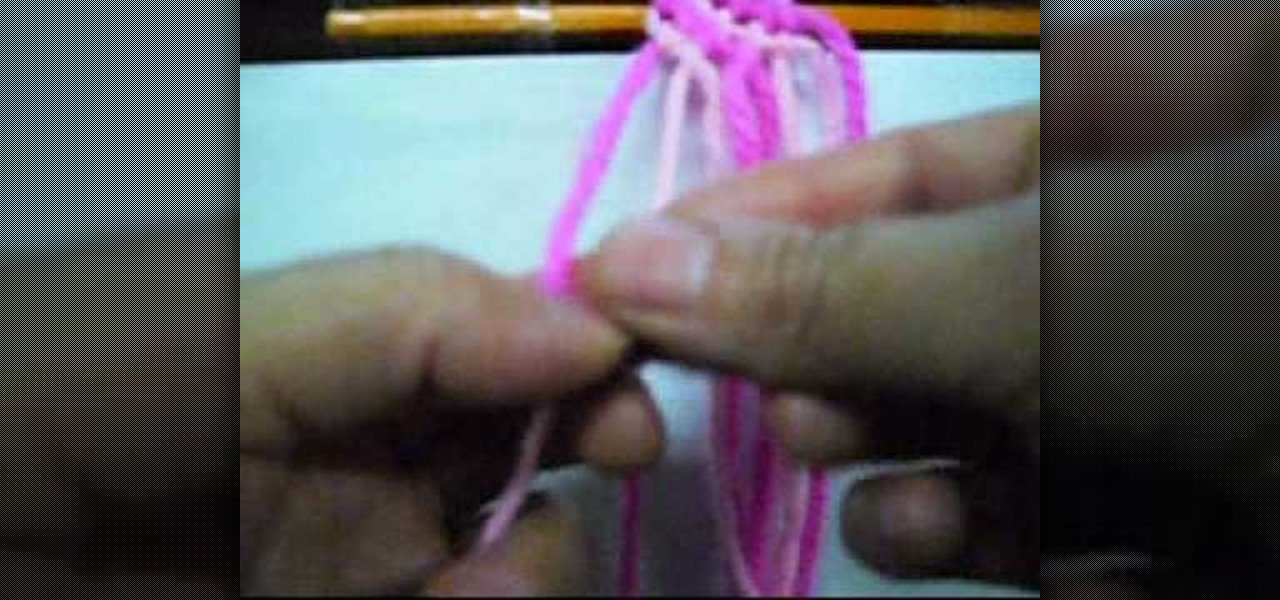
How To: Make a double arrowhead friendship bracelet
In this tutorial, we learn how to make a double arrowhead friendship bracelet. First, you will need two strings of the color you want that are 70 inches long. Then, tie these into a knot and put it underneath a clipboard. Now, separate these into four groups, then start to separate into colors. After this, find the color in the middle and start to braid and pull twice. Then, you will start to braid the other pieces of string in together so you are making to arrowheads right next to each other...
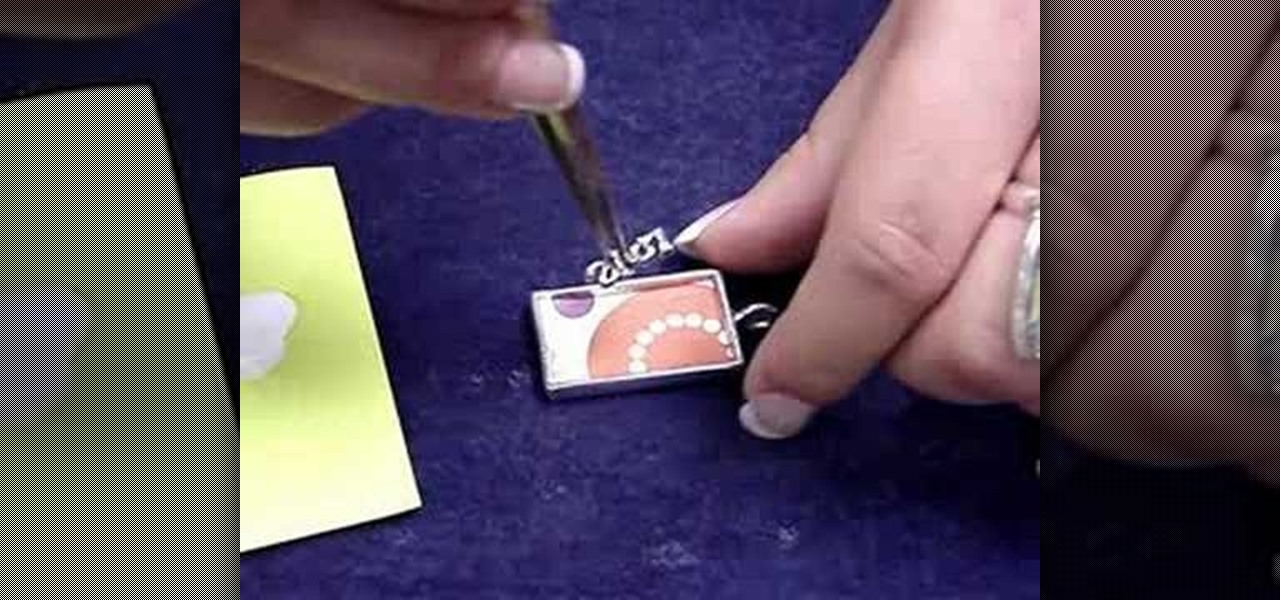
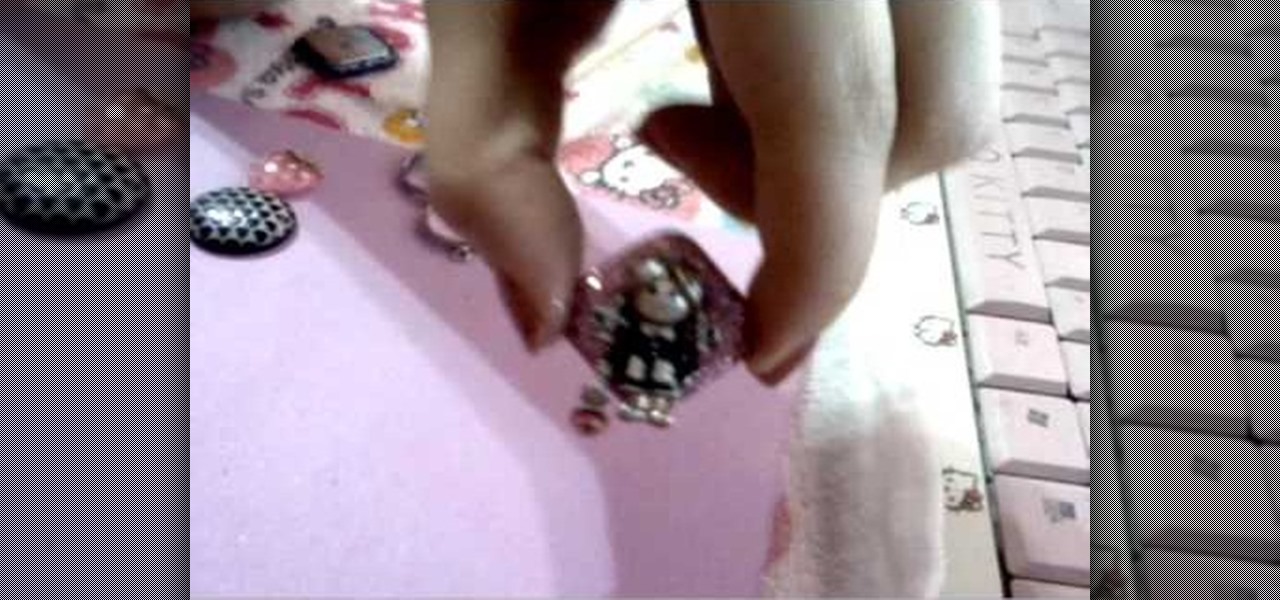
How To: Make a DG3 art gel collage jewelry pendant
In this tutorial, we learn how to make a DG3 art gel collage jewelry pendant. After you have all your tools together, you will need to trim the scrapbooking paper to fit into the frame for your pendant. Once this fits inside, then grab a charm and glue it into the frame where you would like. Then, squirt the clear craft glue into this and let it set. Brush the paint brush over the pendant, then go over it again with the glue when it dries. To wear, attach a chain to your pendant when it's dry...
How To: Make a rag rug style friendship bracelet
In this tutorial, we learn how to make friendship bracelets: the rag rug. First, grab eight different colors and arrange them all spaced out. Clip them to a clipboard at the top, then take your first strand and make a knot around your second strand twice. From here, you will take your third strand and tie it around your fourth strand. Continue to do this until you reach the rest of the colors that you have twice. Next, take the seventh and sixth strand and make a backwards knot. Then, do the ...

Make friendship bracelets: The Wrap
In this video, we learn how to make friendship bracelets: The Wrap. First, clip your strings to a clip board at the top. Then, separate them into three colors, two strings for each color. Then, wrap the other colors around one color until you reach the end, then push it up to the top and continue to do this. Once you reach down the top of the bracelet, switch the colors and start to wrap the other color doing the same process. Then, switch to the last color and continue to do this until you a...

How To: Determine if Jewelry or Coins Are Made from Real Gold or Fake
You never know what you might stumble across on your next visit to a flea market or thrift store. Real gold is very soft, so biting down on the piece is a time-honored test for real gold. You can also examine your jewelry for a maker's carat stamp or discoloration that may indicate fake metal.
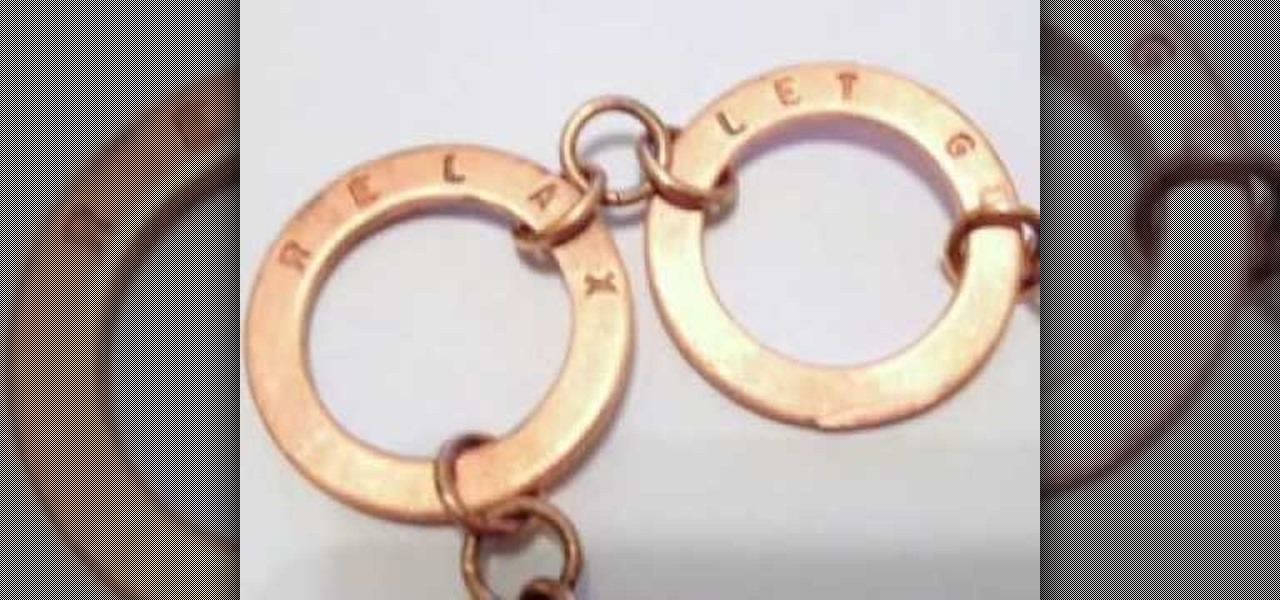
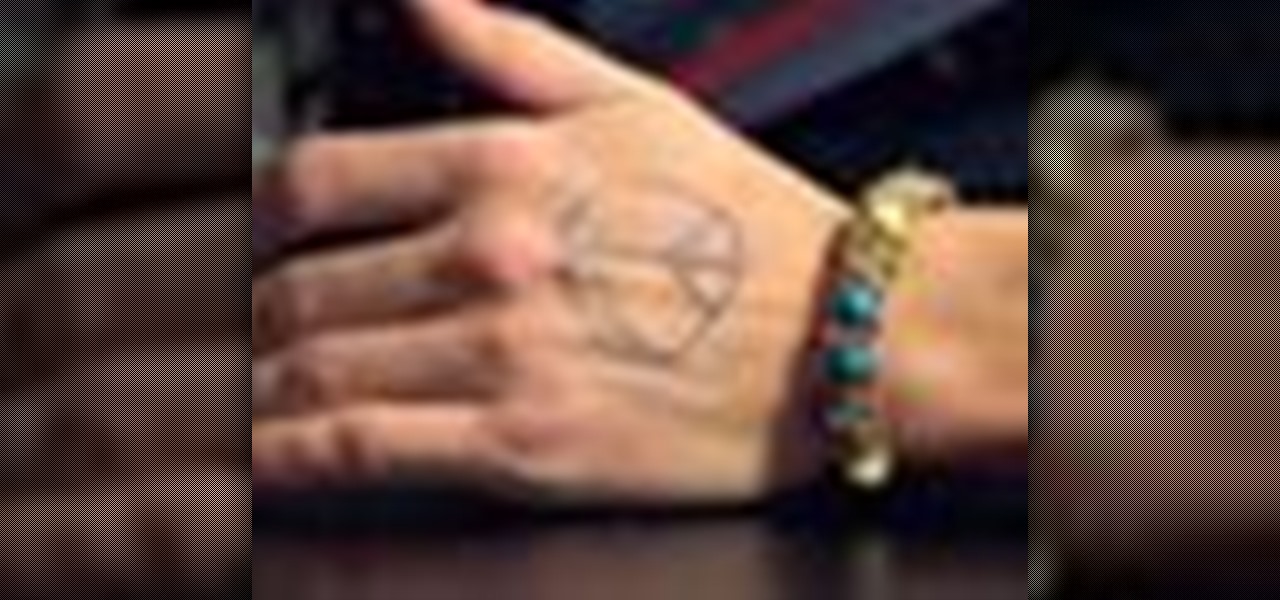
How To: Make a copper mantra bracelet out of washers and a letter die set
Taking a letter die set (which you can find at hardware stores), stamp in words and phrases which are important to you onto copper washers. Thenk link the washers together with small loops of jewelry wire, attach a clasp, and you have your own mantra bracelet to help keep you centered!
How To: Make your own crystal earrings out of beads and jewelry wire
Turn a collection of delicate crystal beads into a lovely pair of earrings! All you need are the beads, some jewelry wire and wire cutters. Then, follow the steps in this tutorial to get your own pair of dainty, crafty earrings.

How To: Craft your own crystal earrings with a fall theme
Turn two leaf charms into elegant, autumn-themed earrings with a few green and white crystals, jewelry wire and an earring base! This tutorial shows you how to make a pair of beautiful seasonal earrings for yourself, using two separate styles!
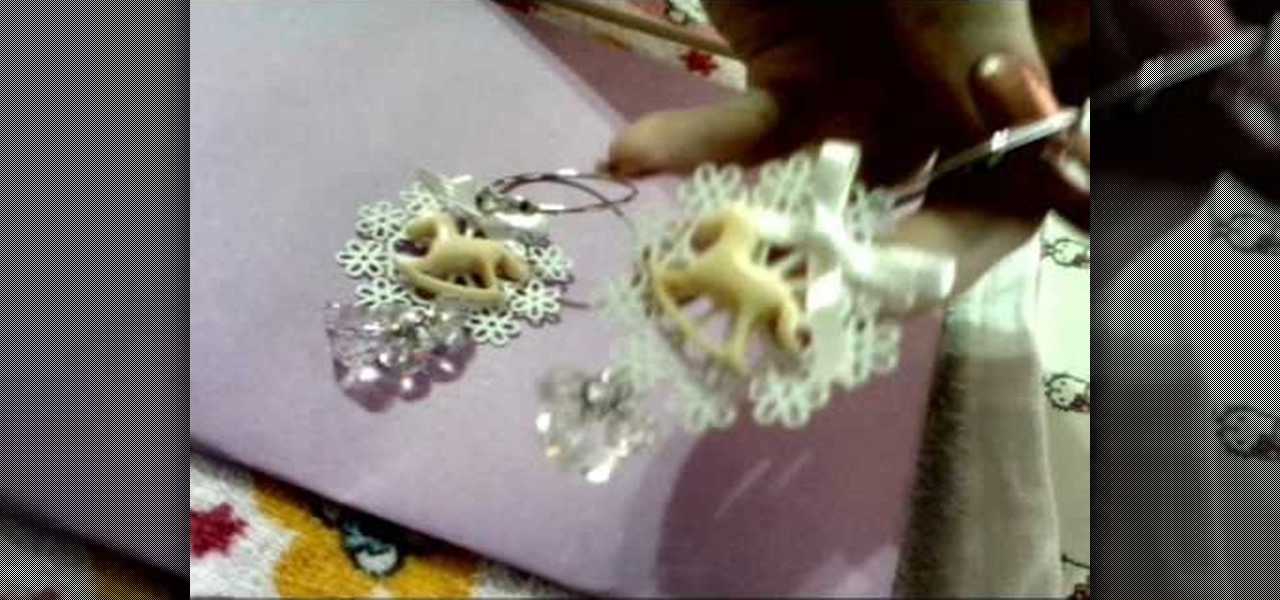
How To: Make your own hoop earrings out of leftover craft pieces
Synthesize the odds and ends in your crafts or bead drawers into lovely hoop earrings! Using a few charms, a bow, premade hoop earrings, crystals and two pieces of jewelry wire, this tutorial shows you how DIY your own fashion accessories.

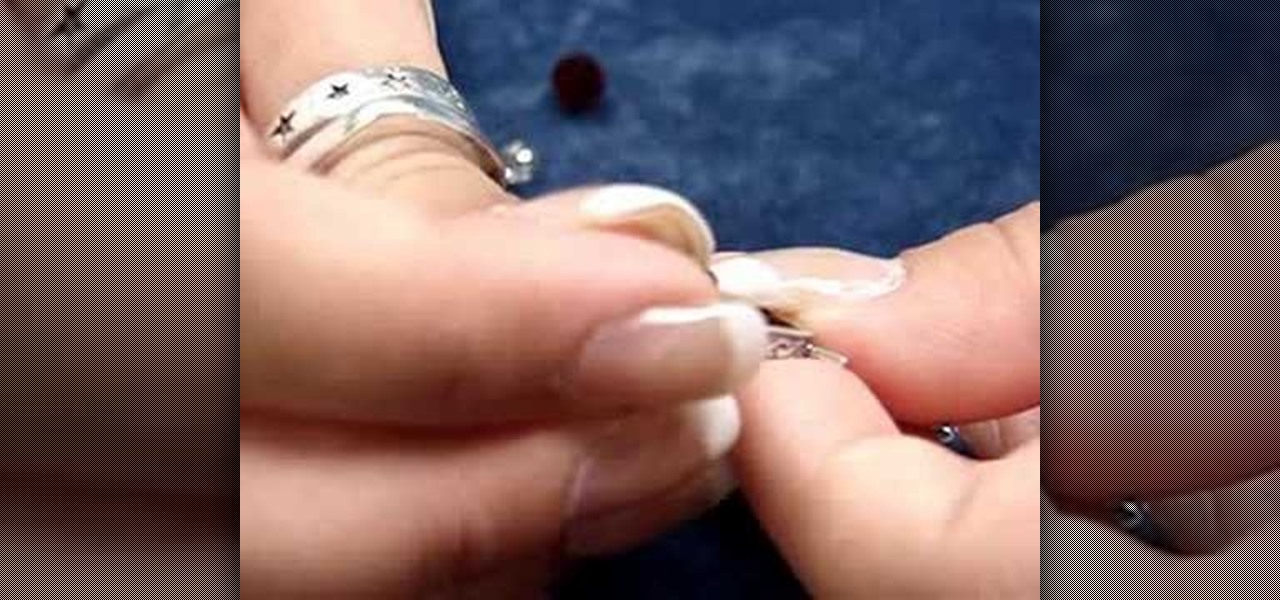
How To: Resize a too-big ring into the right size for your finger
The peril of chunky rings is having them jiggle and move around on your finger - so having the band be sized perfectly is very important! This tutorial shows you how to resize a large ring so it will fit and not move around.

How To: Make your own Swarovski crystal earrings
Make your own lovely earrings out of Swarovski crystals! This jewelry tutoral shows you how to make a pair of eye-catching and elegant diy earrings using the crystals and an earring base, then attach them together to make your own earrings.
How To: Make eye-catching fashion rings out of craft buttons
Take some craft buttons, a little paint or glitter and some adjustable rings as the base, and you can glue them together to make your own fashion rings! Or, instead of buttons, you can use pendants, charms or any other small shape you want to wear on your finger.
How To: Make DIY hemp bracelets
Hemp is a great and underutilized fiber for making all sorts of things. Watch this video to learn how to make a really cool hemp bracelet or necklace quickly and easily from twine, beads, and knots.
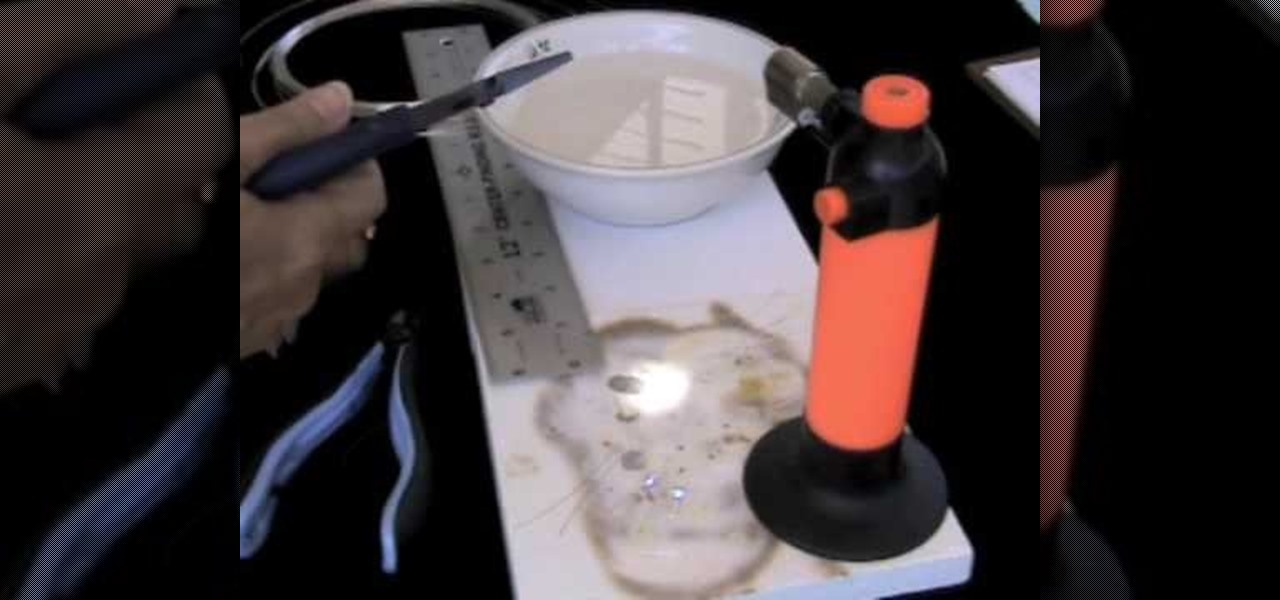
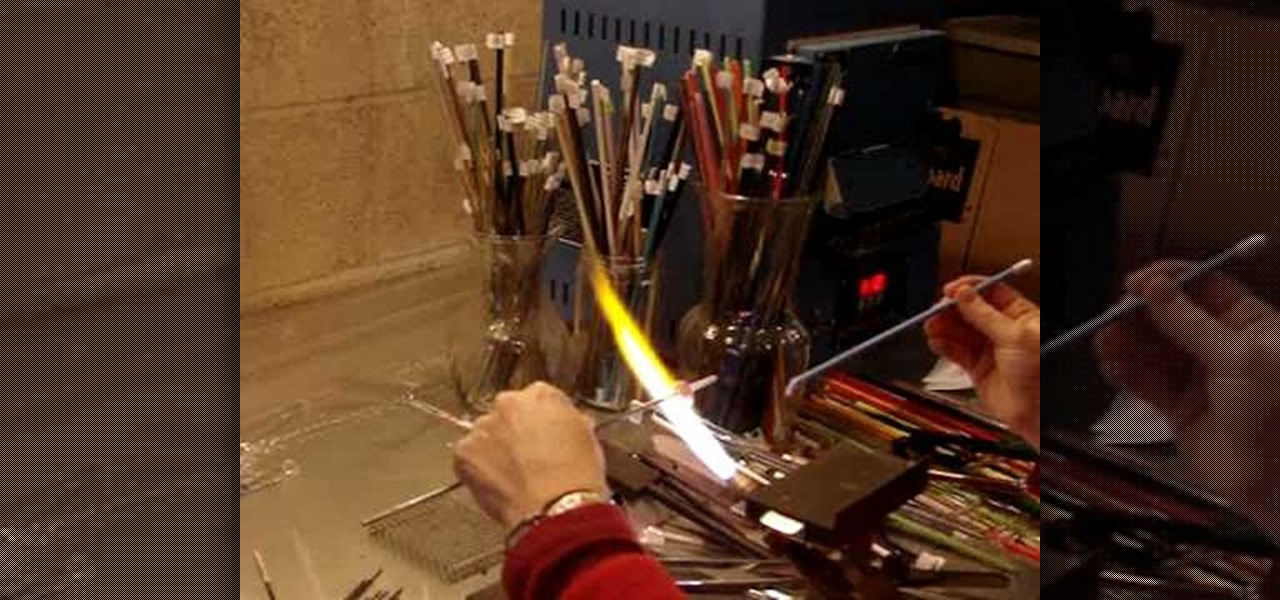
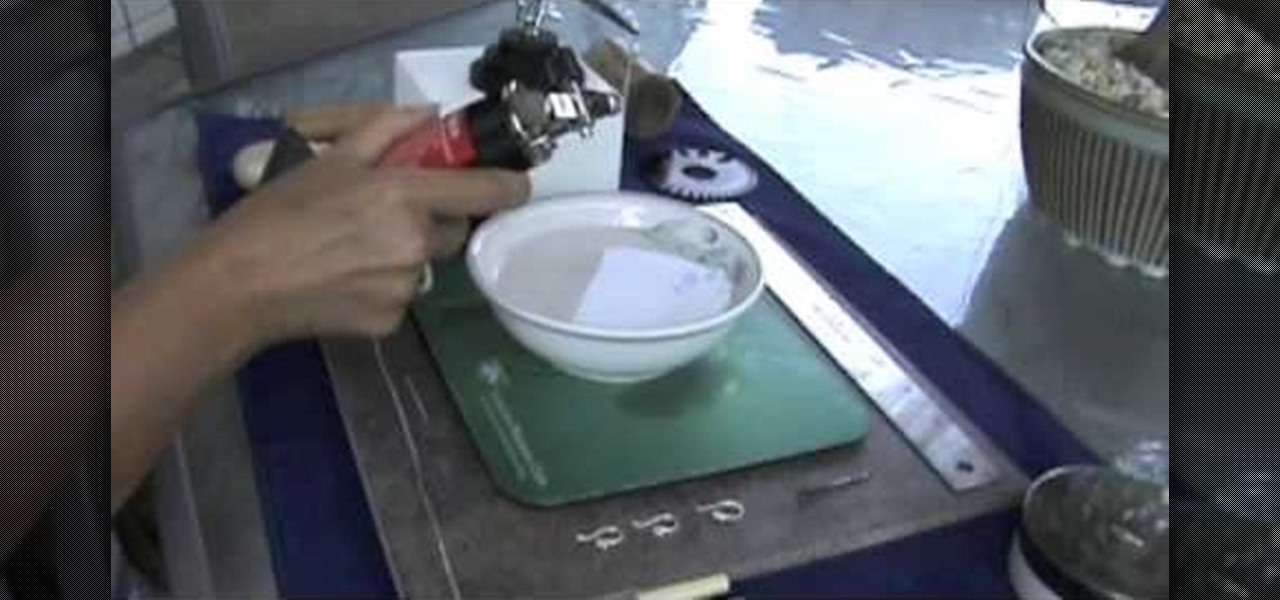
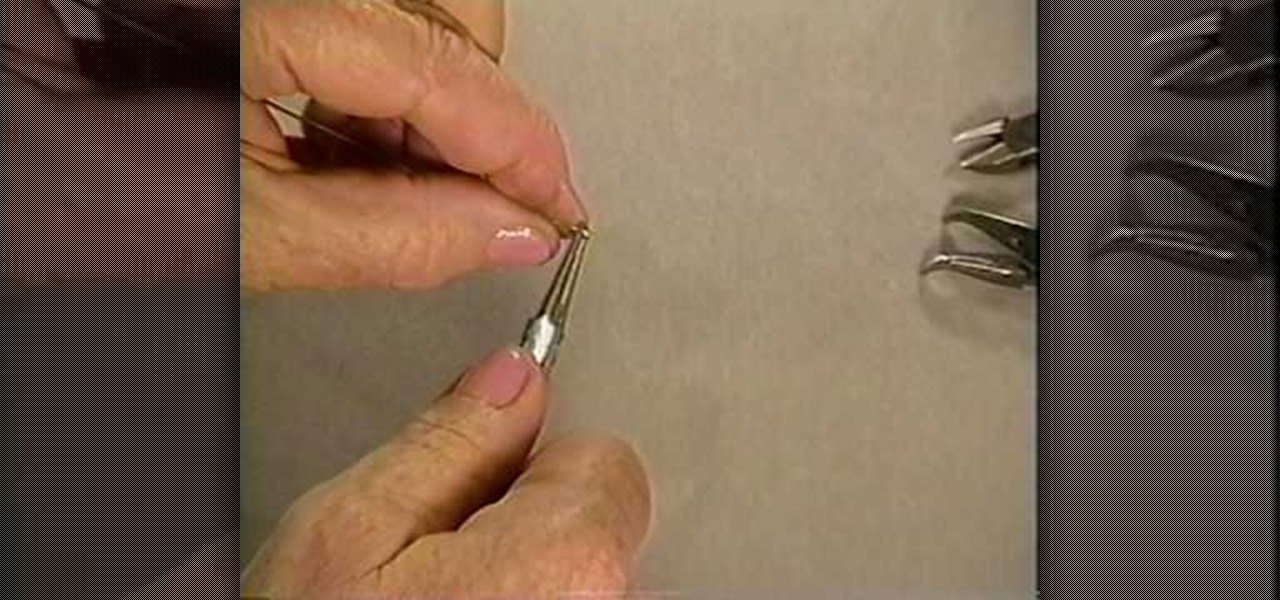
How To: Make your own sterling silver headpins
In this video, we learn how to make your own sterling silver headpins. You will first need a torch (one from your kitchen will work fine), a heat protected surface, bowl of cold water, and fine silver. Next, cut out two inch pieces (or longer if that suits you best). Put on safety glasses and turn on your torch. Now, pick up one of the piece you cut and put it into the tip of the flame. Quickly, the silver will ball up at the end of the pin. When it has balled up, place it on the cooled surfa...
How To: Make a beaded bookmark or "book thong"
In this tutorial, we learn how to make a beaded bookmark or "book thong". First, take a wire and add on a small horse shoe shaped bead. After you do this, use pliers to help bend the wire around this pin to keep it in place. Next, add on a peace sign pendant, then tie the wire around and push the wire into a cylinder bead. Continue to add on more beads to the wire until you reach the end. Use different types of bead to make it more unique and completely your own design. To finish, apply a cla...
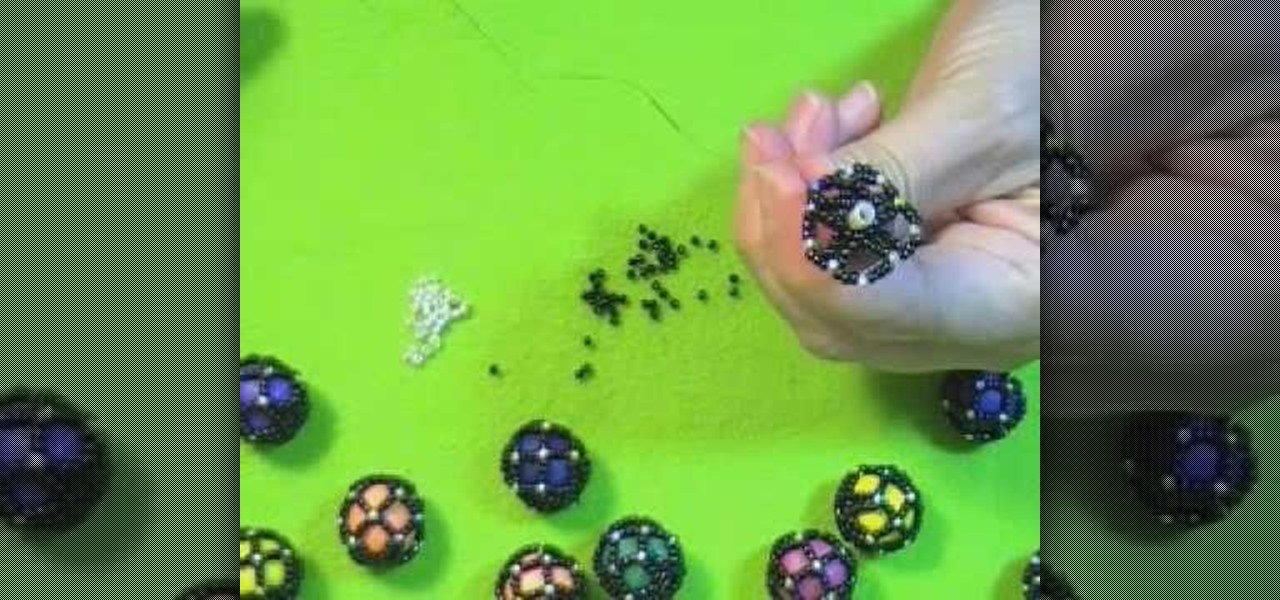
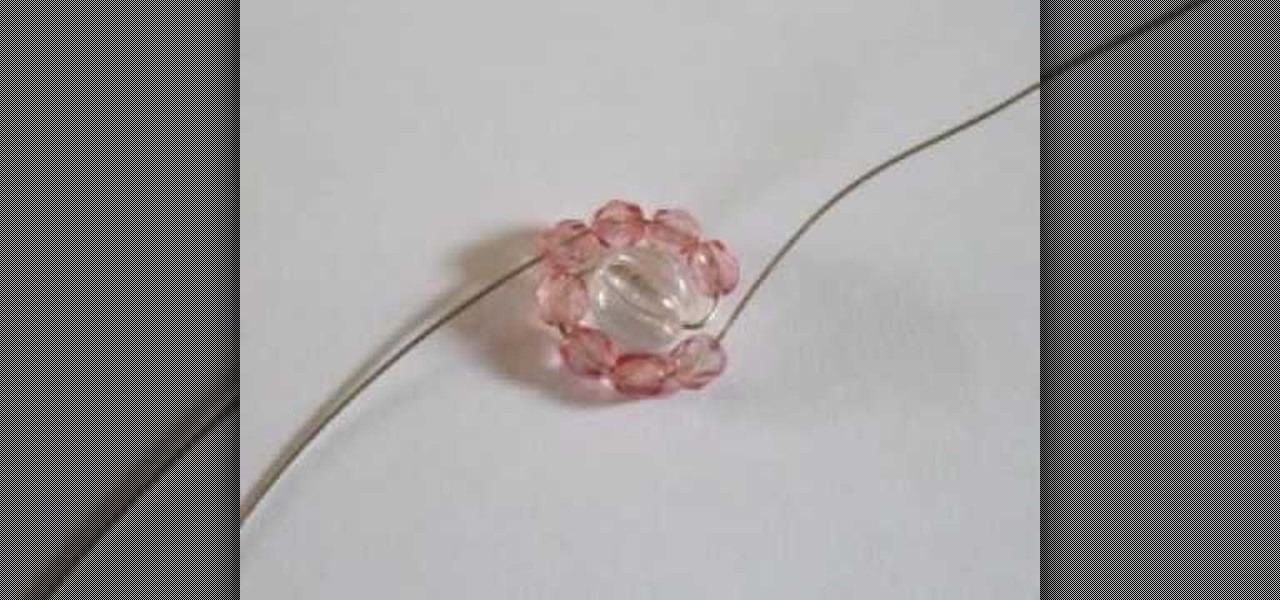
How To: Make a beaded netted bead
Want to create netted necklaces, earrings, purse decorations or any other netted designs. This video demonstrates and explains how to create a netted bead. However, the basic procedures which are
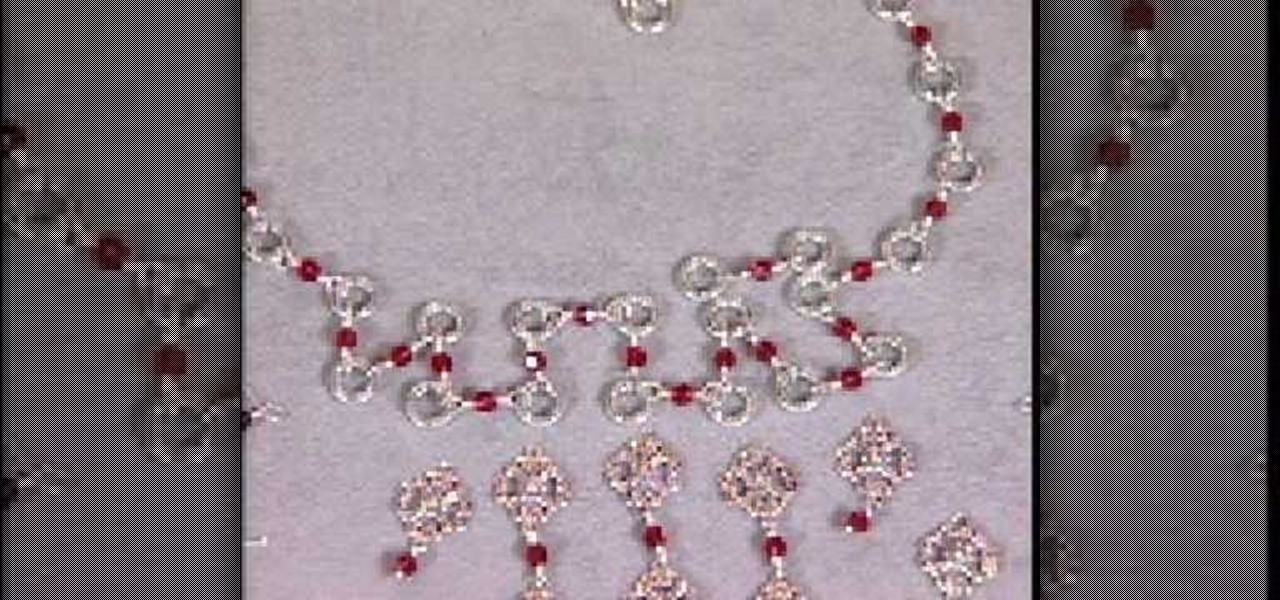
How To: Make a silver vintage-style bead necklace
In this tutorial, we learn how to make a silver vintage-style bead necklace. First make sure you have silver wire and glass beads in the color that you prefer. Now, you will string the beads through individual wires and close them so these can be applied to the center of the necklace. This will create a long chandelier like quality on the necklace. After this, you will create the base of the necklace with the same color beads and silver. You will want to follow the pattern of creating silver ...
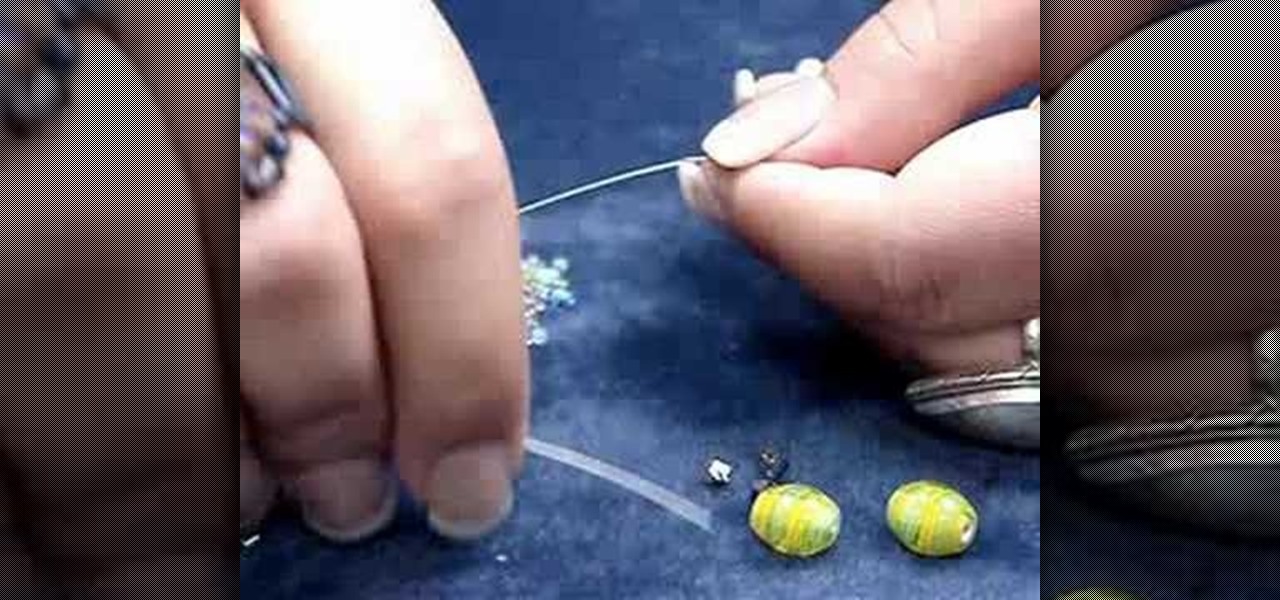
How To: Make an elastic Bali bead & crystal ring
In this tutorial, we learn how to make an elastic Bali bead & crystal ring. First, you need to get all of your supplies together, which include: elastic cord, crystals, glue, beads, and scissors. Start by cutting a 6 inch piece of the elastic cord, then string a bead to the middle of it. Then take a crystal and string it onto one side along with another bead and a silver bead. After this, place more beads around the other side of the middle bead then put it around your finger to see if it's t...
How To: Make earrings with Swarovski Crystal & coiled wire
In this tutorial, we learn how to make earrings with Swarovski Crystal & coiled wire. You will need: 6 mm round bead, 4 mm Swarovski crystal, 2 inch head pin, and coiled wire. First, place the beads on to the head pin then bend the pin to 90 degrees. Cut this around 8 mm with a wire cutter, then use pliers to curve the bottom of the pin into a loop. Now grab the wire and cut it into a small strip. Form a loop at the bottom, then twist it into a wired circle. Attach this to the loop on the ear...
How To: Make a interchangeable beaded watch band
In this tutorial, we learn how to make a interchangeable beaded watch band. First, cut your beading wire to appropriate length, then slide a crimp bead and lobster trigger clasp to one side of the wire. Then, bring the end of the wire back through the crimp bead creating a snug fit. Using the rear notch on your pliers, crimp the bead tightly. Then, add a crimp bead cover using the front notch on the pliers to close the bead tightly. Next, string your chosen beads, then repeat the first steps ...

How To: Make a tubular peyote bracelet
In this tutorial, we learn how to make a tubular peyote bracelet. To get started, string your beads onto the string and leave a 10 inch tail. Then, bring it into a loop and tie it into a square line. After this, use a needle to sew more beads through the beads that you just strung on. As you do this, skip beads so that you have interchanging colors around the circle. You will have a total of four beads on top of the eight that you started with. Continue to do this until you reach rows that go...
How To: Make fun pixelated fuse bead coasters
Remember the heyday of video games during the '80s when all video games were 8 bit and super pixelated? While we're glad to have video games that look so real we mistake them for reality sometimes, pixelation is still a cool way to add retro flair to any crafts project.
How To: Craft pretty marble magnets and a picture marble charm bracelet
You probably haven't played with marbles since you were a kid (anyone remember Chinese checkers?), but more likely than not you still have some marbles lying around your house, especially if you have a kid.
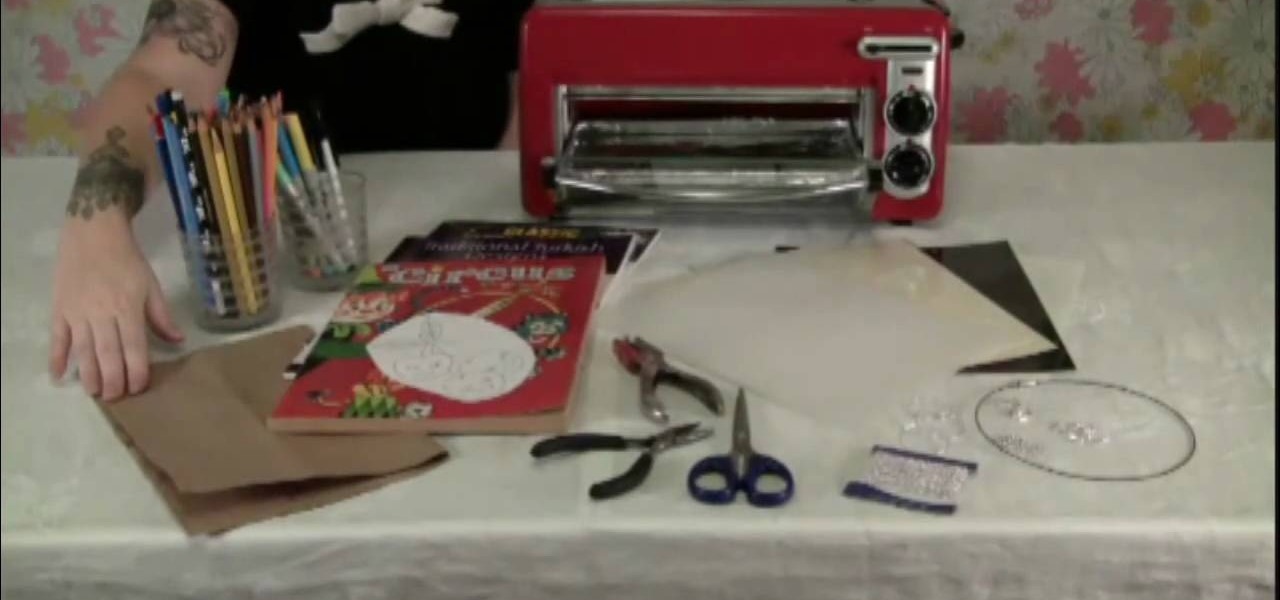
How To: Craft a shrink plastic cherry necklace and accessories
If your little girl loves jewelry making but you're scared she's going to poke her eye out with a wire when you're not looking, sleep soundly at night by teaching her how to craft shrink plastic jewelry. Perhaps the safest and easiest forms of jewelry making, it involves only shrink plastic and a mini oven (which you would help out with).
How To: Make fine silver ball earring wires
Make fine silver ball earring wires

How To: Use French wire when jewelry making
In this video, we learn how to use French wire when jewelry making. First, you want to take your wire and cut it to the length you need, using wire cutters. After this, you will place a stopper next to the pendant or bead that you are applying inside the necklace. Next, string on the clasp to the wire and then bend the end of the wire to the inside of the stopper, then cut the end of that with wire cutters. When finished, your clasp should be secure at the end of the wire and ready to hook on...
How To: Make an adjustable cable necklace
In order to make an adjustable cable necklace, you will need the following: 20 inch adjustable cable chain, a slide bead frame, 2 head pins, 8 mm bi-cone, 8 mm crystal, 2 6-mm round rondells, 2 7-mm jump rings, a pair of nipper tools, a pair of round nose pliers, and a pair of chain nose pliers.

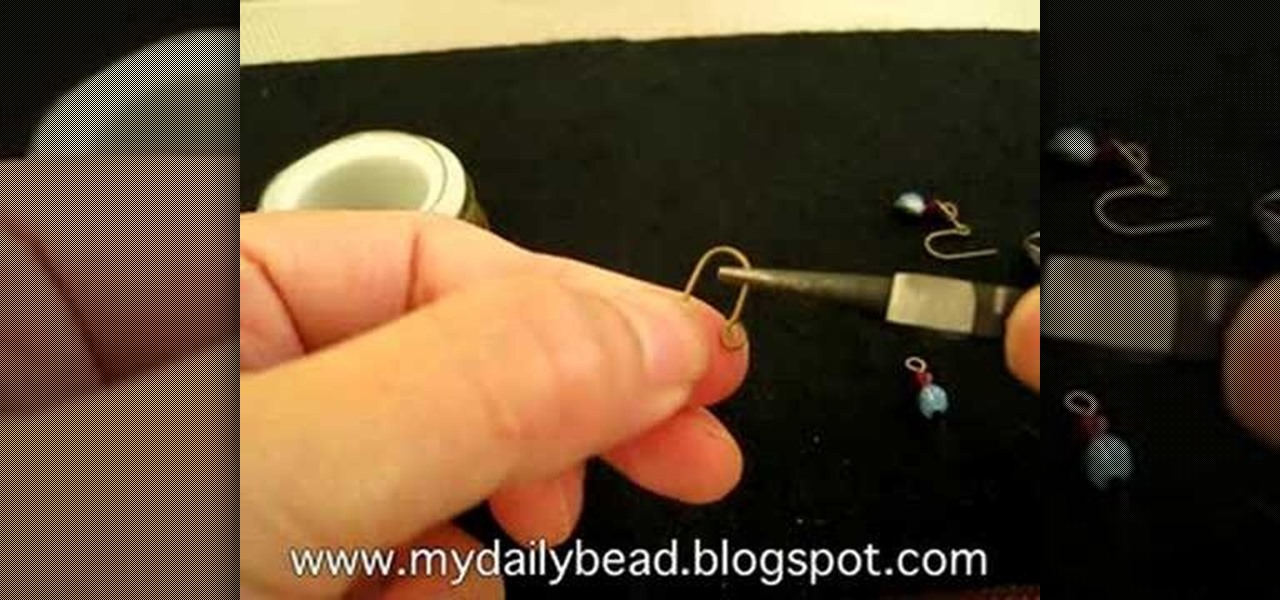
How To: Make a head pin loop
In making jewelry, the head pin loop is used many times. Let's learn to make a head pin loop so jewelry making will be that much easier.

How To: Make your own silver wire wrap earrings
In order to make your own silver wire wrap earrings, you will need the following: sterling 20-gauge wire, chain nose or small round nose pliers, fine sterling wire, and multicolored crystal beads.

How To: Make a beaded 7 petal faerie flower pendany
In this video, we learn how to make a beaded 7 petal faerie flower pendant. First, string 14 beads on an 18 inch piece of string. Next, create a circle in the beads, then tie it off. After this, add three blue beads to your first pico stitch, then go through two more beads after this. Continue to do this all the way around the bracelet until you reach the other side. After this, go through the first pico stitch and add one red bead, followed by blue and red beads to make petals. Continue this...
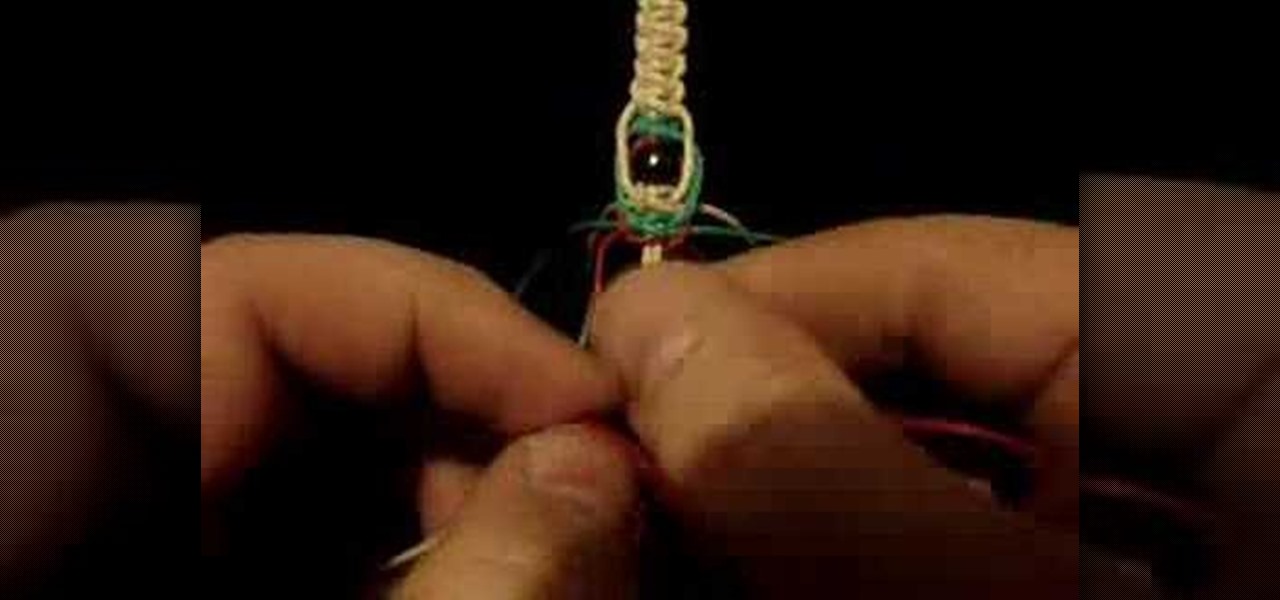
How To: Make a hemp phish bone keychain with three beads
Phish bone keychains feature a highlighted midsection with three different colors of hemp (in this video we use regular rafia-colored hemp, red hemp, and green hemp) that surround wooden beads.
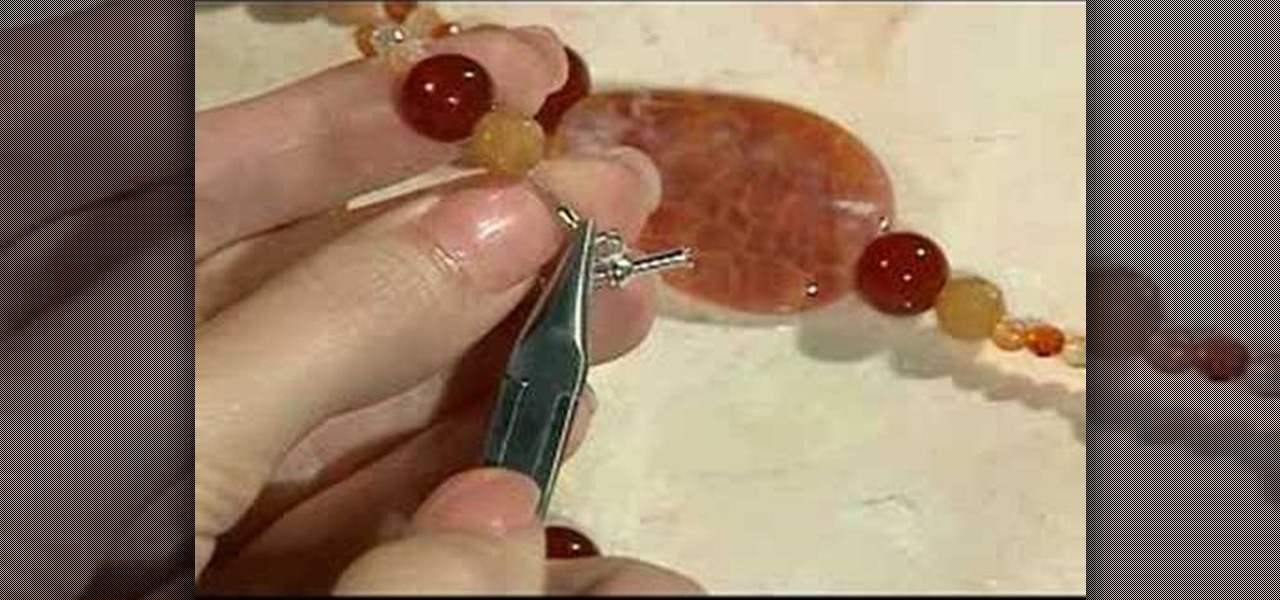
How To: Make an Egyptian clasp from 20 gauge half hard silver wire
If you're an advanced jewelry maker who's looking for a beautiful challenge, then you've come to the right place. This Egyptian clasp, which features a rounded loop head pin, a bunch of spiral curls, and a longer rounded loop headpin, is among the more difficult clasps you can make, but as you can see, the results are quite spectacular.