

Hot Jewelry How-Tos


How To: Make a chain mail bracelet
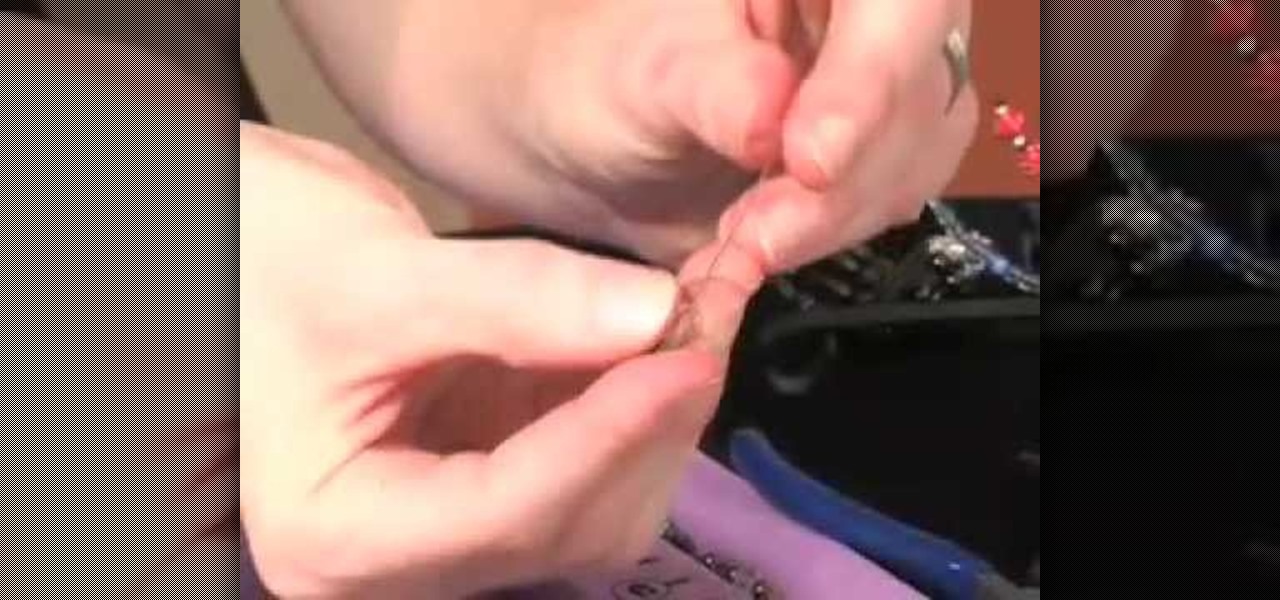
You can learn to make a beautiful chain mail bracelet by watching this video. The bracelet is easy to make and affordable too. Start by sliding two silver jumper rings onto a paper clip. Two copper jumper rings are passed through the silver rings and twisted to complete the loop. Next, two silver rings are passed through the copper rings and twisted to complete the loop. Next, place the silver rings on either side of the copper rings and pull them up from between the copper rings, as shown in...

How To: Make fish friendship bracelets
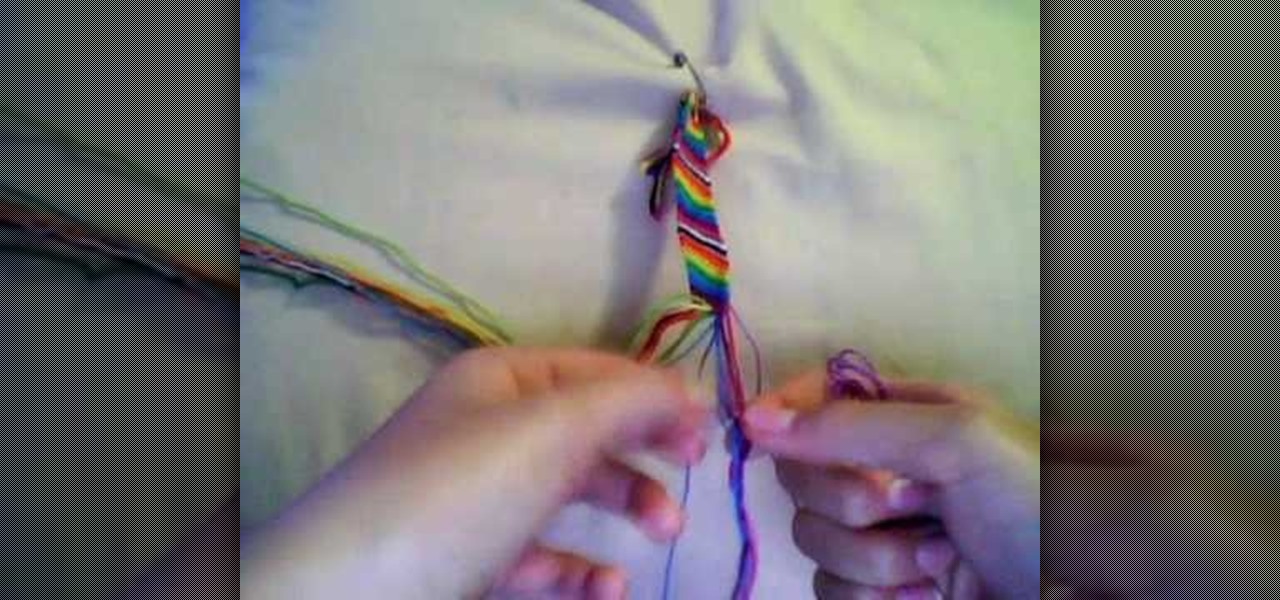
A girl is trying to teach us how to make fish friendship bracelets. We need four colors in order to make a bracelet. She shows us on a clipboard the four colors and after tying them we will get a total of 8. She slowly ties up each knot and shows us each step of the way. She does not however provide written explanations for additional information. A background of simple knots is required for this video as she does not explain how to tie the knots.
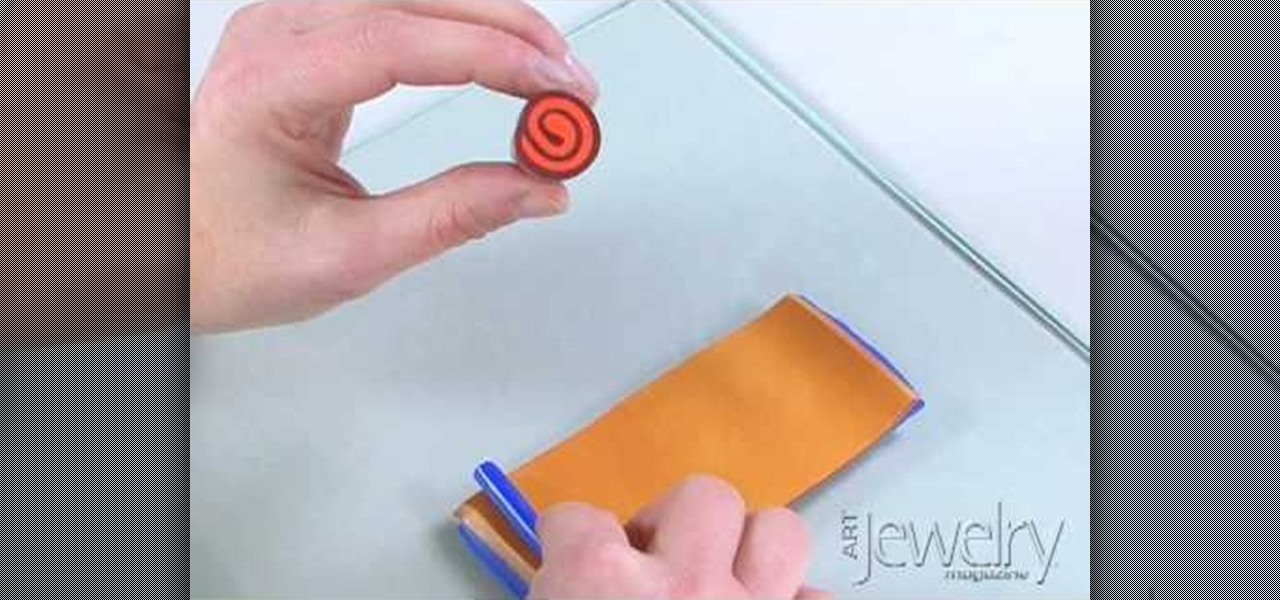
How To: Make a polymer clay jellyroll cane
Jill Erickson from Art Jewelry Magazine demonstrates how to make a Jellyroll cane with polymer clay. Condition two different colors of clay by running them through a pasta machine set on medium. Then, trim off any rough edges. Stack the clay on top of each other and place a little bit of pressure on it to confirm the two layers. Using a blade slightly bevel the edges. Slide the blade underneath the two layers of clay for easier handling. Place a think snake of clay in the contrasting color on...
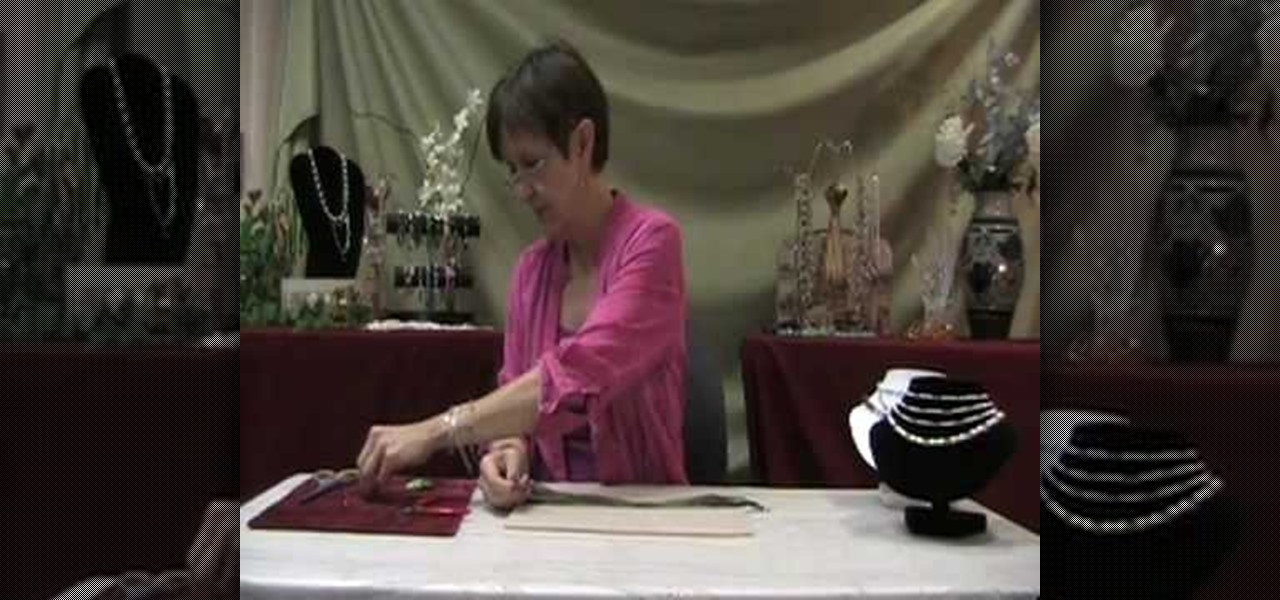
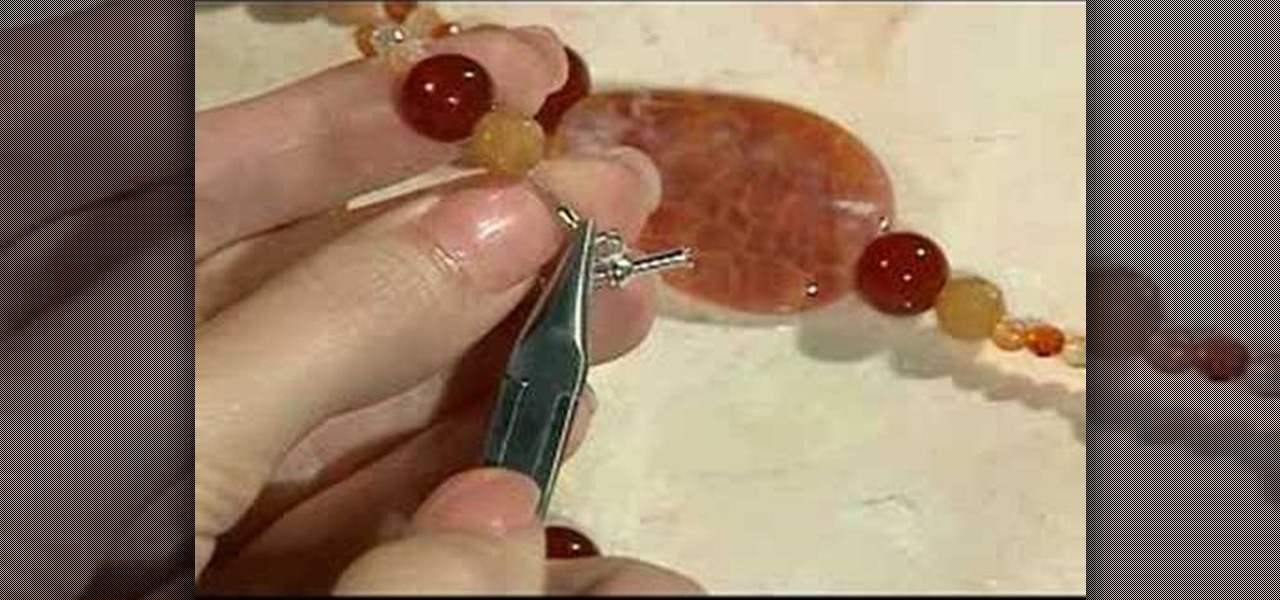
How To: Make a mermaid wave necklace
Crafter Brenda from Brightlings shows viewers how to make a mermaid wave necklace at home. This project will include certain tools and supplies which are further explained in the video. Any variation of colors can be used but the ones shown in the video give the necklace more of a mermaid ocean type look. This necklace is great for pairing up with your favorite bathing suit for a stroll along the beach or just to wear around the house while you daydream about swimming with the fish.

How To: Make a tree of life jewelry pendant
This is part one of two in how to make a beautiful tree of life pendant. It is very easy, and you'll only need a few items. Things you'll need: wire 2-3 mm thick, Round nose pliers, 4 pieces of thin wire, 12 inches long, wire cutters. With your round nose pliers, bend the thick wire about an inch form the end. Make a question mark shape, and twist the end around. Go down about 5mm, and make a 90 degree bend. Go across as far as you want, and make another 90 degree bend. Keep making bends unti...
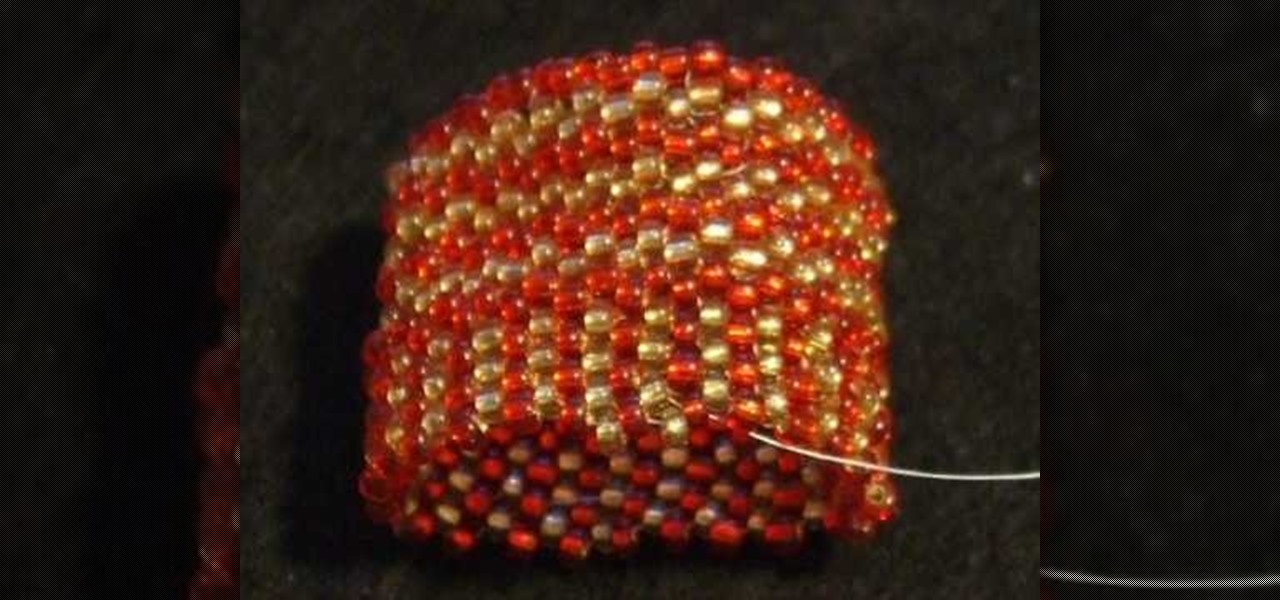
How To: Make an even count peyote beaded amulet bag or purse
In this video tutorial, viewers learn how to make a beaded, even count peyote, amulet bag or purse. The materials required include: red seed beads, 18 inches of crystal fireline, sewing needle, gold seed beads and magnetic clasps. This video provides step-by-step text instructions that allows the viewer to follow along and easily pause the video to keep up to pace. This video will benefit those viewers who enjoy handmade accessories and are willing to learn how to make a bag or purse made out...
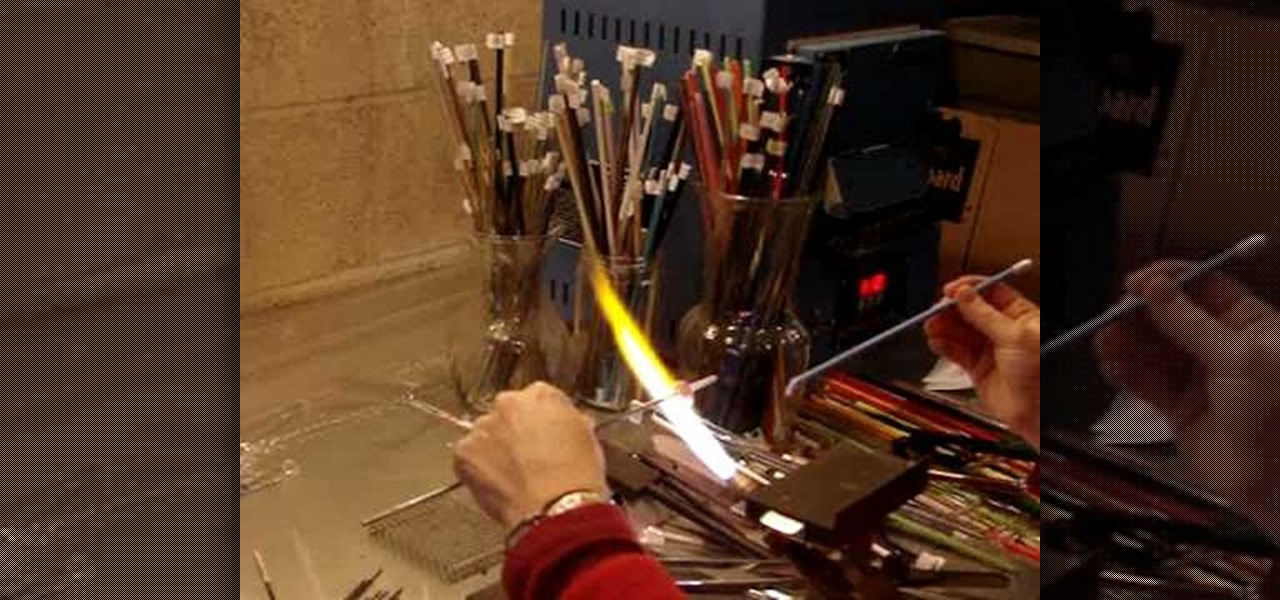
How To: Make a Bali bead and lampwork beaded bracelet
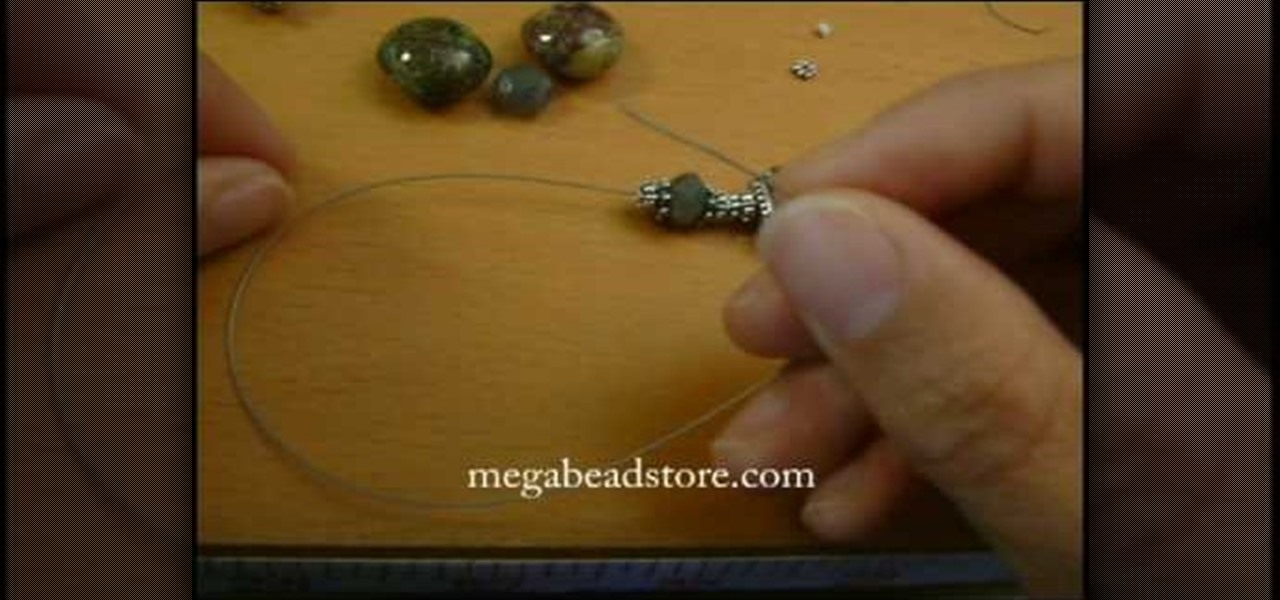
For anyone interested in learning how to make their own jewelry, try the simple steps in this arts and crafts tutorial to make a Bali bead and lampwork bracelet. To make the bracelet, you will need jewelry wire, a sterling silver toggle and clasp, crimp beads, Bali stone beads, lamp beads, silver bead snowflake caps, and silver spacers. The pattern calls for a snowflake cap, two natural stone beads, medium-size spacer, followed by a small spacer. This pattern of sandwiching a stone bead betwe...
How To: Attach a crimp and cover to jewelry
Crimp can be made easily and covered to the jewelry by using the following instructions. First purchase the proper supplies of crimping tool. This tool acts like pliers and is used by placing the bead in the appropriate slot at the tip and then squeeze the handle together. The multiple slotted tips are the key to the tool, and are needed to create a proper crimp. Then, select the proper crimp bead. The thin metal crimp beads come in a variety of materials and sizes. This will be used to secur...
How To: Make simple turquoise hoop earrings
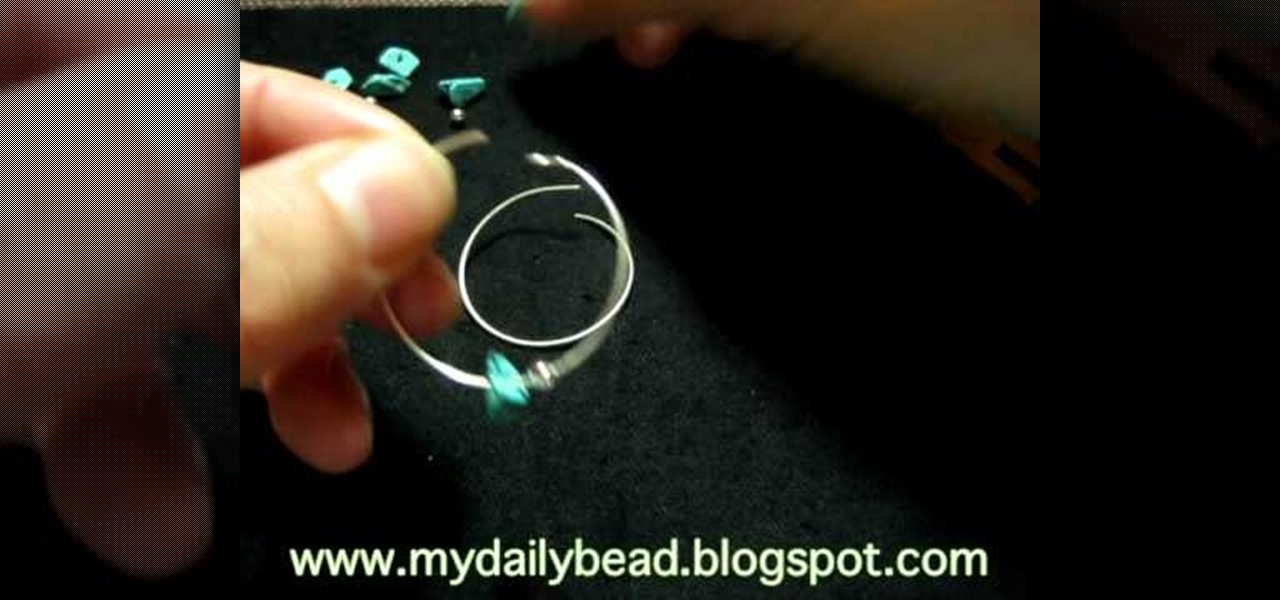
Watch this video to learn how to make simple turquoise hoop earrings. Start by taking some 20-22 gauge wire and wrap it around a soda bottle cap. Overlap the wire a little bit so that it forms a complete circle plus a little extra. Clip the wire off just a little bit past the overlap point. Do this twice so that you can make two earrings. In one end of the wire make a little loop and bend it back just a little. Put the beads that you want on the earring onto the wire loop. Put a slight bend i...

How To: Secure crimp beads using chain-nose pliers
This video shows the viewer how to secure crimp beads using both crimping pliers and chain-nose pliers for the purpose of jewelry making. The video uses two millimeter crimp beads, beading wire, and both sets of pliers to demonstrate the technique. To crimp using the crimping pliers, the viewer will utilize both notches of the pliers to crimp the bead onto the wire. In order to crimp using the chain-nose pliers, one must simply flatten the bead onto the wire. Crimping is a good method to secu...
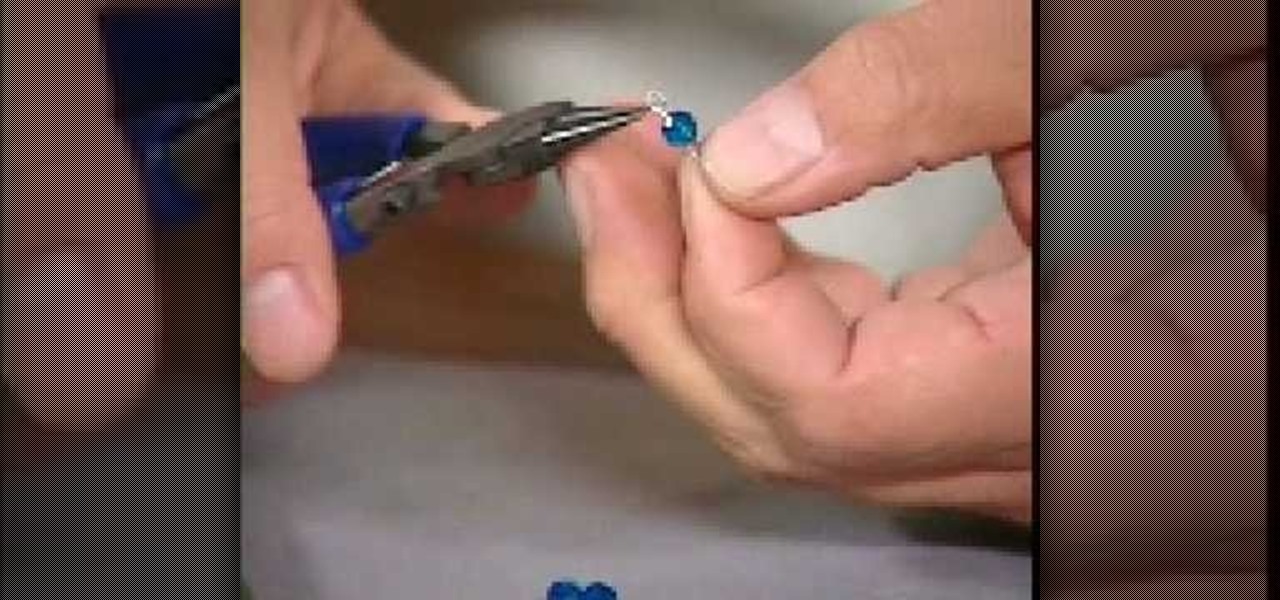
How To: Make a pair of simple drop earrings
In this video tutorial, viewers will learn how to make two pairs of simple earrings. The video provides all the materials required to make the earrings. The materials required include: freshwater pearl disk, 4 mm Swarovski crystal, bally bead accent, 2 mm silver bead, head pin, flat nose pliers, round nose pliers and wire cutter pliers. This video provides step-by-step instructions and a visual demonstration for viewers to easily understand and follow along. This video will benefit those view...
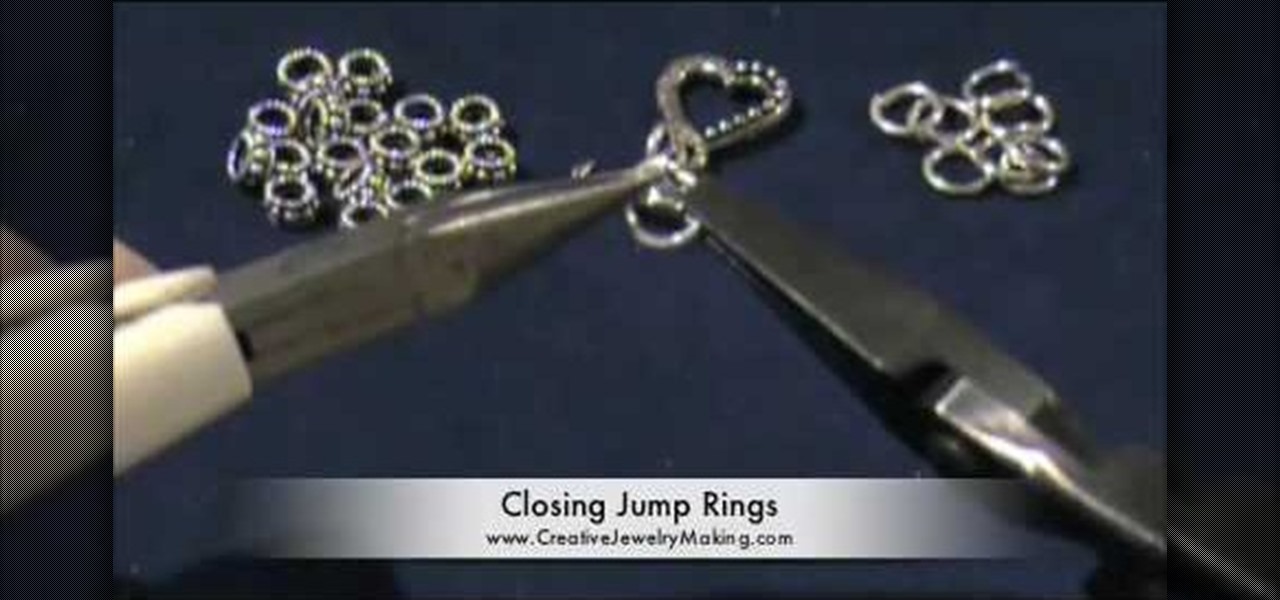
How To: Make an easy Bali bead & silver chain bracelet
Creative Jewelry Making teaches the at home crafter how to make their own Bali bead and silver charm bracelet. This is not a video for jewelry making pros; it would be simple enough for a novice and can be completed in about half an hour. These are the tools you will need to complete the project: six Bali beads per inch of bracelet you will be making, six jump rings per inch, a Bali style toggle with a large hole for latching, and two pairs of flat nose pliers (make sure to use jewelry pliers...

How To: Make a pair of two teared crystal drop earrings
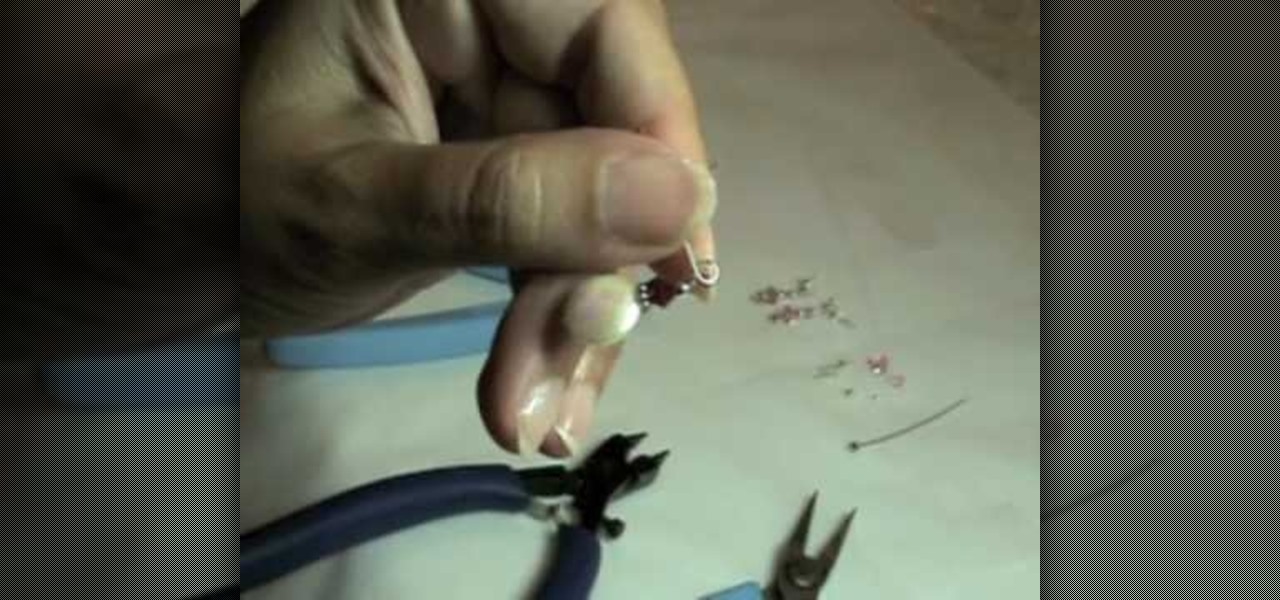
TheCreativeJeweler teaches you how to create a pair of two teared crystal drop earrings using findings, headpins (can be any type you want, or if you want to make your own) and crystals. You take your headpin and put a 6mm Swarovski crystal bead, a 3mm silver bead, a 4mm Swarovski crystal bead, and a 2mmm silver bead in sequential order. Take your flatnose and flush 90 degrees over the top of it (gives you more space to wrap wire and some more pattern). Using the same technique, make a loop. ...
How To: Make beaded jewlery
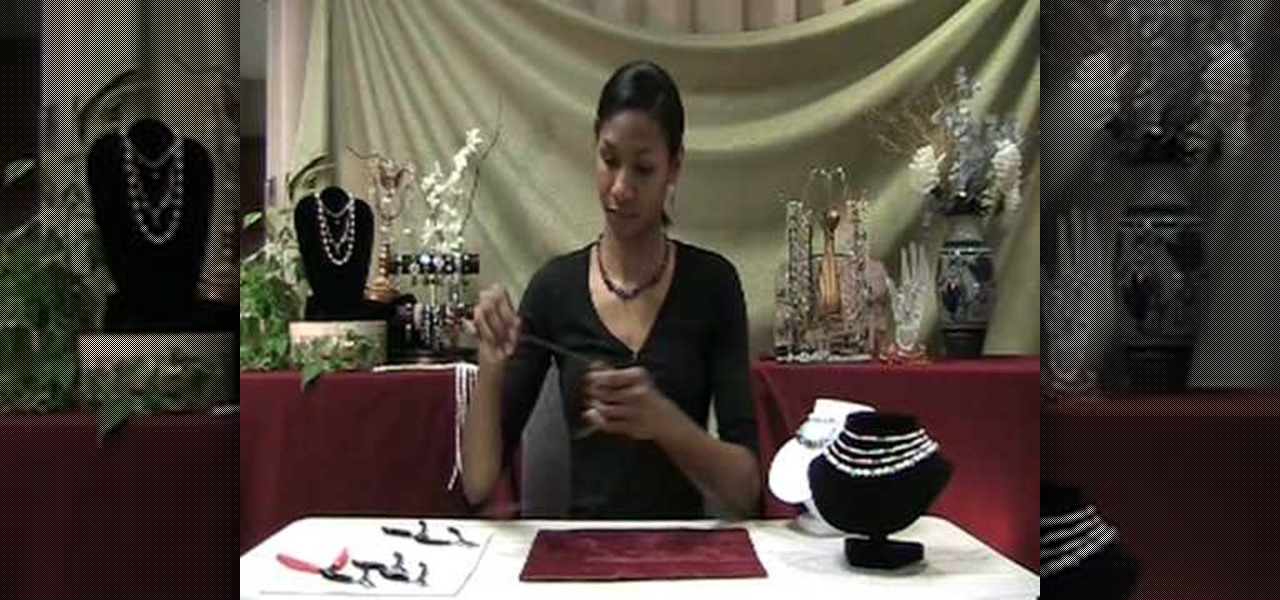
The author of this video demonstrates how to make beaded jewelry by using simple household items. The materials she uses are assorted beads, crimping beads, string, leather, and earring hooks. First, the author plans her design before she starts creating any jewelry. Once she has decided what she wants to make, the author cuts off a piece of string that is the desired length of the item. Then, she adds a clasp to make sure all the beads she plans to add stay in place. Next, she slides the des...

How To: Thread a blade in a saw frame
In this how-to video you will learn how to thread a saw blade in a saw frame. Some saw frames are static and some are adjustable. The top part of the saw blade will be attached first, followed by the bottom using tension. Take the top of the saw and put it against the bench pin. A notch can be made so that the saw frame does not go anywhere. Place the frame against your shoulder and take the saw blade. Make sure that the teeth of the blade are facing down and out. Open it up and place the edg...
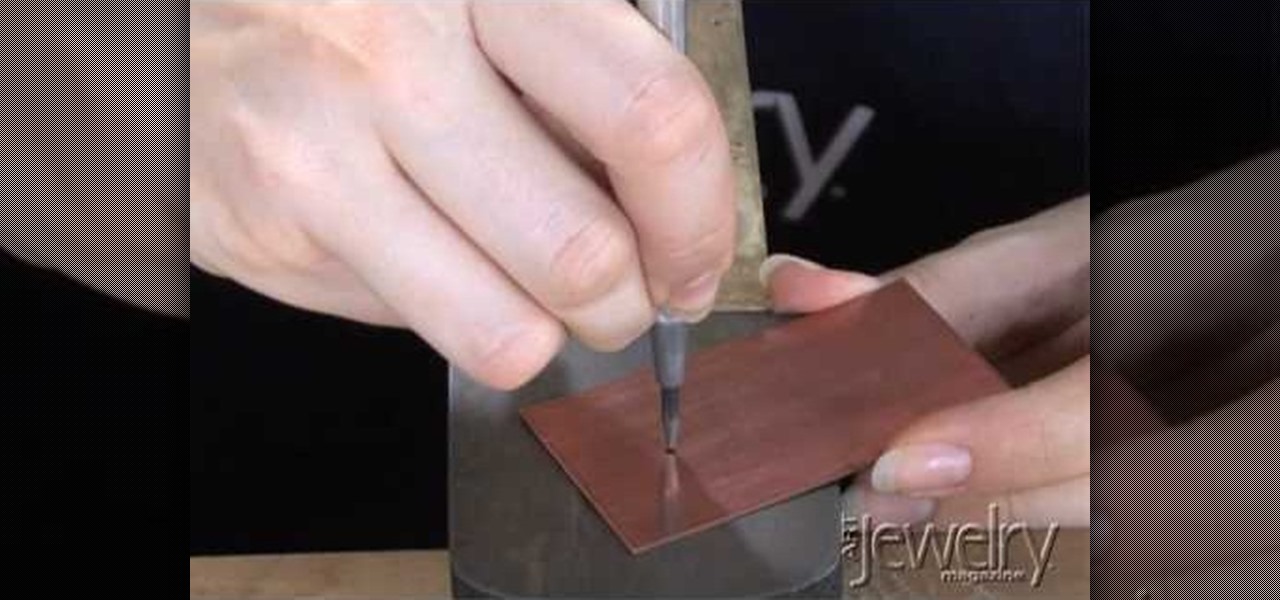
How To: Drill into metal to make jewelry
This video by one of the editors of Art Jewelry magazine, Addie Kid, will show you some basics on how to too drill into metal. Though this video does not show you how to make a specific jewelry design, but does teach skills so you can make your own design. First you'll need a piece of metal, a steel plate, and a small drill with a small bit. First you'll mark the place you want to drill, and punch into the metal with a center punch. The final part is to drill the hole with the drill. You'll n...
How To: Make a hemp bracelet
The Hempdiaries believes that you too can create a bracelet using hemp and jewelry accessories. The narrator first begins by showing you what the two mandatory materials you will need which are hemp and a dowel rod. To begin he shows you how set the dowel rod between your knees to provide a foundation for the string and then an arms length of two pieces of string folded in half. Tying the string around the dowel rod he shows you how to begin the flat pattern for the hemp bracelet and that thi...
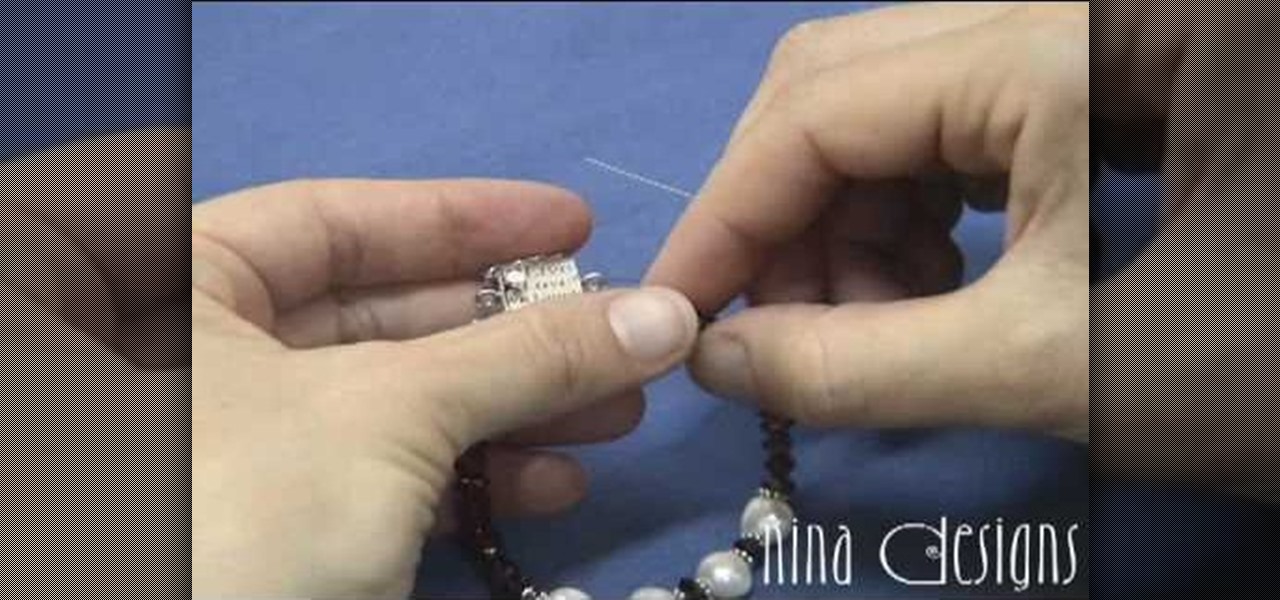
How To: Finish a bracelet with crimps and crimp covers
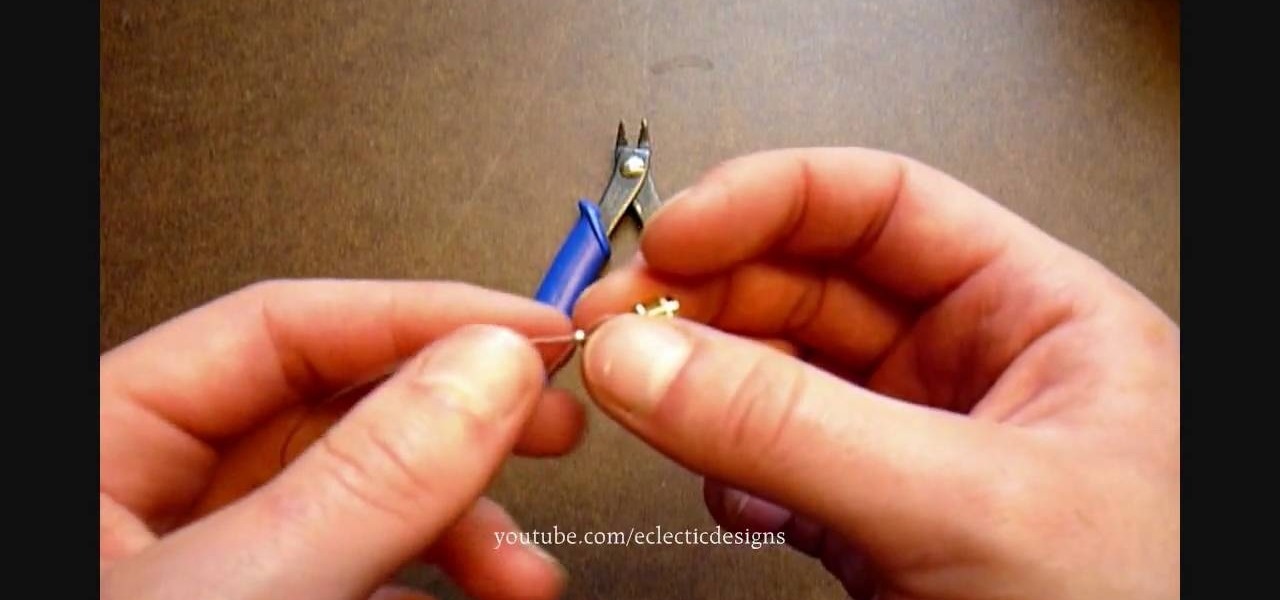
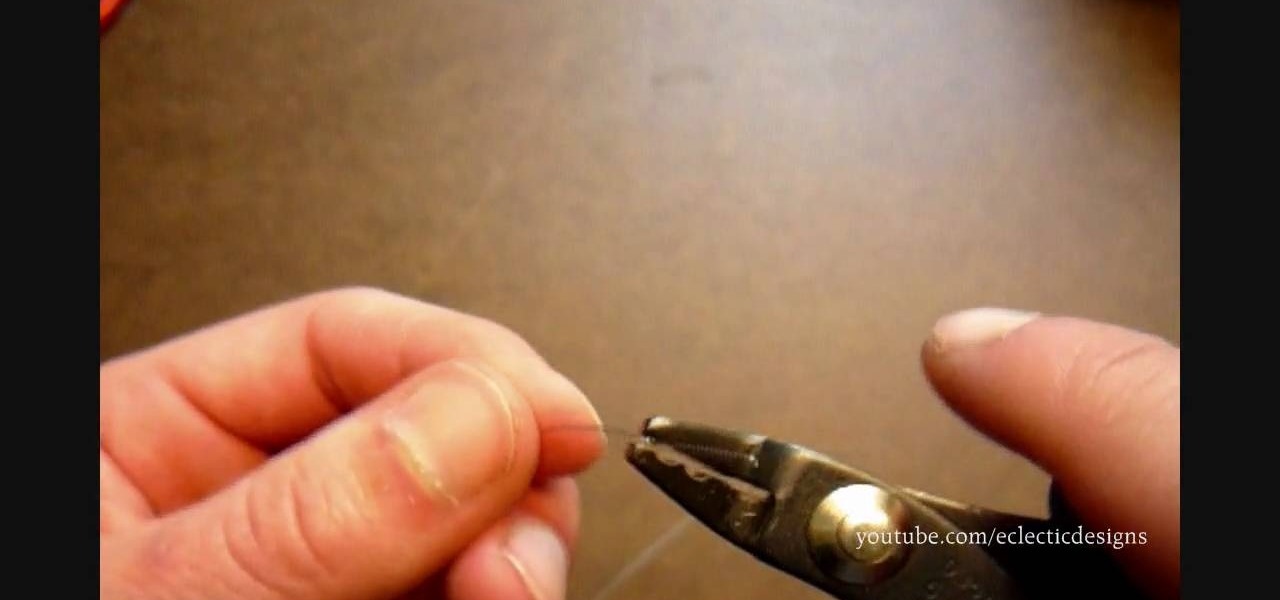
Learn how to finish a bracelet with crimps and covers to finish a bracelet start by putting a crimp bead over your beading wire and then add a clasp. After putting the clasp on the wire run the beading wire back through the crimp. Move the crimp bead up toward the clasp leaving a little room for play in between the clasp and crimp bead. Take your crimping pliers and put the crimp bead in the backspace of the pliers. Squeeze the pliers firmly to smash down the crimp bead. The crimping pliers w...
How To: Attach a fold over crimp to organza ribbon
Christina of Bright ling Beads explains how to use a fold over crimp to finish an organza ribbon necklace. First, fold down the ribbon approximately an eighth of an inch. Then, fold it down over once again. Make perpendicular folds bringing each fold towards the middle and making the end of the ribbon as wide as the crimp bed. Lay the folded ribbon inside the crimp, leaving a small piece of the ribbon sticking out of the top. Use flat nose pliers to hold the tab of the crimp and hold the ribb...
How To: Use a jump ring jewelry making tool
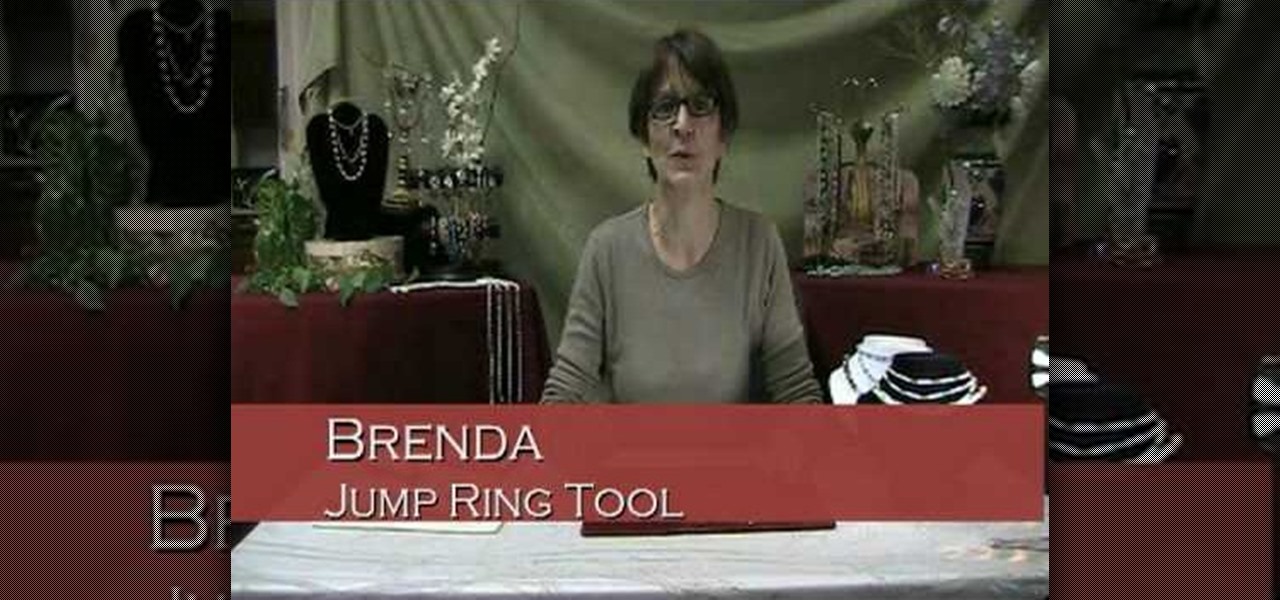
Brenda shows us how to use a jump ring tool as a part of beading techniques. The jump ring tool can be used in place of two pairs of pliers to easily open and close the jump rings. First place the jump ring tool on the index finger of your non-dominant hand. You will notice that there will be more slots and you need to choose the best one that fits the jump ring that you are using. Use a pair of pliers to position the jump ring on the slot on the tool with the opening of the jump ring just ou...
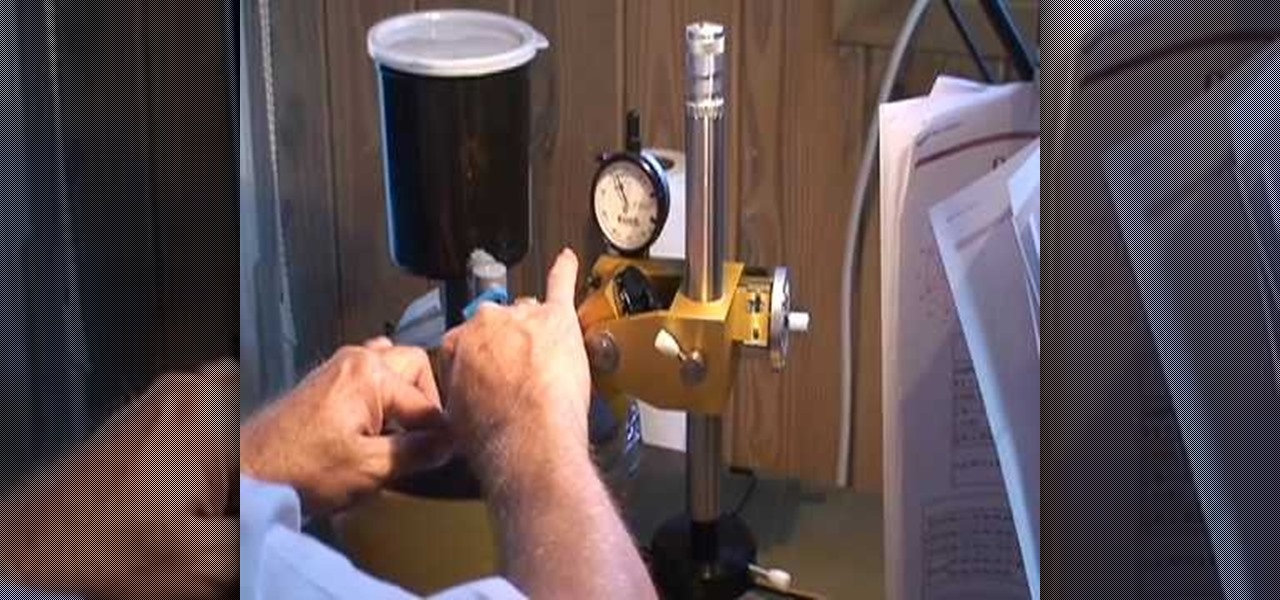
How To: Use a tumbler to polish metal
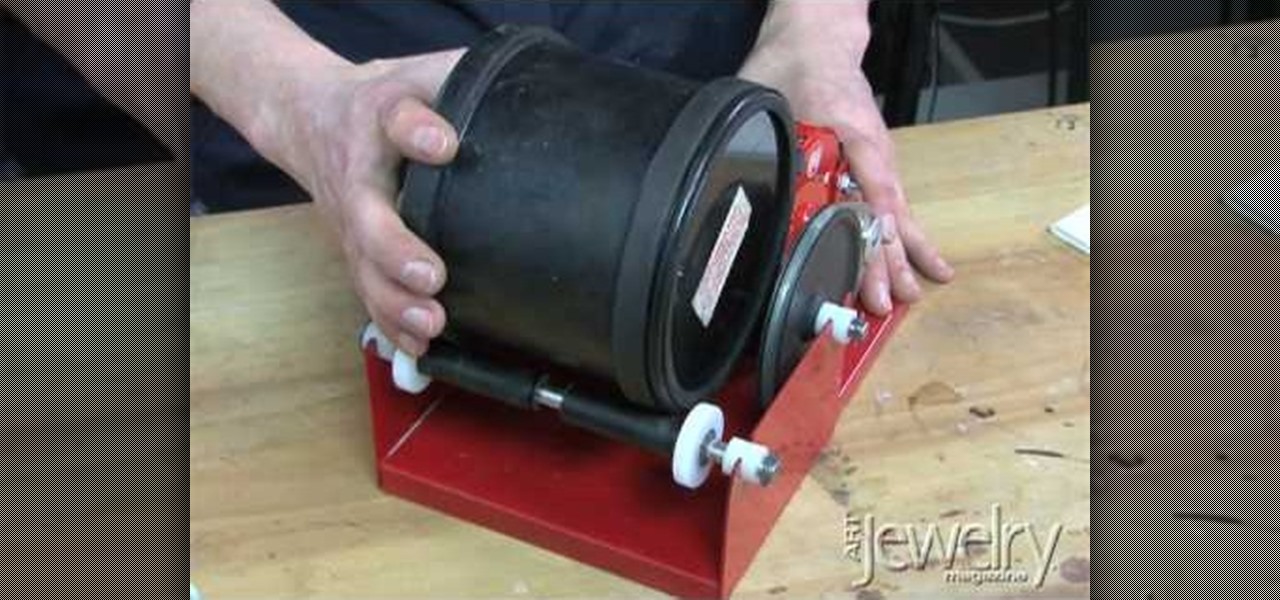
Magazine associate editor, Jill Erickson, demonstrates how to use a rotary tumbler with stainless steel shot to both polish and harden metal. Jill explains the benefit of stainless steel shot, which is resistant to rusting unlike standard steel. Using shot of various shapes and sizes will make polishing in crevices more effective, providing a more even shine. The process: Add enough shot to cover the bottom of the tumbler, then add a small amount of water. Just enough to cover the shot will d...
How To: Secure crimp beads with crimping/chain-nose pliers
Attention jewelry makers! When making your own unique jewelry designs, one must learn how to secure the end crimp beads with crimping or chain-nose pliers. Crimp beads can be used for finishing off your strung jewelry or as "stoppers". In this tutorial, learn how to hone your jewelry-making skills!
How To: Make a candy stripe friendship bracelet
Learning how to make a piece of jewelry can be a daunting task, but this straight forward tutorial gives you all the skills needed to perfect the craft of making friendship bracelet. Starting with just a few simple pieces of string, one can make this very simple DIY project. Although the materials are cheap to procure, the end result is anything but cheap looking. The candy stripe design adds to the charm of this whimsical bracelet. Make one for all your friends today!

How To: Make knots for friendship bracelets
Learn the basics of friendship bracelet making with this easy to understand video. You will learn what is known as the forward knot, the backwards knot, the forward-backwards knot and the backwards-forward knot. With these simple instructions, you can make countless bracelets for friends and family. There are numerous videos showing the how-to of friendship bracelet making, but this video gets back to basics. After you make the knots, you are free to pick a design of your choosing for your br...
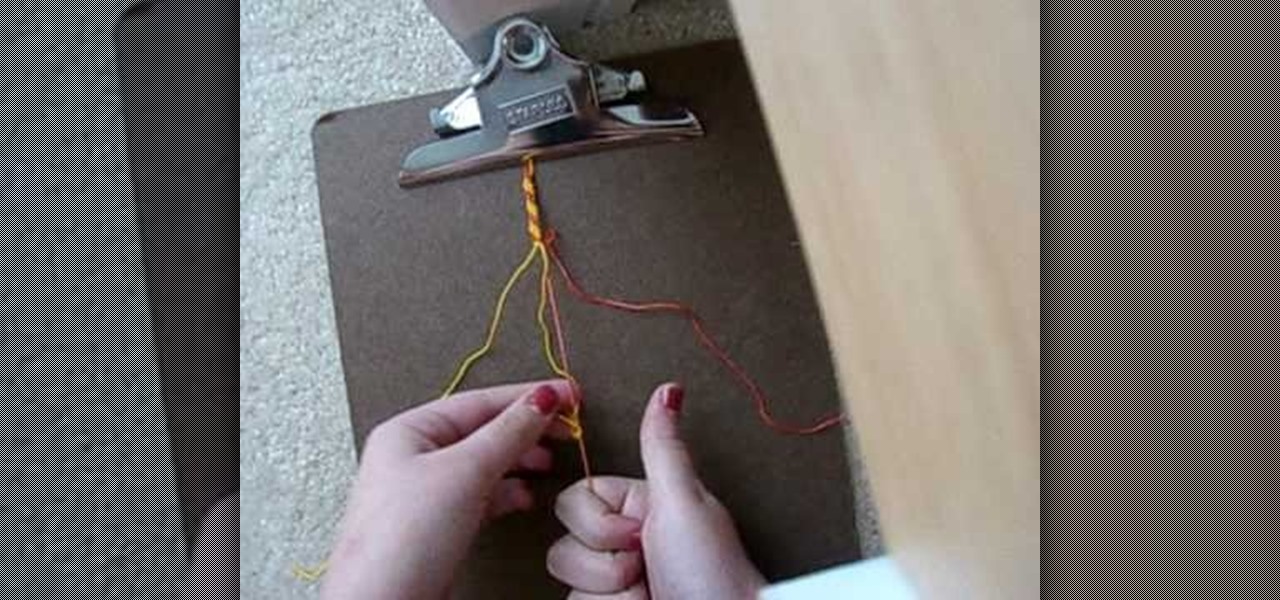
How To: Make the traditional arrowhead friendship bracelet
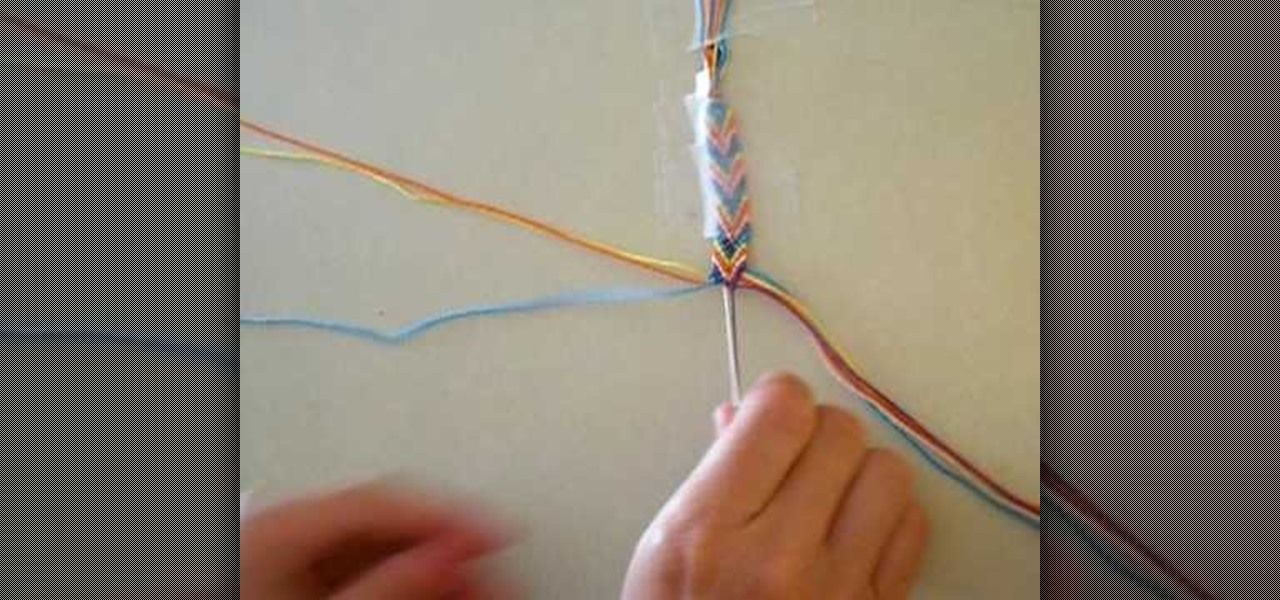
This video teaches you how to make an arrowhead friendship bracelet. The first step is to pick five colors of string. Then cut 2 pieces of string of each color. All 10 strings should be of the same length. Lay out strings adjacent to each other on the table in this color 1, color 2, color 3, color 4, color 5 and then repeat in the same order. Then knot the strings evenly. Now tape the knot onto a hard surface. Separate the strings into two sections, each section should contain 1 of each color...
How To: Make Celtic Knot earrings
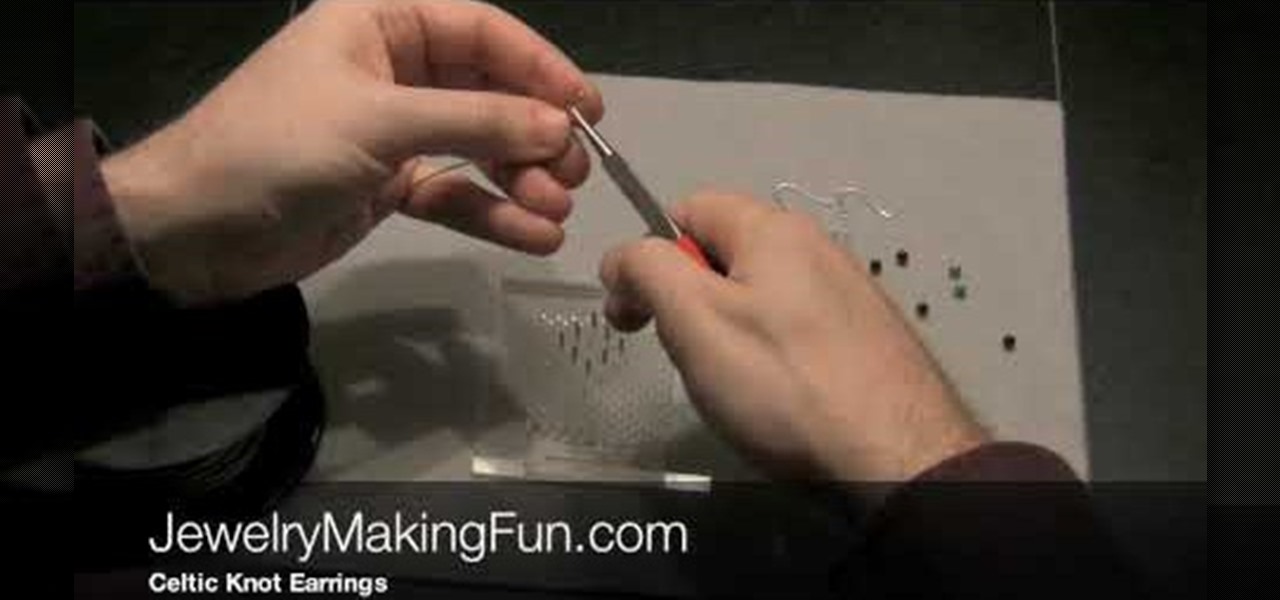
This is a nice drink; it has a holiday favorite in it, pumpkin, and martinis are a good party drink. First, you will need pumpkin spice liqueur, it's a must, and butterscotch schnapps, also coffee liqueur. You will put ice in a martini mixing bottle, then add one ounce of pumpkin spice liqueur. Next, you will add one ounce of butterscotch schnapps. Next, add half a ounce of coffee liqueur, and half a ounce of half and half. You will need lime slices to garnish, and also graham cracker crumbs ...
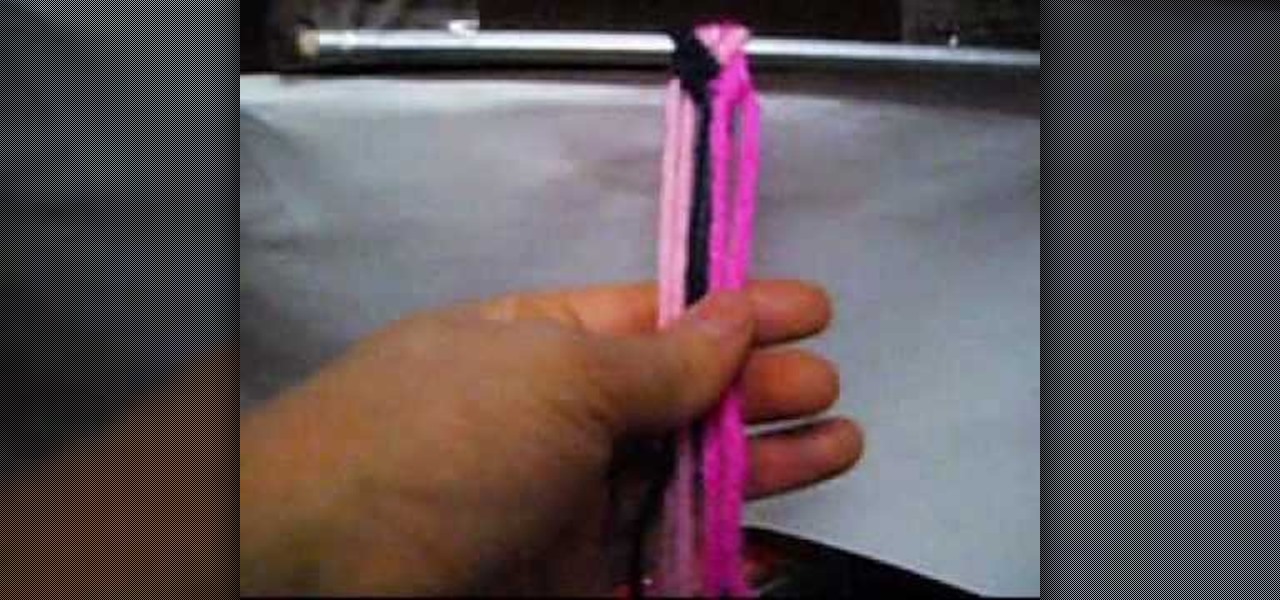
How To: Make thick braided friendship bracelets
This video is all about how to make a braided friendship bands easily just by sitting at home. You just require some colorful threads in about three colors. Take the six threads and tie them off at any thin rod of iron to give it support and now just take two threads of same or the different colors and now just tie them off in making some twisted pairs now combine those pairs and make thick one to have a single band which can be used by people to tie on friendship day.
How To: Make a basic friendship bracelet
This is a really unique video that demonstrates how to make a basic friendship bracelet. It's unique in the sense that there is no one talking to you during the video. It's set to a catchy tune, with step by step instructions written on the screen, and then each step is demonstrated clearly in the video. There's a little humor woven in, no pun intended. Last, but not least, they show you what the end result should look like. Have fun with this one guys!
Make friendship bracelets: Hearts pattern
This video shows you how to make a friendship bracelet with a heart pattern in simple, easy to follow steps. All you need is two different colors of thread and you will be well on your way to making this friendship bracelet. The video takes you from the beginning to the end of the process. The finished product is a unique design which can then be given as gifts to family and friends, or you can immediately enjoy your craft by wearing it yourself.

Make friendship bracelets: Crisscross
Producing a friendship bracelet is made easier in this step by step video. After picking your colors and cutting the thread, you can follow this video exactly for the perfect bracelet. If you already know the basics of the forward and backward knots, you will have no trouble repeating the steps of the crisscross design in this special friendship bracelet. All you need to do now is pick your colors and your on your way to creating the perfect gift of friendship.
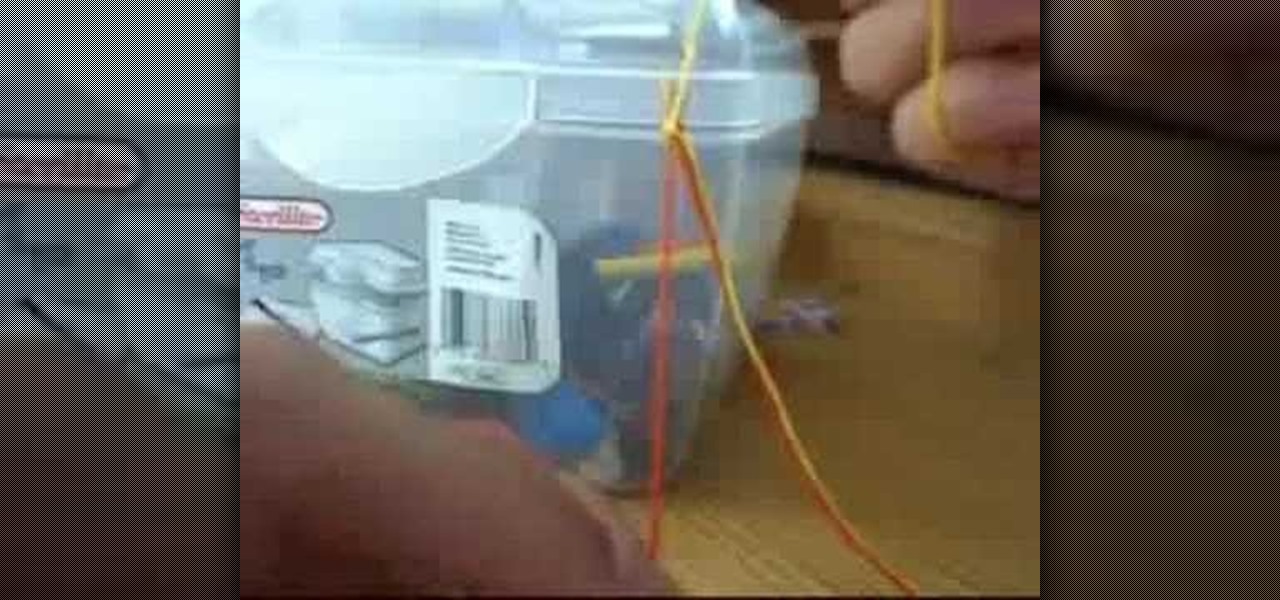
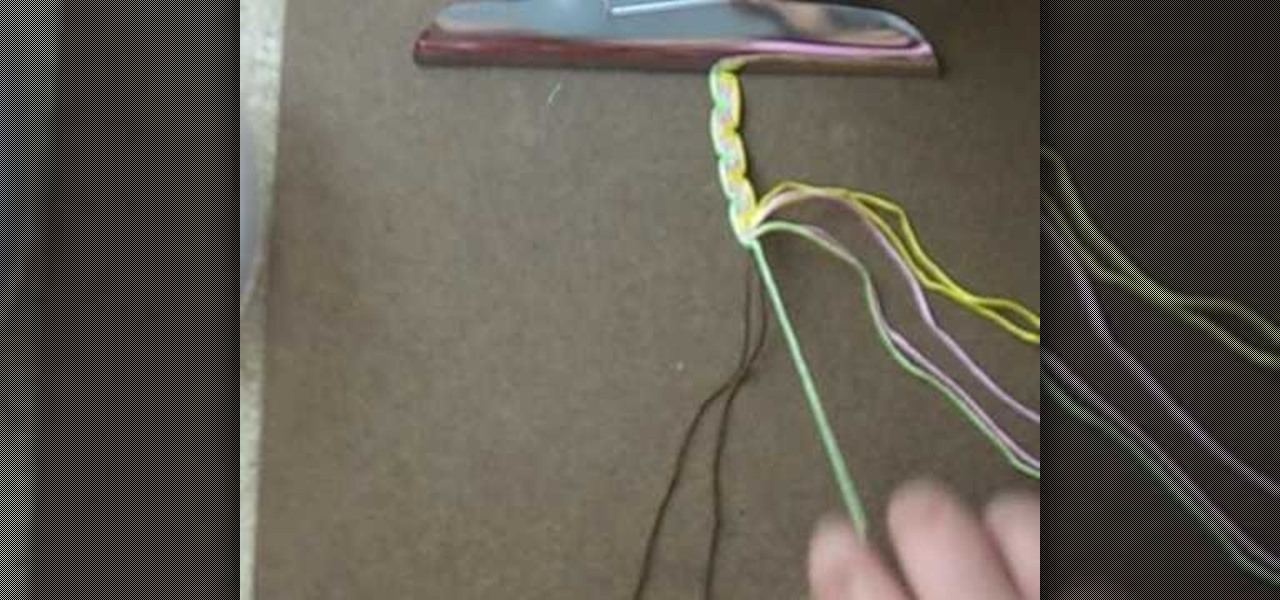
Make friendship bracelets: Flip flop candy stripe
This video describes the method of creating a "Flip Flop Candy Stripe" friendship bracelet using 4-8 strands of string and a clipboard. It is a step by step tutorial made by a young female with both visual and verbal instructions on the process of making the "knots". Throughout the video the girl narrates some aspects of her recent activities and keeps the attention of the viewer making the lesson more entertaining and enjoyable. After watching this video you should have a good understanding ...

How To: Make 2-colored friendship bracelets
Give your Best Friend a gift from the heart this year for her birthday or for Christmas by making her a friendship bracelet! Start by taking eight piece of string or yarn. Then take two strings, loop one around the other and pull it up to the top to make a single knot at the top of the string. Then take the first one and another string and do the same thing. Watch the rest of the video to get the perfect friendship bracelet!
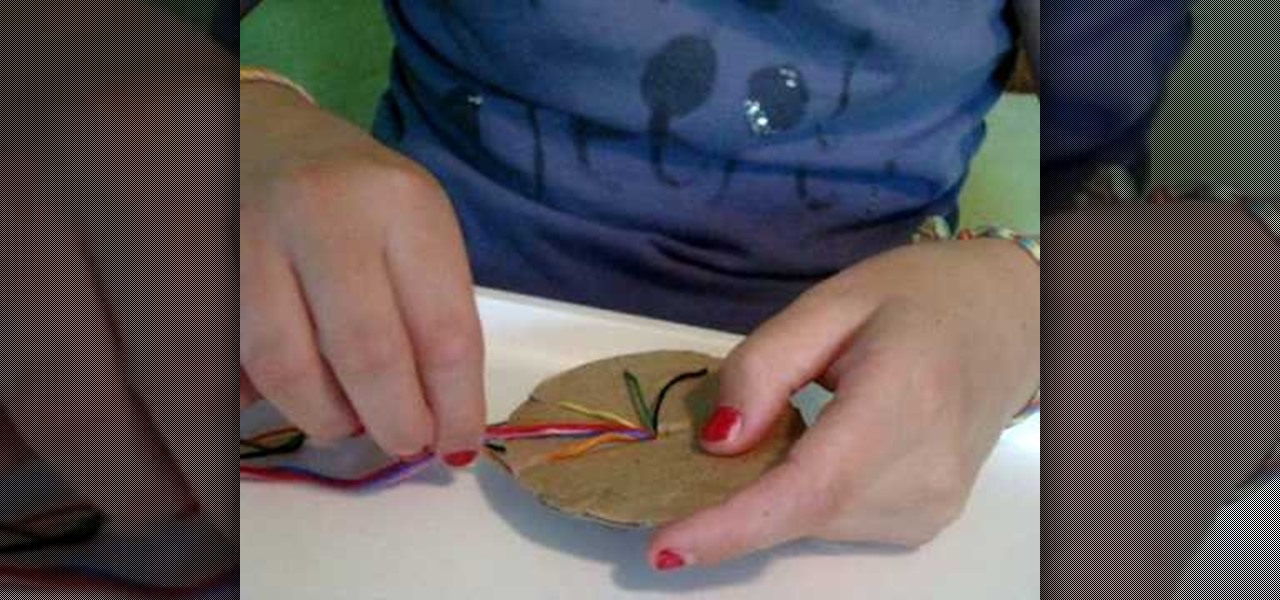
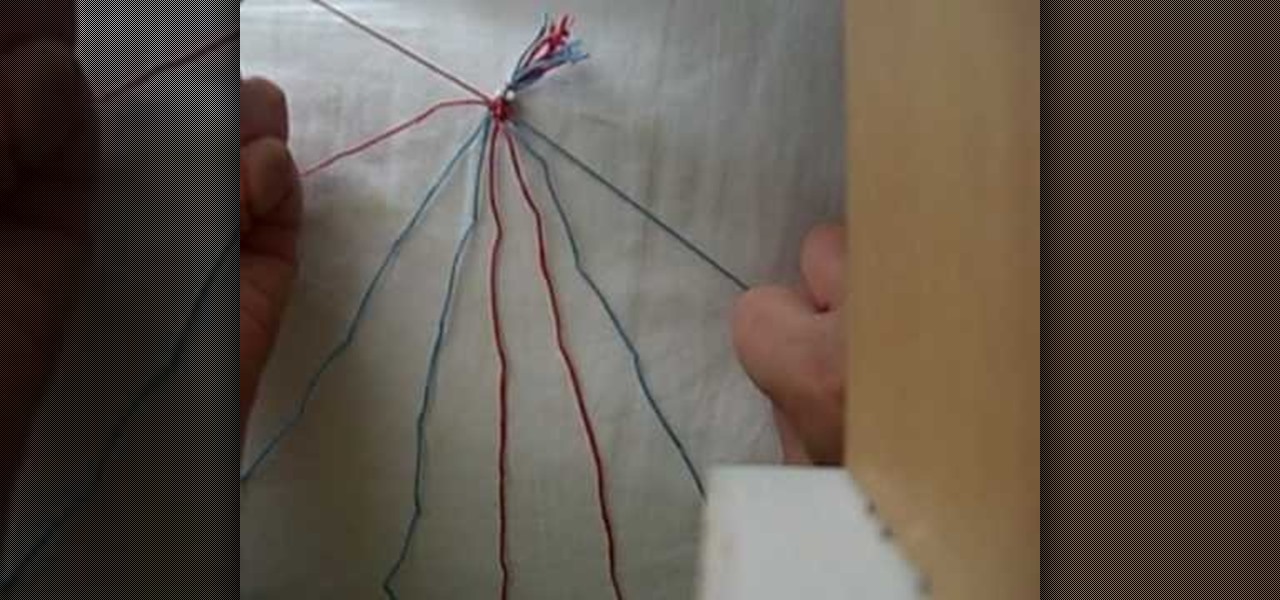
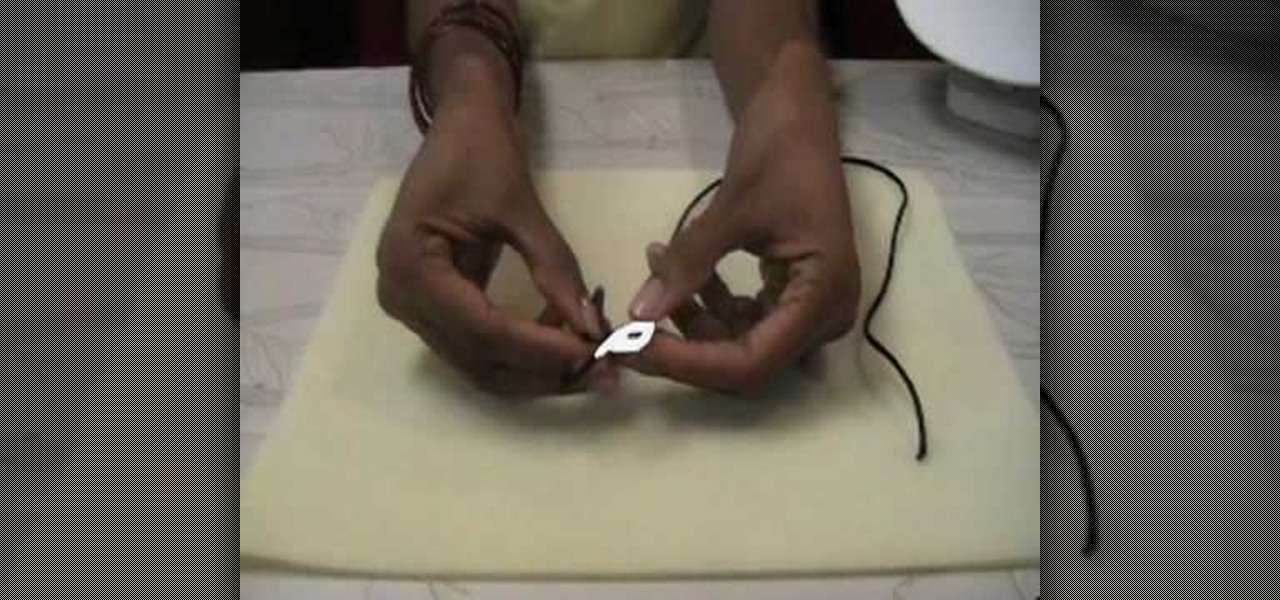
How To: Make a circle friendship bracelet
A little girl from Live Love Embroidery explains, in this video, how to make a circle woven friendship bracelet. The process involves seven strands of embroidery thread tied at the end with a simple half-hitch knot. The knot is fed through a small hole in the center of a circle of cardboard. The strings are then individually latched through seven of eight notches located at the end of the cardboard. After that, rotating in a circle pattern around the cardboard, the strings are exchanged aroun...
How To: Make cross friendship bracelets
Learn how to make cross friendship bracelets with this wonderful and informative video. The color of the threads is chosen to understand what is going on there. The watcher gets the basic knowledge of making thread bands or thread bracelets. The Cross Friendship Bracelets looks so colorful and makes great fashion accessories for anyone. The helical structure of the bracelets mentions the crossing of two friends.
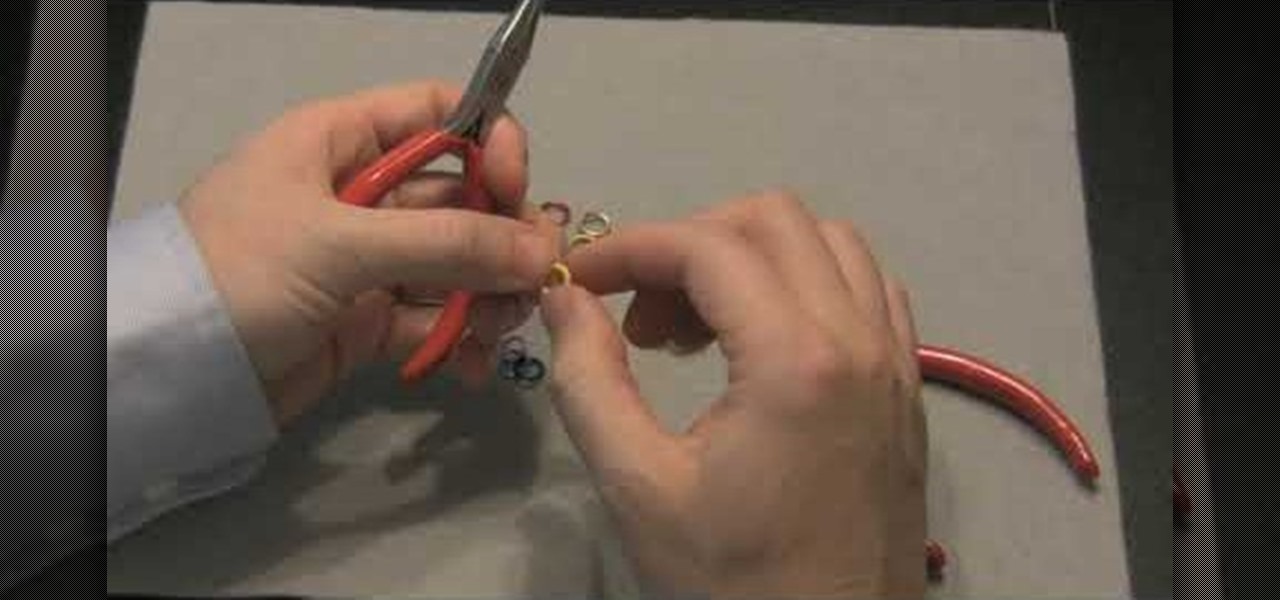
How To: Use jump rings while making earrings
This video is about jump rings and making earrings. Jump rings have a cut in them so that they can open. To open, hold ring on either side of split with pliers. Add a slight twisting motion. Do the opposite to close. Rubber rings have no split and stretch. To make an earring, take a surgical steel French hook, open and attach jump ring to French hook. Add 3 more jump rings in succession. Add a bead on a head pin.
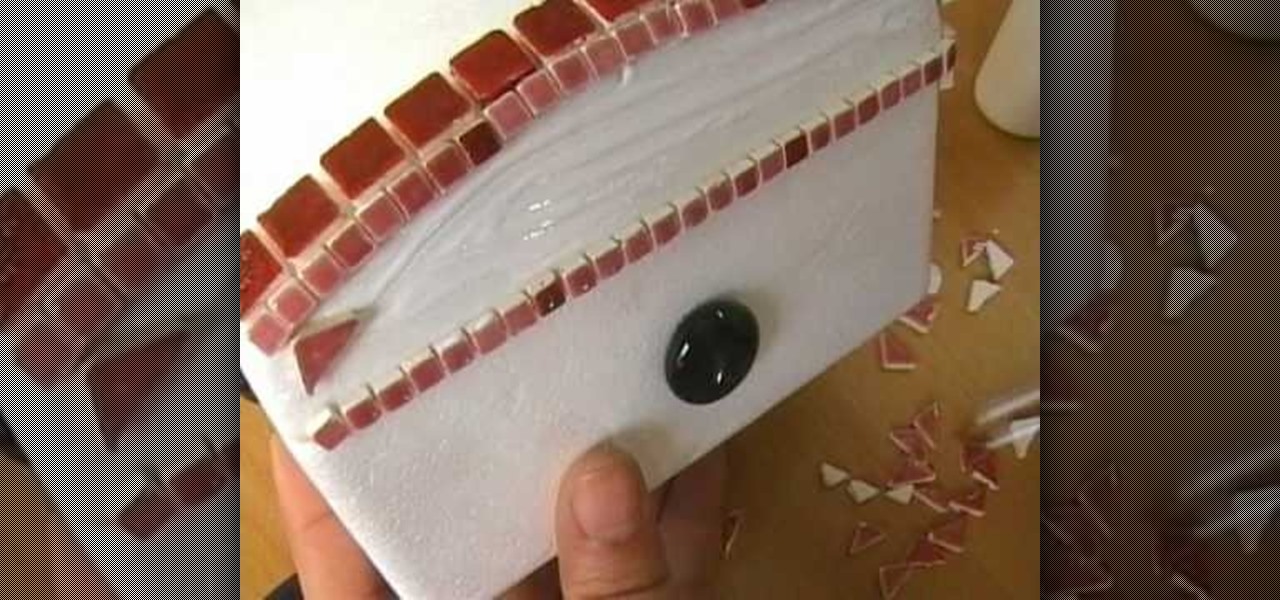
How To: Create a mosaic jewelry box
This video demonstrates making a mosaic jewelry box. A plain jewelry box is decorated using different shaped pieces of glass. First, round flat glass pieces are glued in the center of the top and sides. Then a ring of glue is put around the circle and rectangular pieces are glued around that. Square tiles are used around the top edge, and odd shaped pieces are used to fill in the rest of the surface area of the box. After it has dried for two hours, a glaze is applied to the entire box. This ...

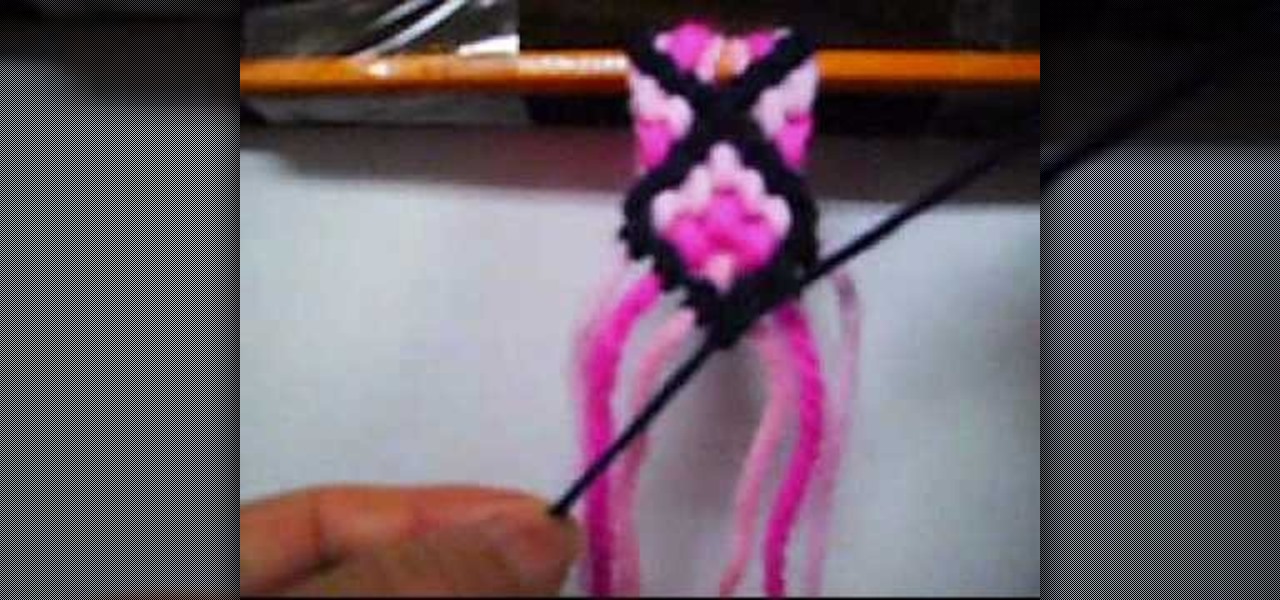
How To: How to make a box friendship bracelet
Ever wonder how to make a box friendship bracelet? Want to make one for a good friend? Well, this video provides a detail step by step explanation as to how to make a box friendship bracelet. The video is very detailed and thorough with its instructions. The video also shows the viewer exactly what to do at each step. Therefore, most viewers should be able to make their own bracelet by the end of this simple and yet, helpful video.
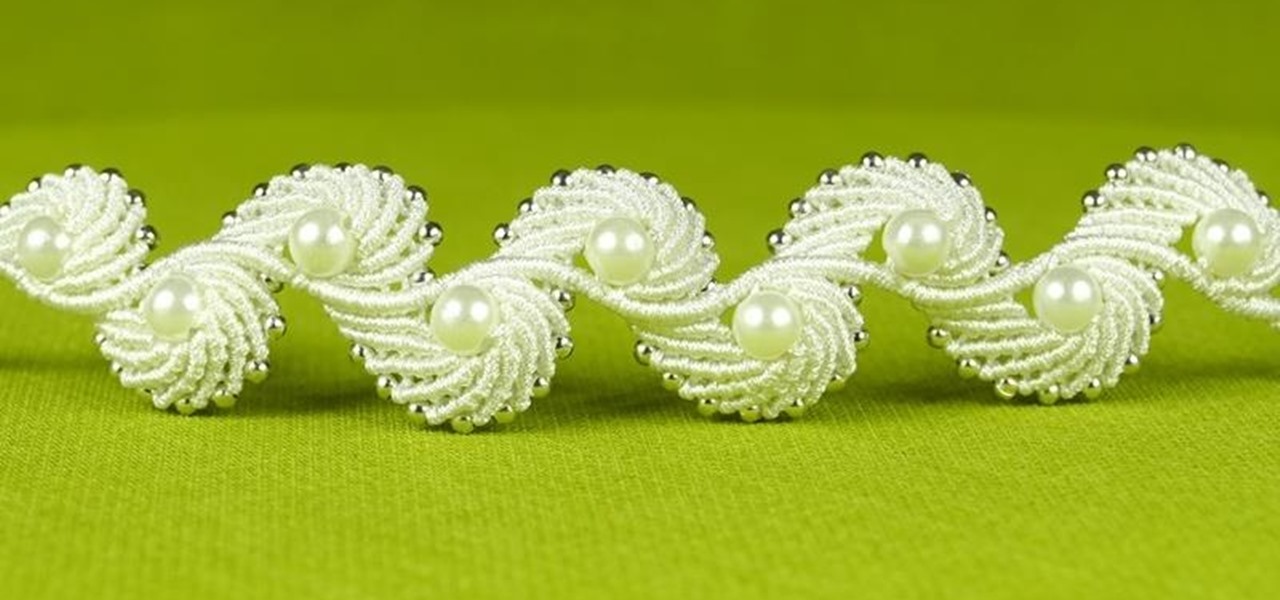
Make friendship bracelets: The wave
A strong and genuine relationship is something that should be cherished at all times. Learn how to make a wave friendship bracelet to give to your best friend as a gift. Wave friendship bracelets are not only simple to make, but they are absolutely beautiful to look at. Before you begin making your bracelet, be sure to choose the colors of yarn you would like to use in advance. Also, you'll want to follow the video's instructions completely to ensure that it turns out right. This friendship b...
How To: Tie a variety of knots when jewelry making
Christina, from Brightling Beads shows you how to tie a variety of knots in this video demonstration. This allows you to make a variety of jewelry, using various forms of knot tying. She will show you how to do an overhand knot, double hand knot, square knot, lariat knot, figure eight knot, sliding knot, and surgeon knot. This video makes it easy to do the knot tying, because it uses demonstrations that highlight the sting, and arrows that point to the area that you're working on.
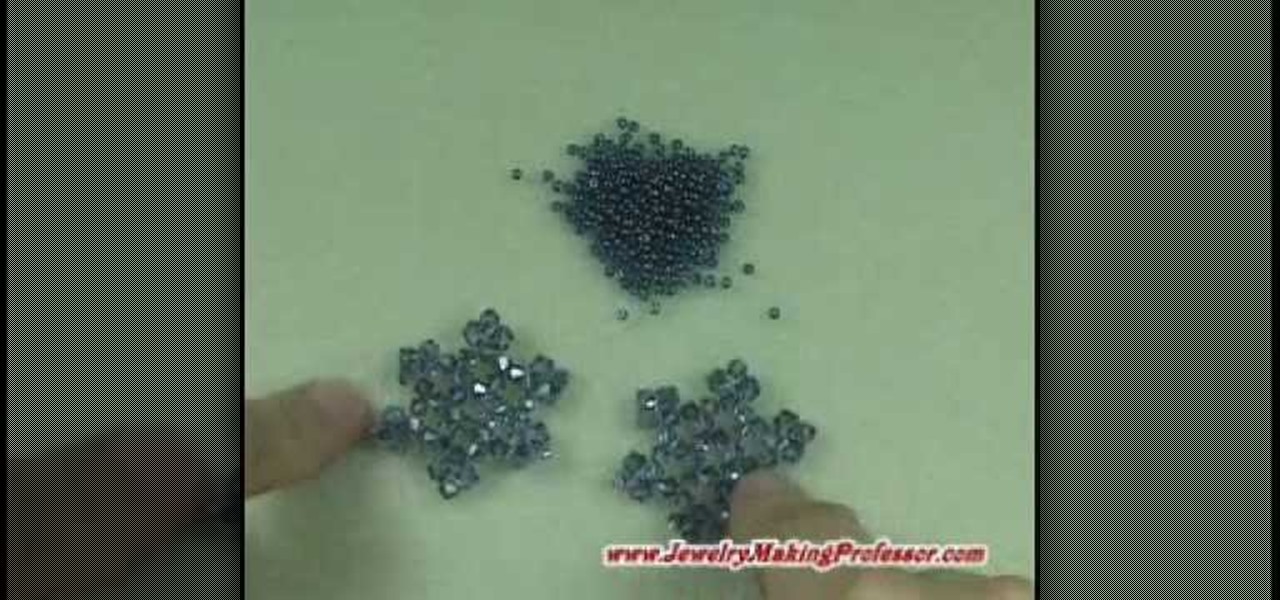
How To: Make a snowflake pendant
This video is all about how to make a snowflake pendant. This is just an interesting task for women who like wearing jewelry. Now you can make pendants by your own hands at home. You require just few beads of your choice color and take a needle and a strong thread ,you can also have some kind of chains to make it strong and beautiful. Just arrange beads in any pattern and attach with some chain. It takes just few minutes to do it.