

Hot Jewelry How-Tos

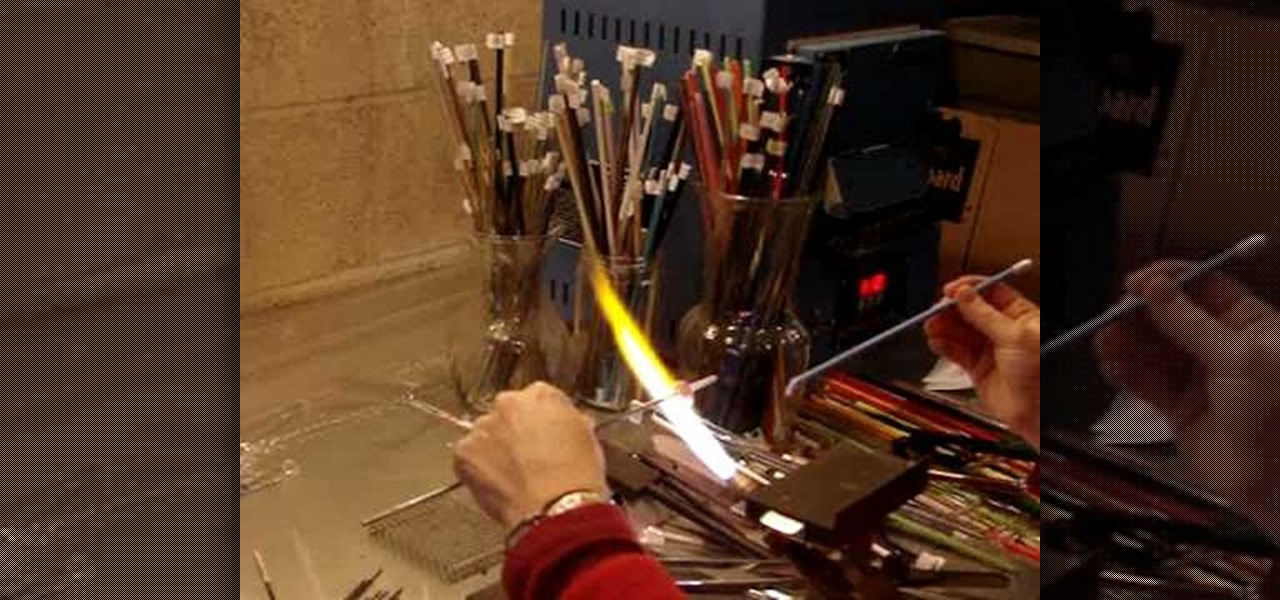


How To: Make DIY Scrabble tile charms and pendants with glaze and glue
Scrabble charms and pendants are gaining popularity in the world of crafts, because they're easy to make and fun to wear. They make great gifts, can be fully personalized and turn Scrabble into more than just a board game!

How To: Make a homemade bracelet with Grungeboard
If you're interested in making bracelets in an entirely new way, this is your answer. It uses Grungeboard from Tim Holtz and makes a funky and fun bracelet that has a stamped pattern on it (any stamp of your choice). Follow along and make one yourself.

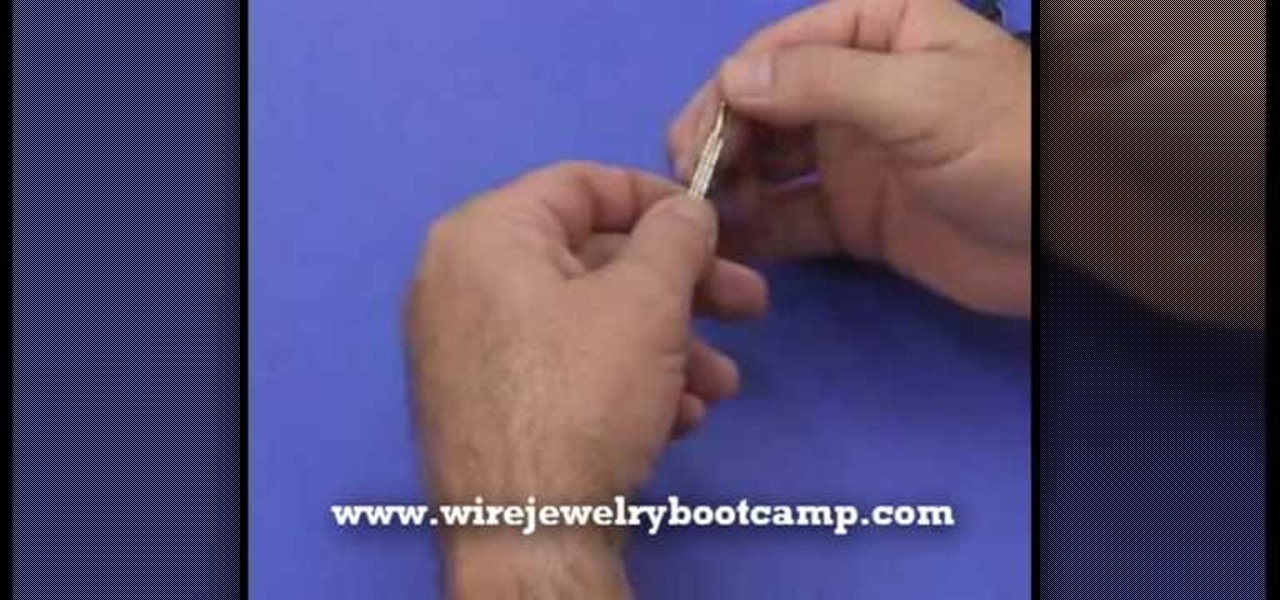
How To: Texture, shape, and antique wire jewelry with Ronna Sarvas Weltman
Wire jewelry is one of the most beautiful types out there. With a delicate appearance and ability to bend into gorgeous curvalinear patterns or wrap endlessly around necklace pendants, wire jewelry is also easy to maneuver for beginners.
How To: Use jewelry clasps to enhance your design with Katie Hacker
Jewelry clasps don't seem all that important, right? After all, when compared to the shape of your beads and the color scheme of your jewelry piece, a clasp is merely the finisher, something that helps close off your necklace.
How To: Design with bead frames with Katie Hacker
Bead frames are pretty simple to understand. Rather than simply stringing beads onto a pendant or necklace, you can attach them to bead frames, which come in all shapes and varieties, to make a novel design that can take advantage of negative space. It goes without saying that elaborate bead frames make the entire design more ornamental, whereas a simple round wooden bead base helps put the spotlight on the bead in the center for a subtle glamour.
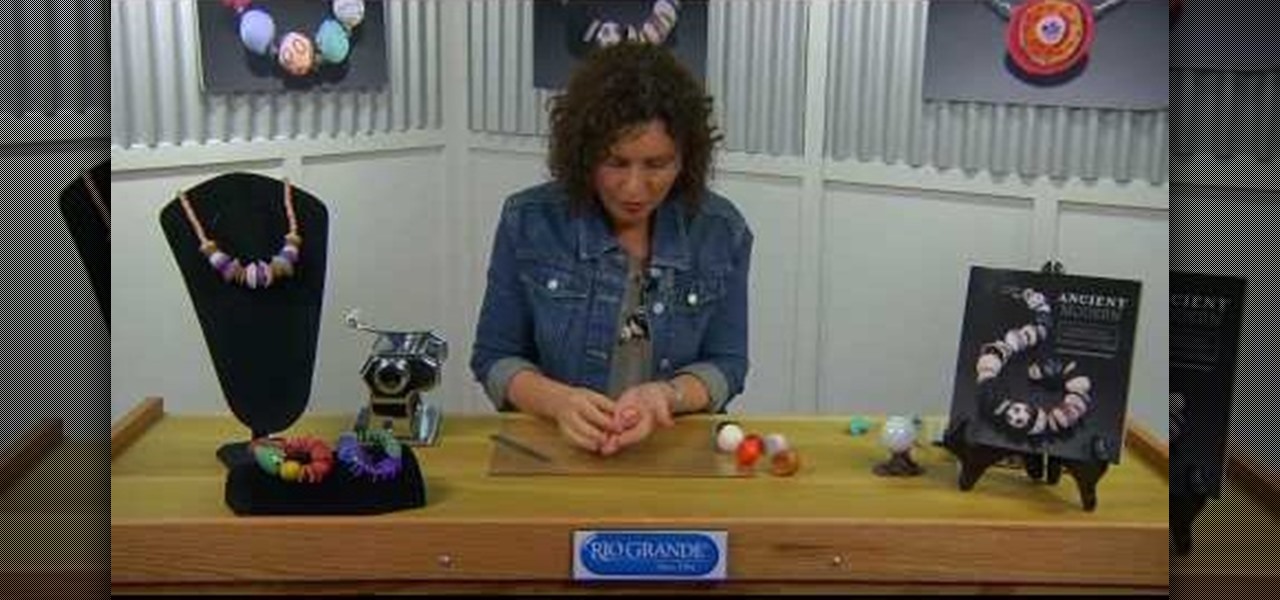
How To: Create marbelized polymer clay beads with Ronna Sarvas Weltman
Polymer clay is a favorite material for many crafters because it's so versatile. Those interested in creating miniatures - like small version of Domo Kun or tiny, hamster-sized apple pies - can easily mold the clay into any shape they wish, while jewelers enjoy polymer clay because you can experiment with different colors to produce all types of effects.

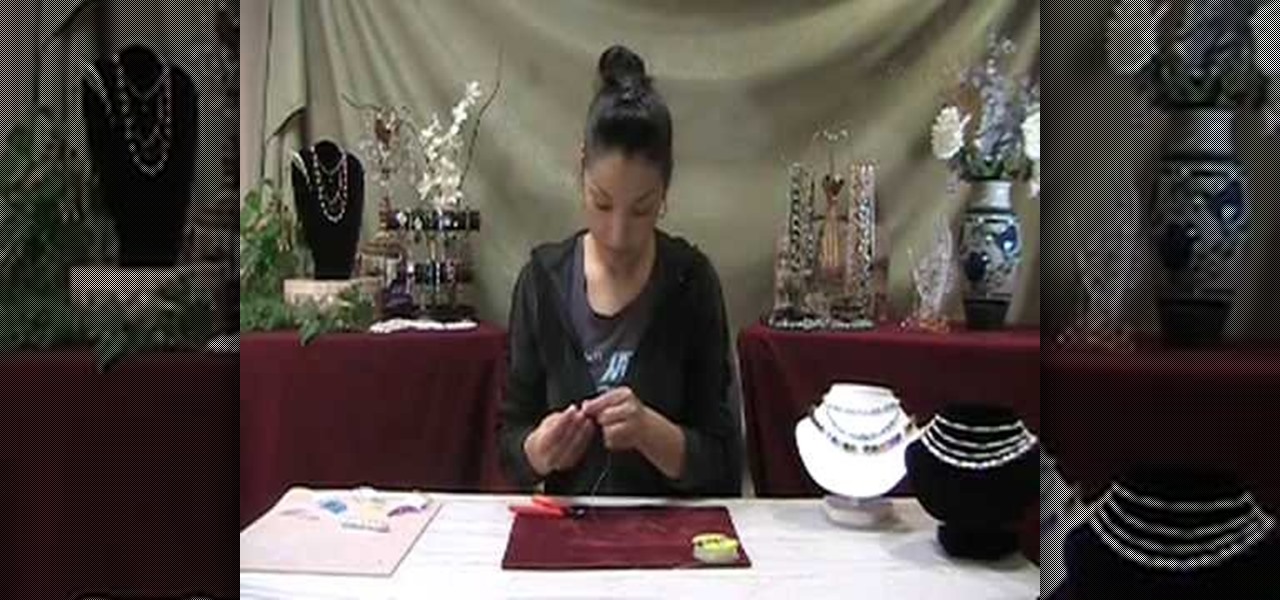
How To: Learn five basic seed beading terms with Melinda Barta
Consider this Beading 101. In this video, you'll learn the five basic beading terms used in many beading magazines and beading patterns. These terms refer to how you pass needles through your beeds (from the back or from the front), how you separate irregular beads out of your main beading inventory, rounds and rows (different ways of beading), waxing your thread, and thread tension.
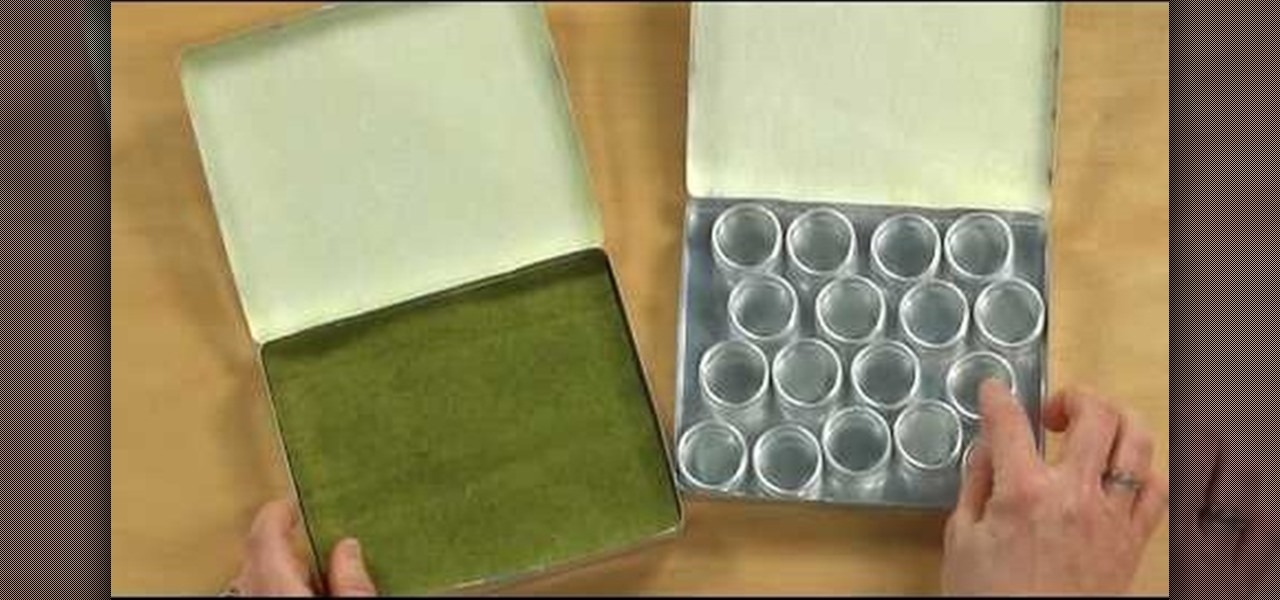
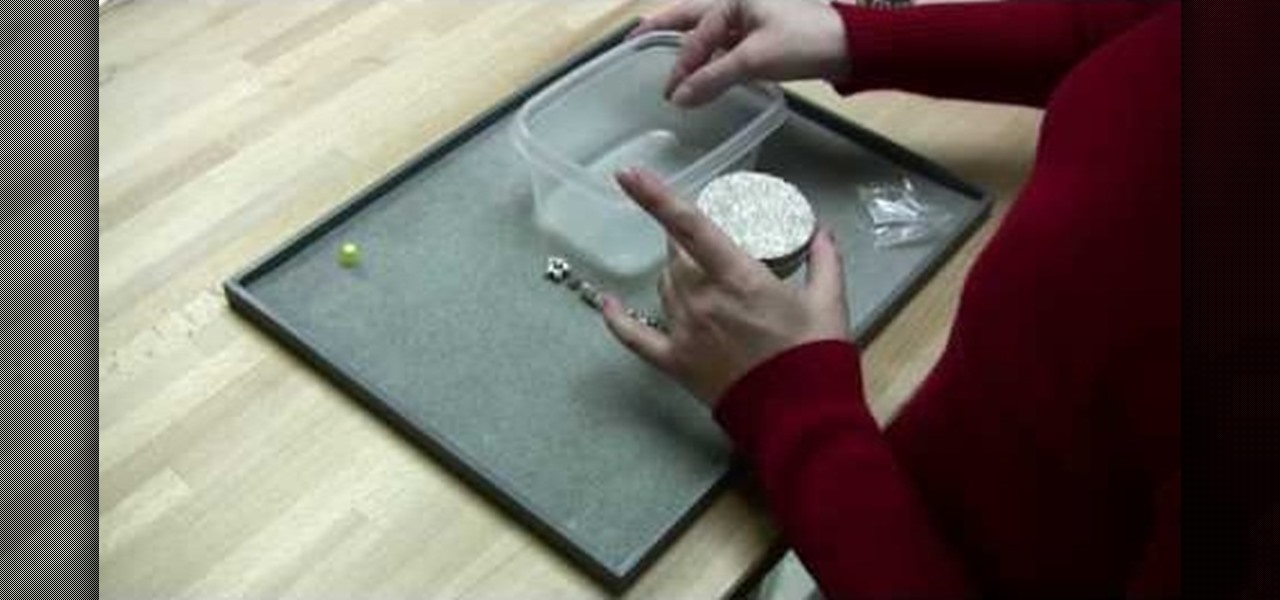
How To: Make a portable lap-sized beading studio for beading on the go
You know those long drives home in the car after you've spent a weekend at a cousin's house, or back from visiting Las Vegas? With more than a few hours at your disposal, what do you do to fill up the time? If you're an avid crafter and enjoy making jewelry, that you can turn those usually idle hours into productive crafting time by making this portable beading studio.
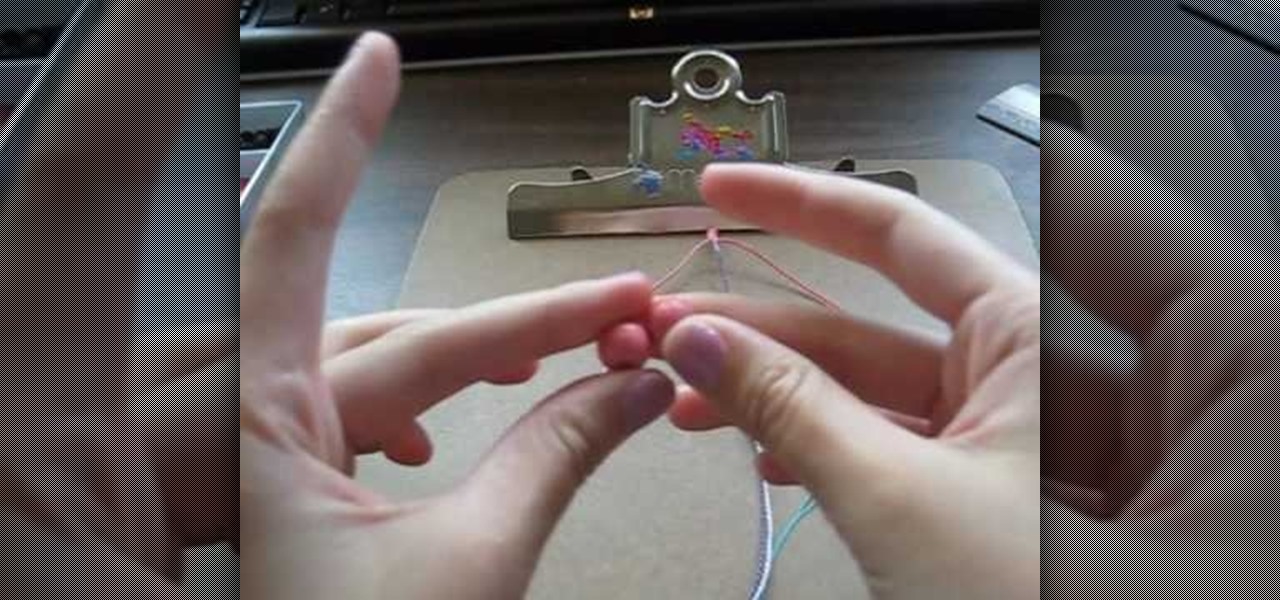
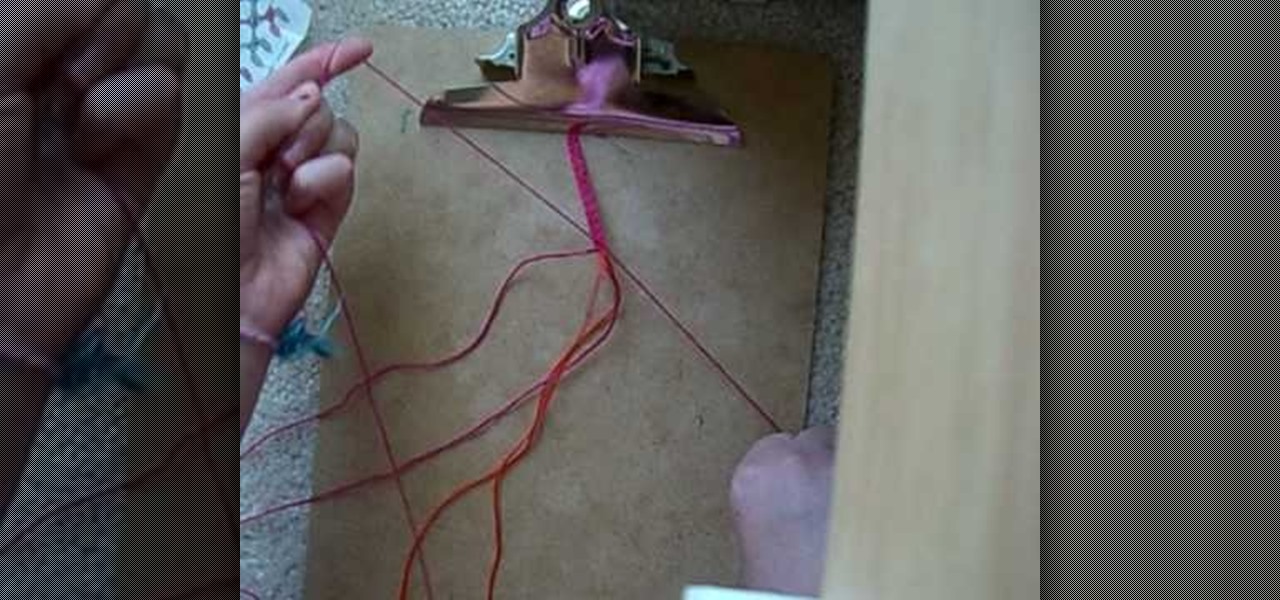
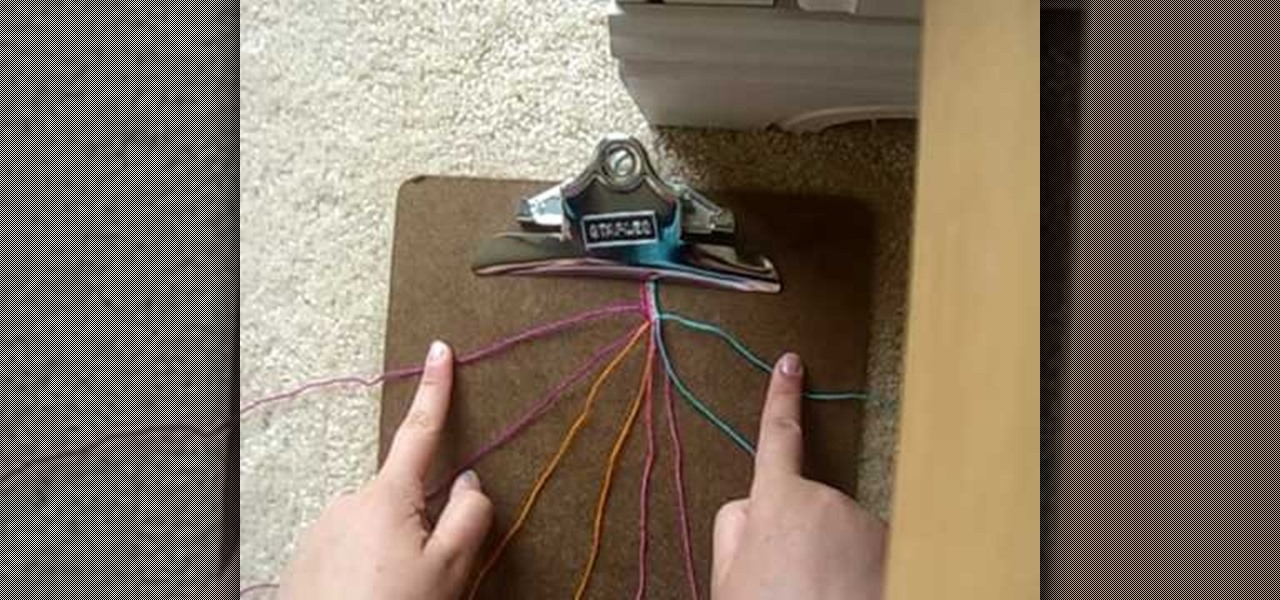
How To: Make a braided double chain knot friendship bracelet
There's two good reasons to make a friendship bracelet. One, they show your best friend you care, and two, they're super easy! All you need is thread or yarn, 16 strings of any color, and tape or a clipboard. Then, you just braid the bracelet using the double chain knot technique. That's it. Super easy!
How To: Work with Stretch Magic
In this video, we learn how to work with Stretch Magic. This is a beading technique that is very easy to use. It's great for making bracelets, because no clasp is required. First, cut a piece of Stretch Magic 4-5 inches longer than you want it. Now, string your favorite beads onto the Stretch Magic. When you are finished with this, connect the ends with a square not and add a drop of super glue for added security. After this, cut off the excess strings from the end and you will be able to wea...
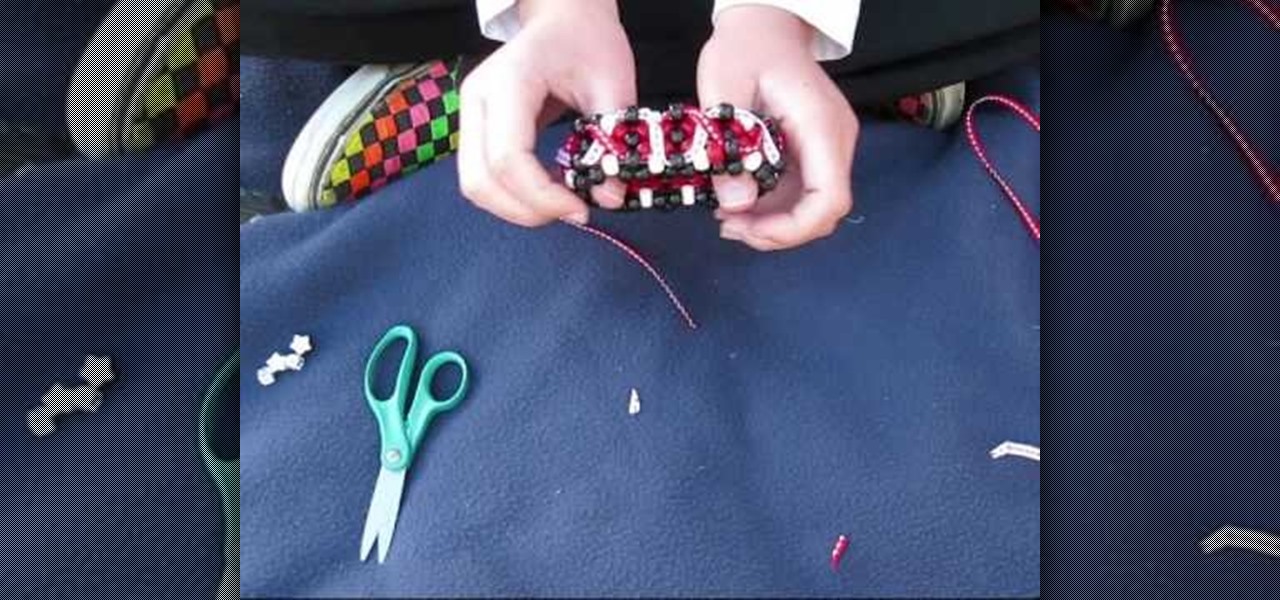
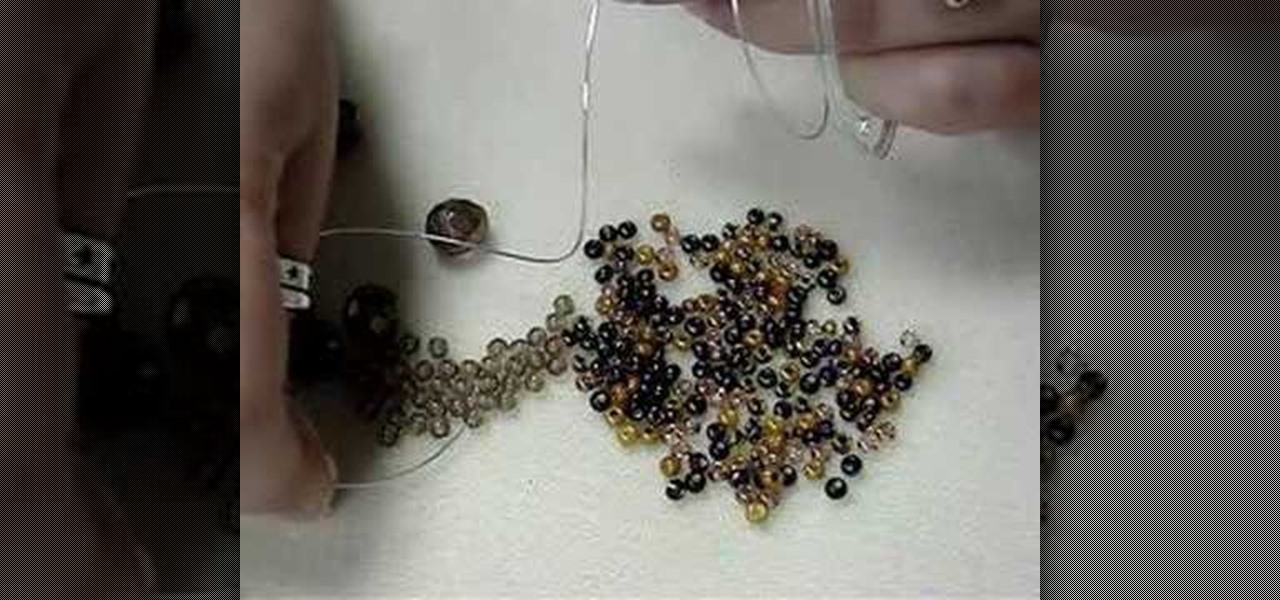
How To: Make a 3D ribbon cuff out of beads
In this tutorial, we learn how to make a 3D ribbon cuff out of beads. First, you will need a cuff that is already made, then use the string that is hanging off the end. Put on one bead, then thread it through the bead next to it. Continue this all the way around the cuff. Now, tie the string off by threading it through the original loop. Now, string a ribbon around the cuff to make an "x" shape, then add in another ribbon around it. You can tie these into a bow at the end so you have a more g...
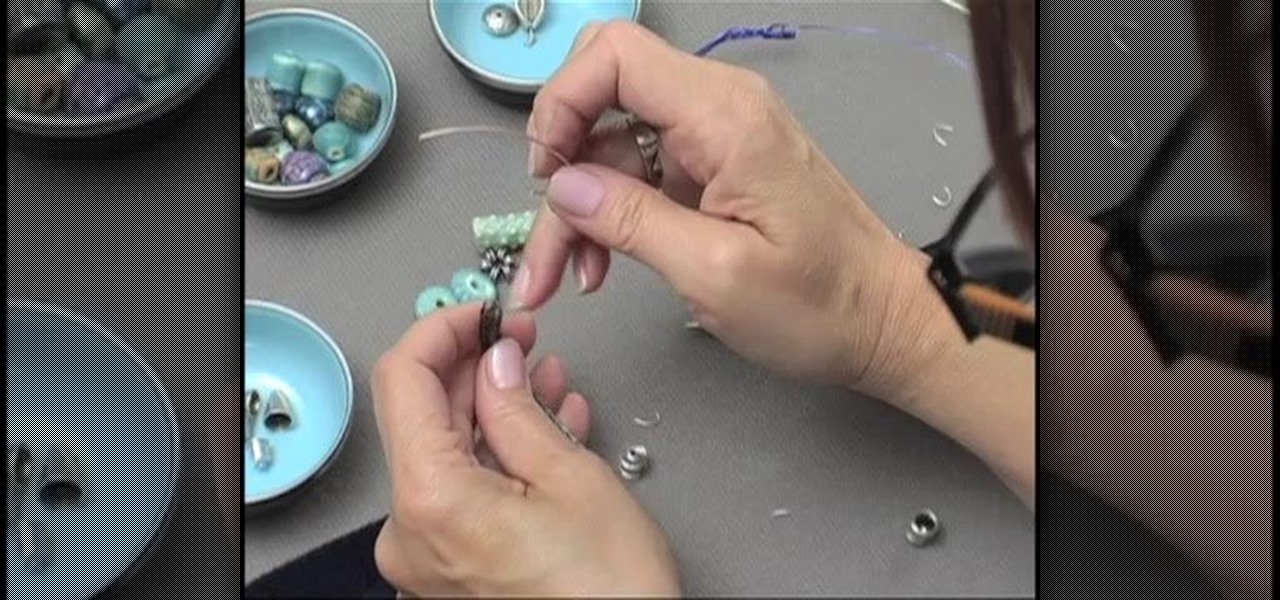
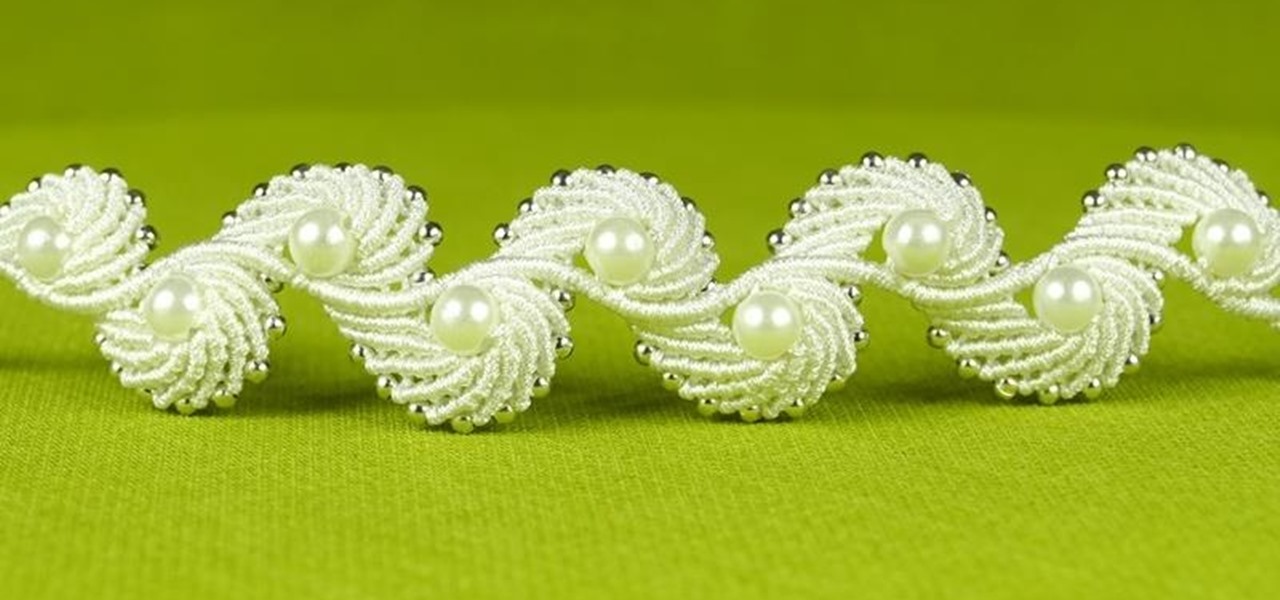
How To: Make a beaded viking knit bracelet
In this tutorial, we learn how to make a beaded Viking knit bracelet. First, pull a craft wire through a draw plate in the largest hole. After this, you will have a knitted weave bracelet. Now, place a hook in the loops at the end of the bracelet, and twist it down, then cut the end of the wire off and place an end cap on. After this, attach different beads and jewels to your bracelet, using wire to keep them in place. These will be one of a kind jewelry pieces that you can't buy in any store...
How To: Organize jewelry with picture frames and teacup screws
We love shiny things. Pretty baubles, Swavarski crystals, long link chains holding art deco pendants. And that's why we also have an extremely messy jewelry storage system. Basicall this is how it goes: we buy a necklace, wear it once or twice, and then toss it into a sort of bin type thingy.
How To: Craft a unique square knot friendship bracelet
Unlike being a square, being a square knot means you're multifaceted, fun, and unique. Of course, we're talking about square knots in friendship bracelet/jewelry making, in which you utilize two different colors of string to create a tight zig zag knot pattern followed by loops.

How To: Craft a briolette (drop bead) crystal necklace
We're totally not lying when we say that the necklace featured in this video sells for upwards of $100 at some fine retailers in Beverly Hills. Composed of a long, sparkly necklace chain and a teardrop shaped pendant attached with intricate wire wrapping, this is a necklace that looks a lot more difficult to make than it actually is.
How To: Craft a turquoise bird's nest ring with Denise Mathews
A bird's nest is the symbol of life, new life, family, and unity. So the motif makes for an excellent pendant to wear around on a necklace, earrings, or bracelet. But don't go to the store and waste your money on name brand jewelry with this pretty motif.
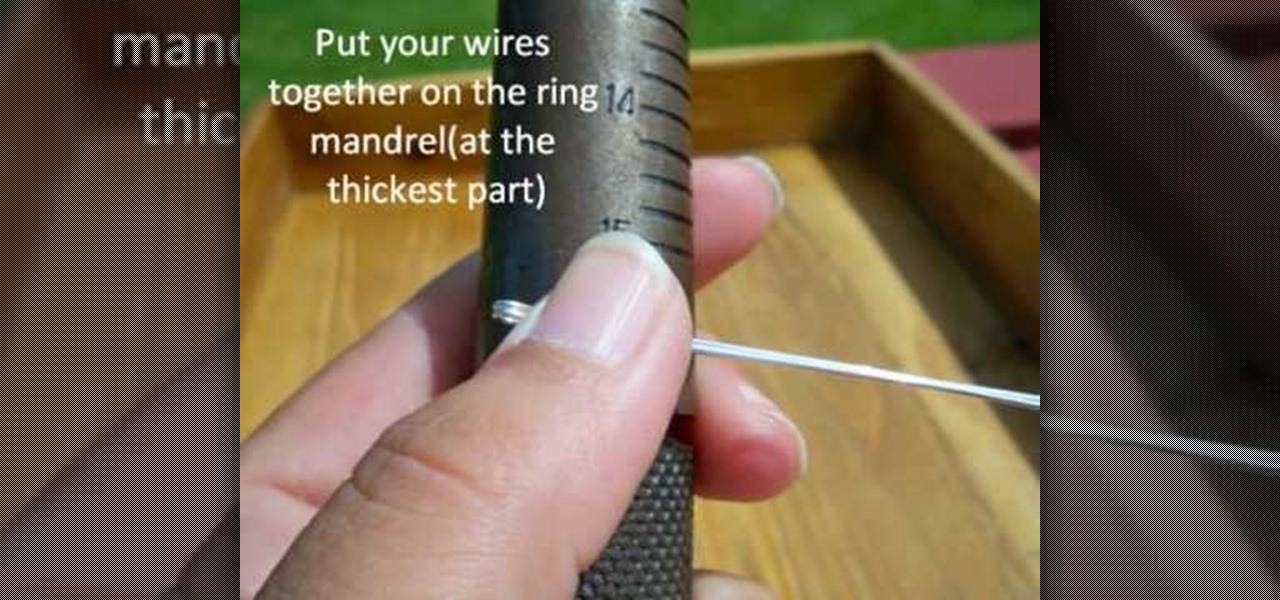
How To: Craft a turquoise nugget bead and wire ring
Walk into L.A. hotspot Kitson any day of the week and you're sure to find a teeming collection of celebrity endorsed jewelry, at least half of which are bohemian and breezy, made out of skilled wire wrapping and exotically colored gemstones. They're pretty, yes, but unless you have a celebrity's budget they're also hard to attain for the average person.
How To: Wire wrap beads, crystals, and stones for beginners
Learning how to wire wrap jewelry is one of the most important skills you need to learn on your way to achieving jewelry making enlightenment. Wrapping with wire, whether it's attaching a stone to a pendant with an intricate, flowery wrap or adding a head pin to a crystal, allows you to attach adornments to your necklace or earring, something you'll be doing over and over again as a jewelry maker.
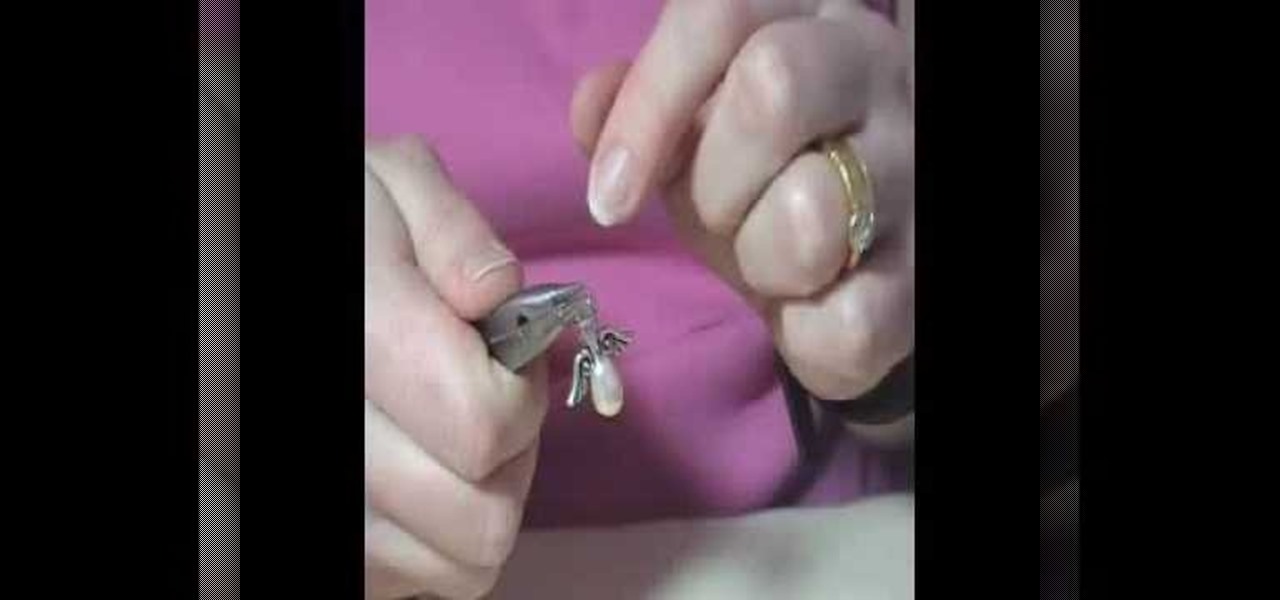
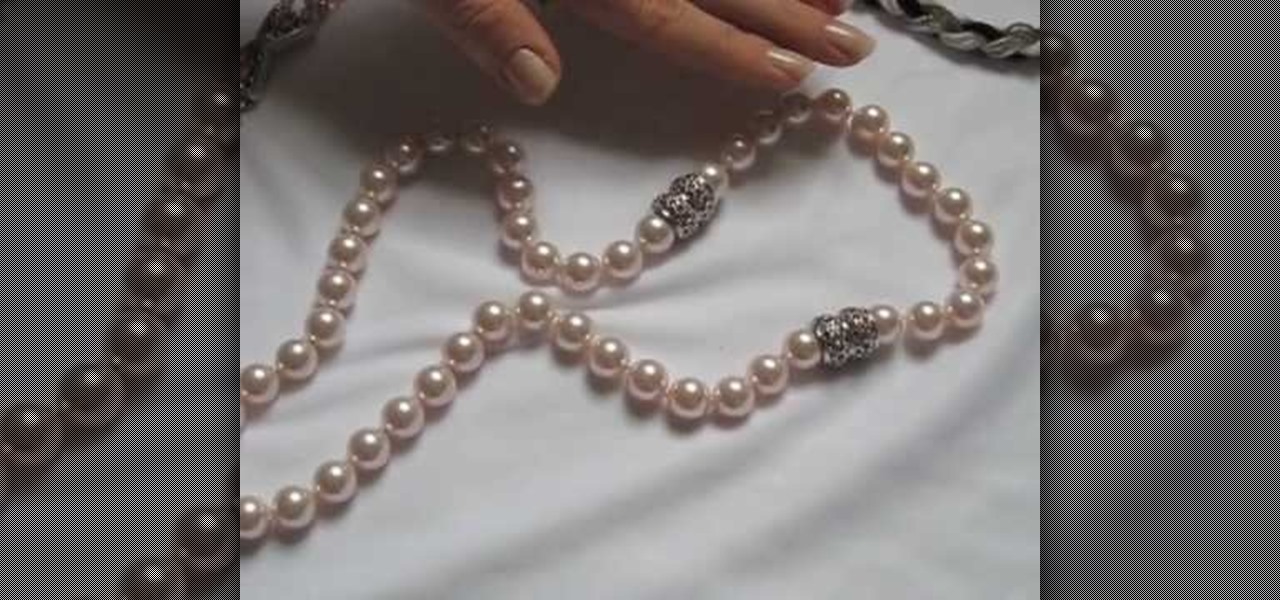
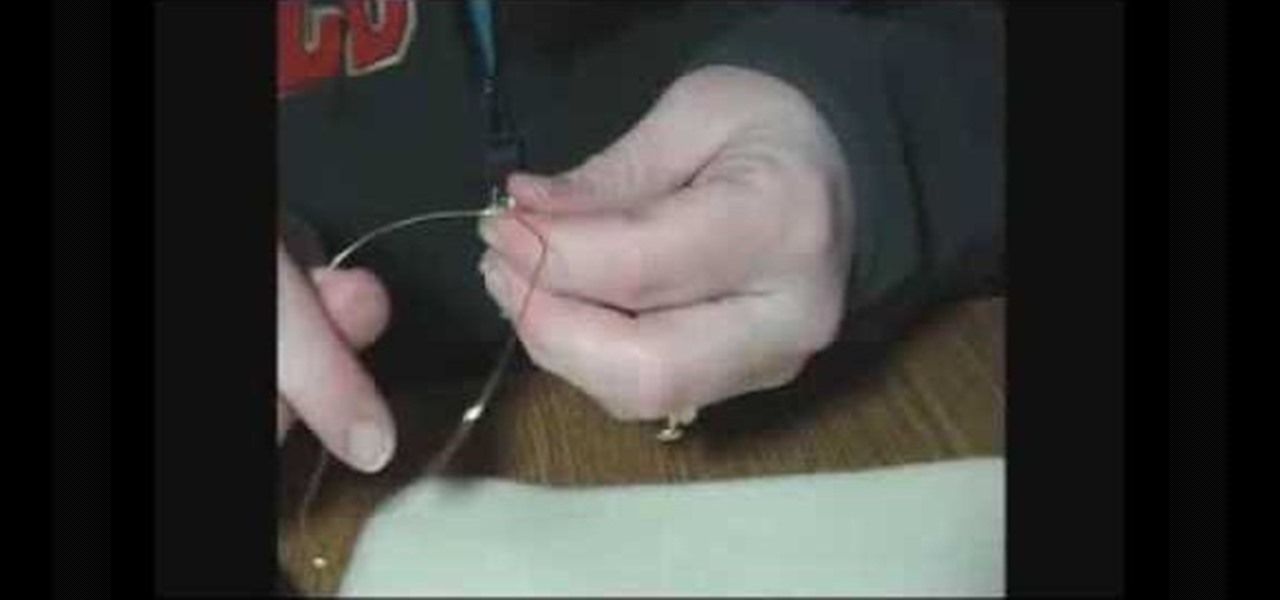
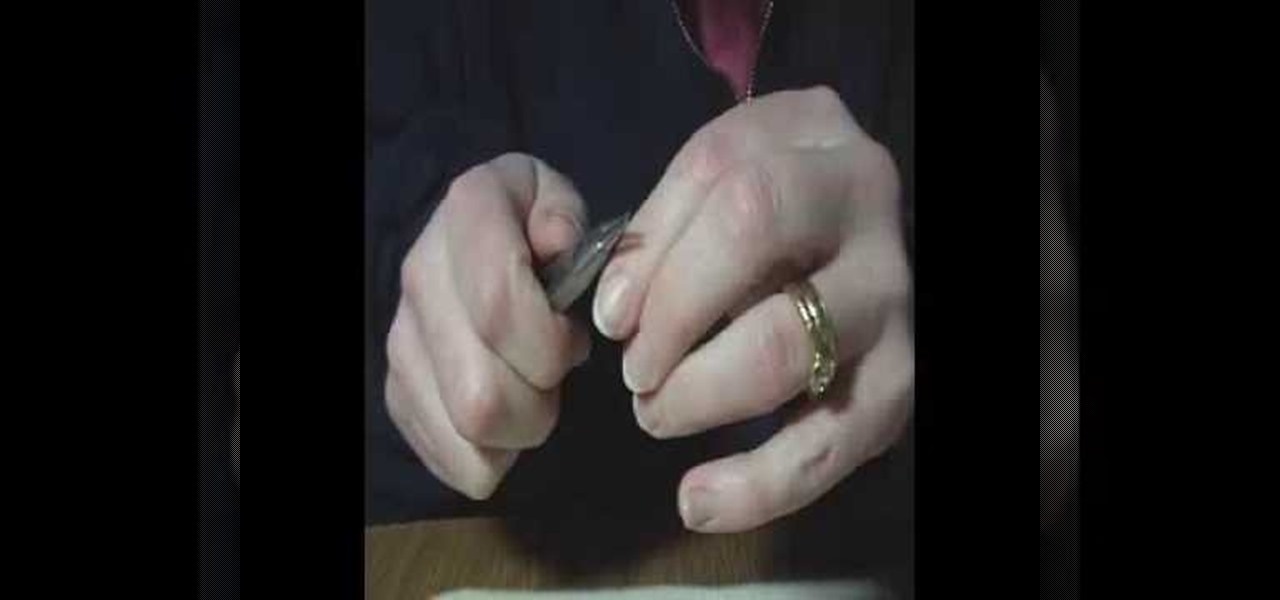
How To: Make an angel charm with a drop pearl for necklaces
Whether they exist or not, people believe in the spiritual power of angels. That's why, if you walk into any Spencer's Gifts or novelty store, you'll always manage to find tiny wallet-sized "guardian angels." You apparently slip these in your wallet to feel guided and protected.
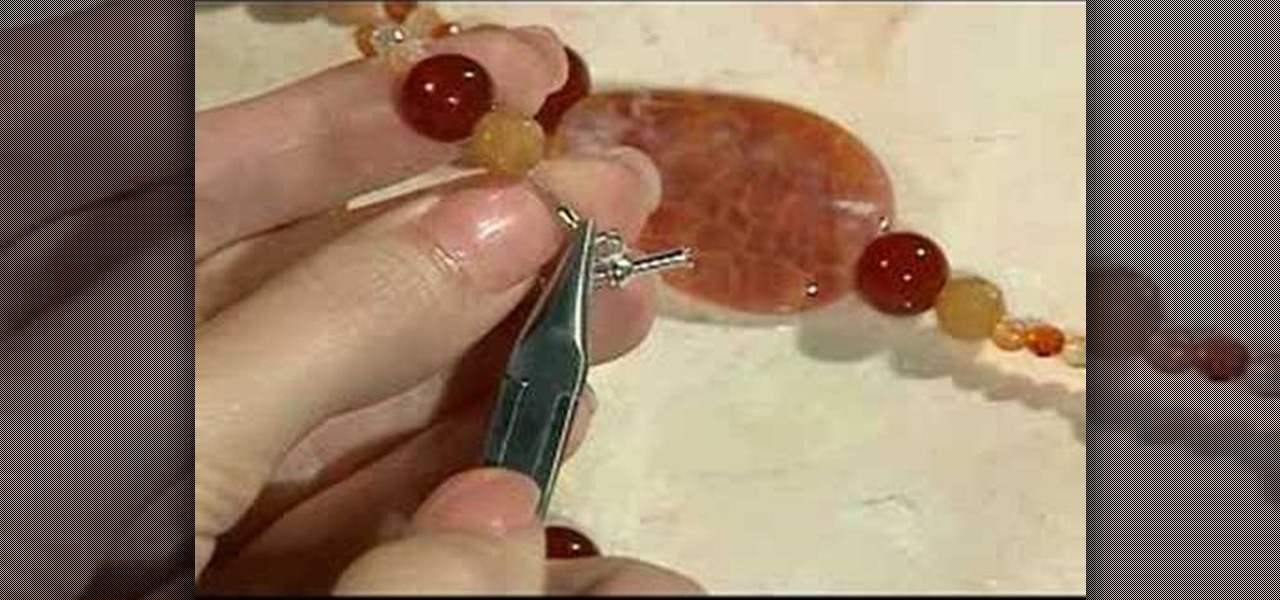
How To: Attach a charm on a chain
In this tutorial, we learn how to attach a charm on a chain with Anna. To begin, grab a pair of pliers in each of your hands. Now, pick up the chain with them and gently lift up one side of the flap. After this, pick up your charm and attach it onto the chain. When finished, attach the chain onto the larger chain (bracelet or necklace), then gently close the chain link back up. You will want to gently press the opening back down leaving no gaps in it, or the chain will come loose and you will...

How To: Make a scalloped edge bobby pin accessory
In order to make a scalloped edged bobby pin accessory, you will need the following: wire, a bobby pin, small beads, a ruler, and scissors. Cut about 2 feet of wire. Fold the wire in half. Lace the wire through the bobby pin. Anchor it by wrapping it around the exterior. Then, repeat with the other end of wire. You will repeat this, in order to secure each bead. Begin sliding the beads on the wire. Group three at a time, remembering to anchor them. When you reach then end, begin scalloping. A...
How To: Create a floral antique photo stand
This video tutorial is in the Arts & Crafts category which will show you how to create a floral antique photo stand. The photo stand can be used to place photos or picture cards and it also doubles up as a candle stand. A picture holder measures 4 1/2 inches from top of the ring to the top of the stand. But, you can have different length. Take a lid of a tin and drill a small hole in the center. Place a wire through the hole. Apply generous amount of glue on the outer side of the lid. Sprinkl...
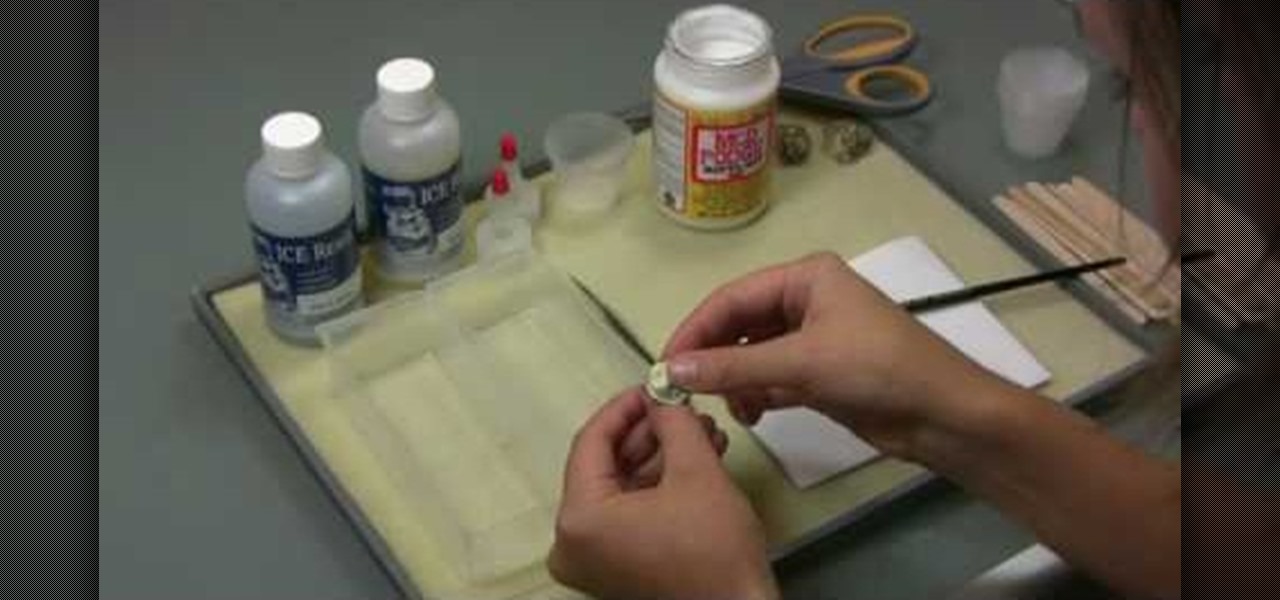
How To: Use ICE Resin to make resin jewelry
In this Arts & Crafts video tutorial you will learn how to use ICE Resin to make resin jewelry. ICE resin should be used in a well ventilated room and be sure to follow manufacturer's recommendations. The kit comes with mixing cups and sticks. Additionally you will need a paint brush, scissors, sponge and needles. Once you mix the resin and the hardener, you got to use it within 30 minutes. Curing time is 24 hours at 72 degrees Fahrenheit, which is the room temperature. You can make it faster...
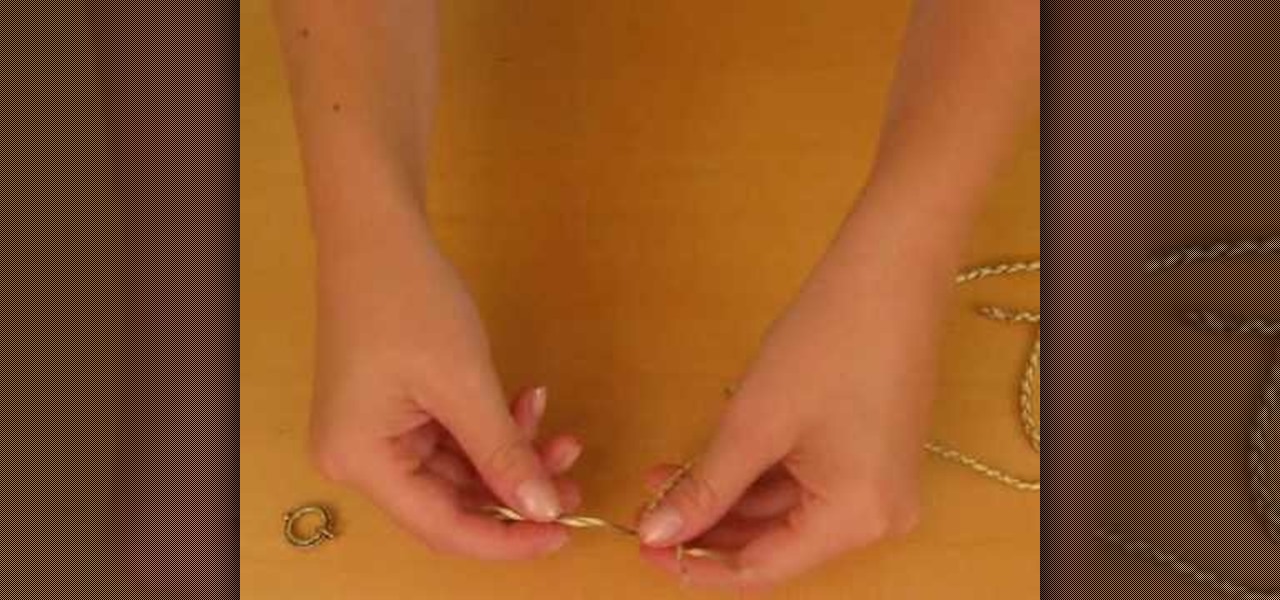
How To: Make a nautical inspired braided bracelet for summer
In this tutorial, Missa shows you how to add a cute nautical bracelet to your look and stand out this summer. This bracelet is easy to make yourself and quick to do. Give yourself a little bit of the sea with this adorable piece of jewelry.
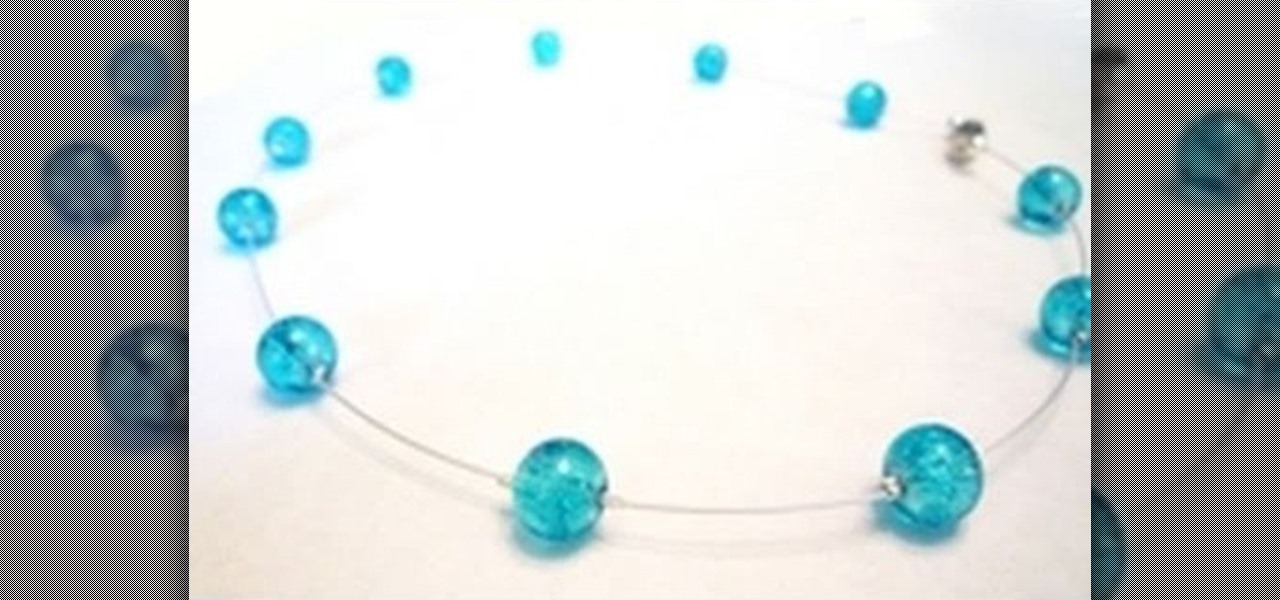
How To: Make a floating illusion style necklace
In this tutorial, we learn how to make a floating illusion style necklace. You will need: beading wire, crimping pliers, wire cutters, beads (your choice), crimp beads, crimp covers (3mm), and a clasp (barrel clasp). First, cut your beading wire to the length you want your necklace, add 3-4 extra inches. Next, space your beads out on a beading board evenly, 1 1/2" apart. Now string a crimp bead onto your wire and take the end of the wire and string it through the crimp bead on the opposite si...
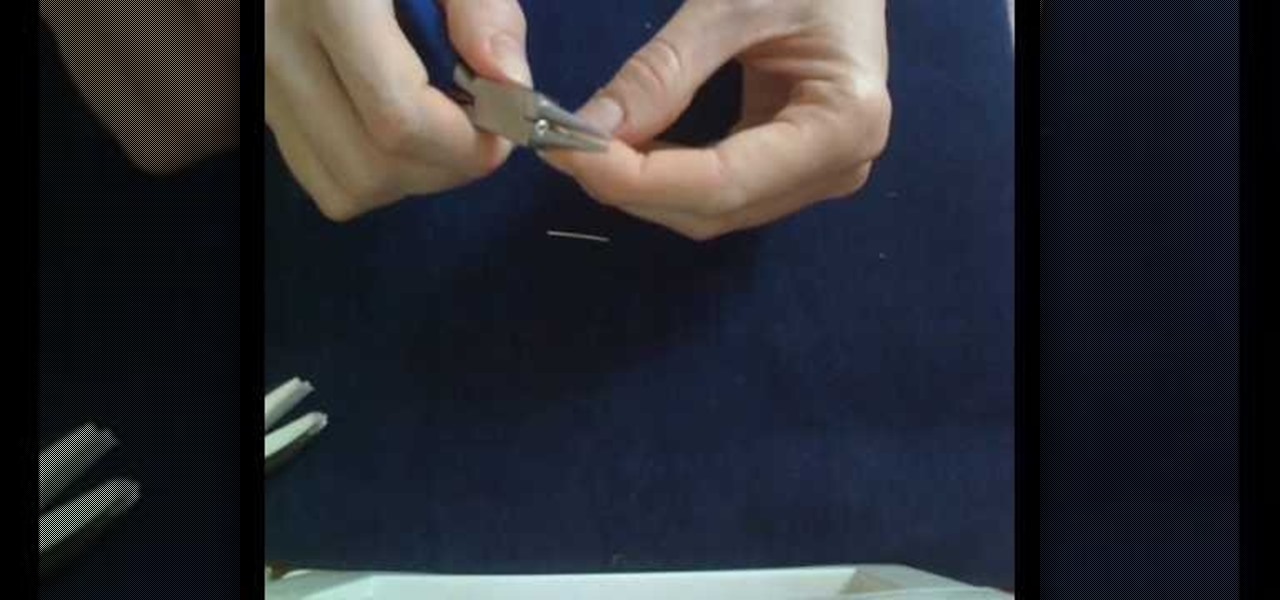
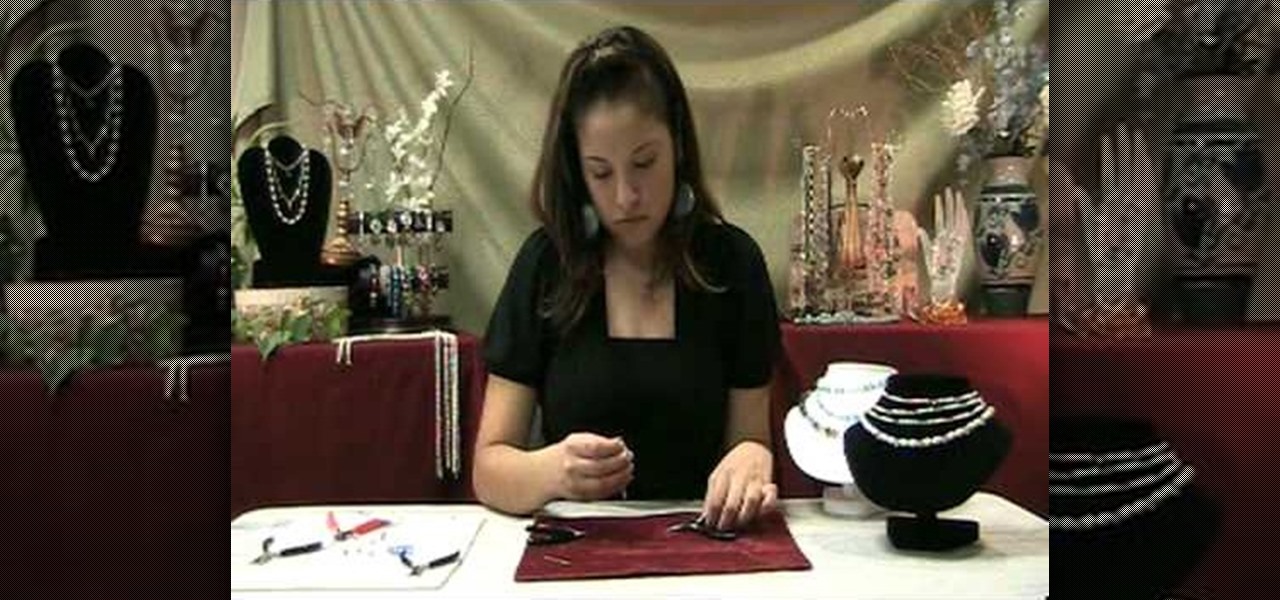
How To: Make a handforged silver clasp
Jessica VanDen shows us how to make a hand forged silver clasp in this video. Start off with two pieces of sterling silver wire. Now make a simple S clasp with pliers. Then grasp the wire at the thick end and wrap it around until the long piece meets the curve you made. Next, wrap a curve around the end of the wire with pliers to make the clasp. You will need to put the chain through it to attach it. Make sure your chain can fit through the loop that you have made. Now you're finished and mak...
How To: Make a multilayered beaded memory wire bracelet
Jewelry making is a fine art, with some jewelers devoting their entire lifetimes to learning how to perfect beading, wiring, sautering, and arranging. But that doesn't mean you can't make a beautiful bracelet if you're a jewelry making beginner!
How To: Make a friendship bracelet with dots and diamonds
When we're talking friendship bracelets, by no means are we refering to those glittery Claire's posers that are always buy one get one free. Rather, we're talking about really pretty and sentimental bracelets that you can make on your own.
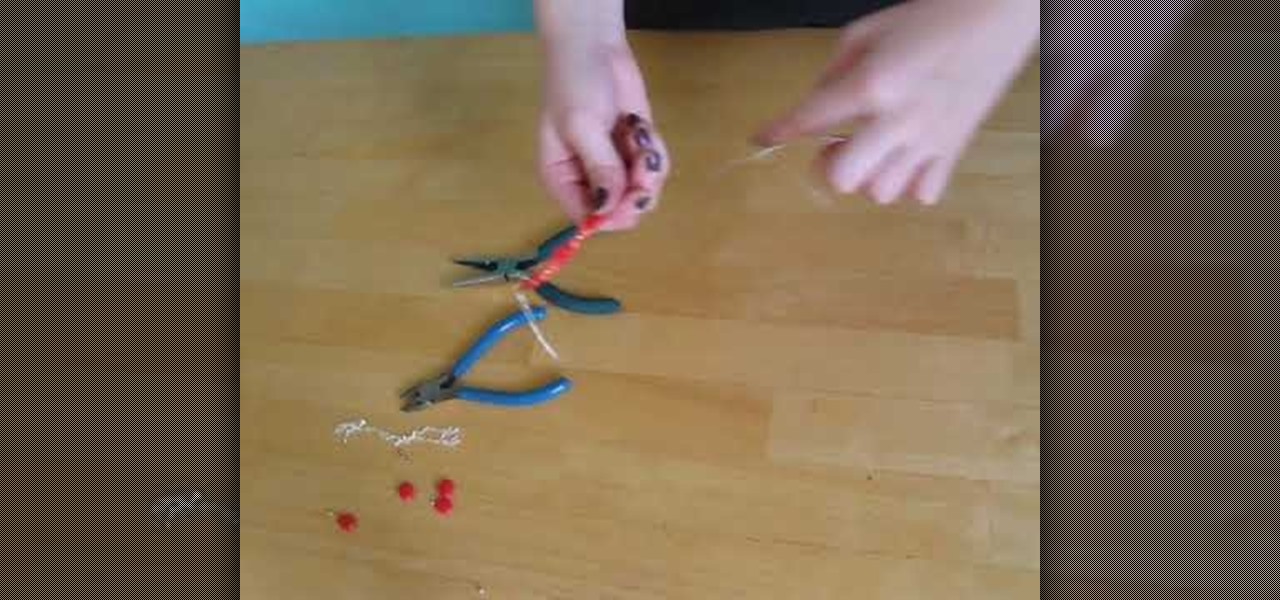
How To: Make a claspless lariat necklace
Missa teaches us how to create a claspless lariat necklace in this video. First, cut your wire so it's 20 inches long and then make a loop on one of the ends, and attach a chain to it. Now put on the end bead and attach the chain to the metal wire. Now make a loop around the end where the bead is. Now take pliers and clamp the wire on the end down. You can now take wire cutter and cut an inch down on the chain and cut it off. You can now apply your favorite beads to the wire, and any pendants...

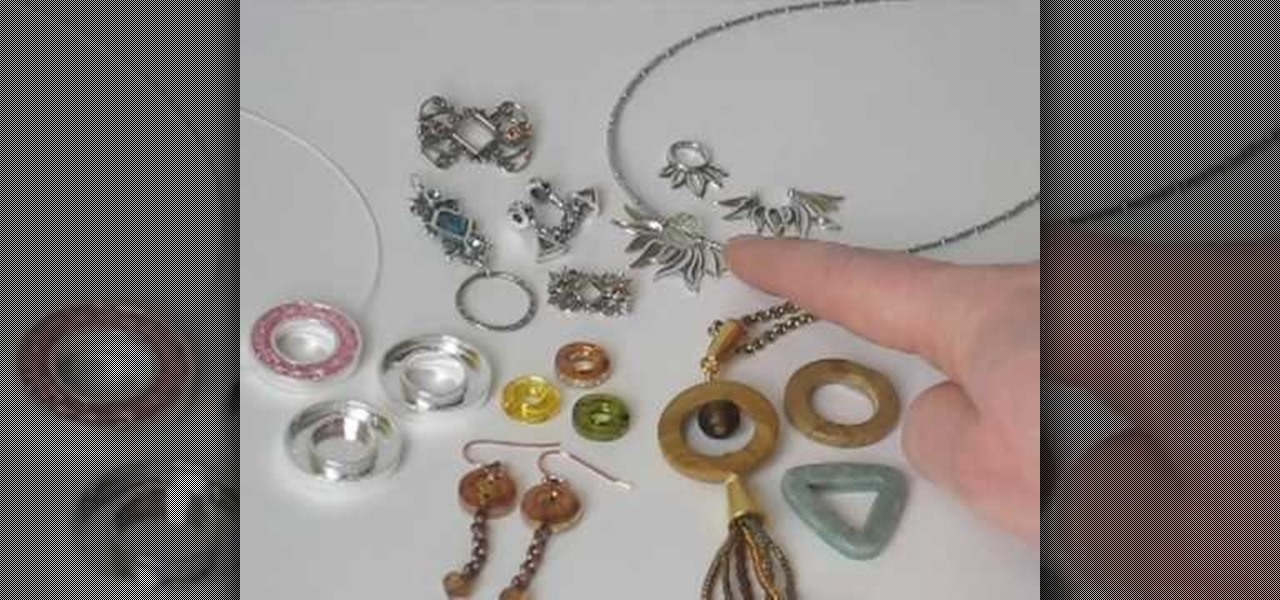
How To: Make a jewelry hairpiece out of broken jewelry
In this tutorial, we learn how to make a jewelry hairpiece out of broken jewelry. You will need: hot glue gun, feathers, pieces from a necklace, a plain hair barrette, and anything else you can find. First, you will think about how you want to design your barrette and what you want it to look like. Next, take your hot glue gun and glue on each thing you want and where you want it. If something is too long, you can cut it short so it fits on perfectly. When finished, make sure the glue is drie...

How To: Make simple Fourth of July inspired earrings
Celebrate the 4th of July by making holiday earrings. You will need:
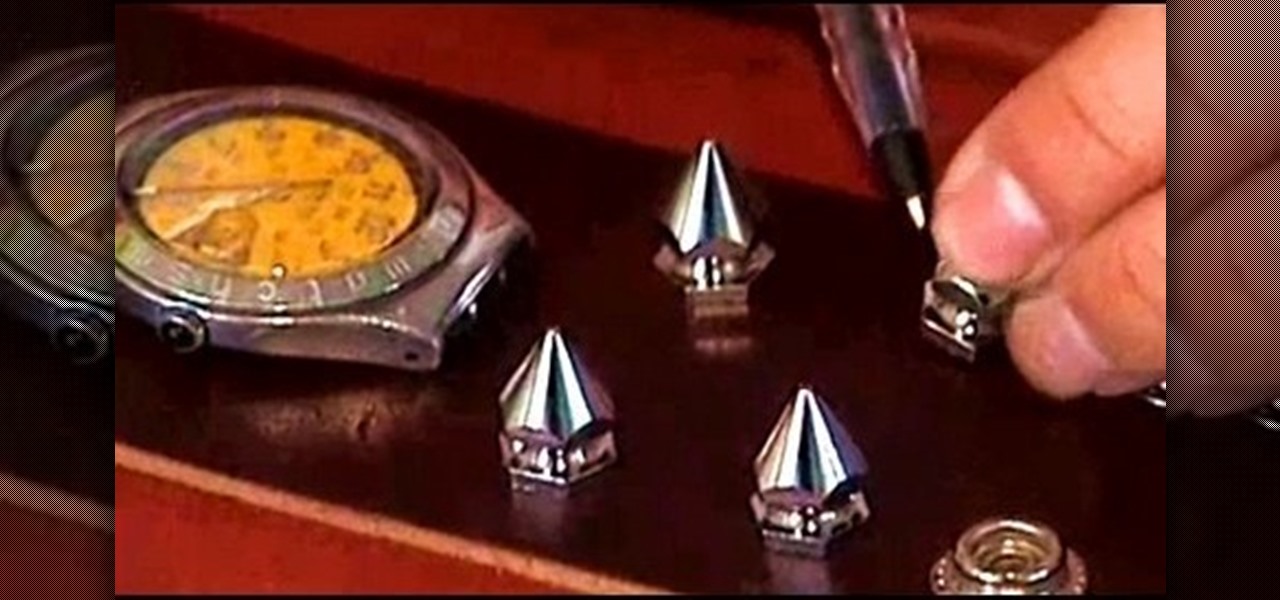
How To: Make an easy punk studded watchband with Threadbanger
In this tutorial, we learn how to make a studded watch out of an old watch. First, take your old watch and remove the straps from it. Now, place the watch center onto a new wrist band. Next, apply spikes onto the wrist band by poking holes through the leather and shoving the spikes through. Now, string wires through the watch center and poke them through the leather wrist band and use pliers to bend them into place where the wires won't poke into your skin. Use a screwdriver to put the bottom...
How To: Clean silver jewelry the easy way without polish
In this video tutorial, viewers learn how to easily clean sterling silver. The materials required for this task are: ceramic or glass bowl, tablespoon, hot water, baking soda and aluminum foil. Begin by crumpling up the aluminum foil and place it at the bottom of the bowl. Then place 1-2 tablespoons of baking soda on top of the foil. Now fill the bowl 3/4 full of hot tap water. Then place the sterling silver into the bowl and leave it in for about 5 minutes. This video will benefit those view...

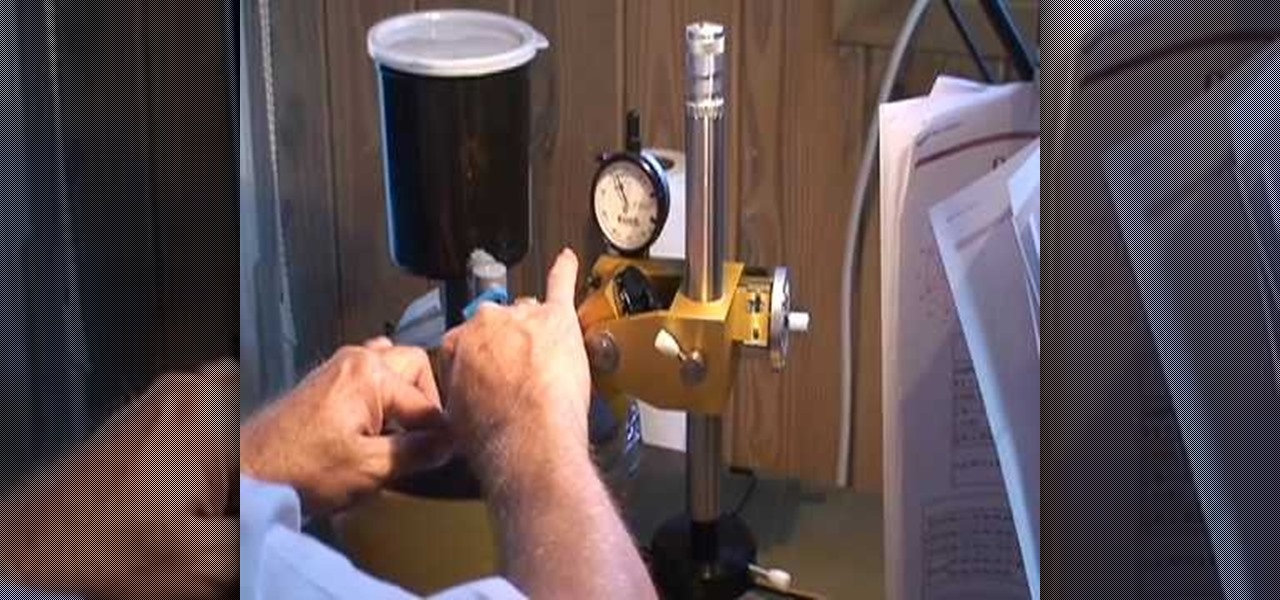
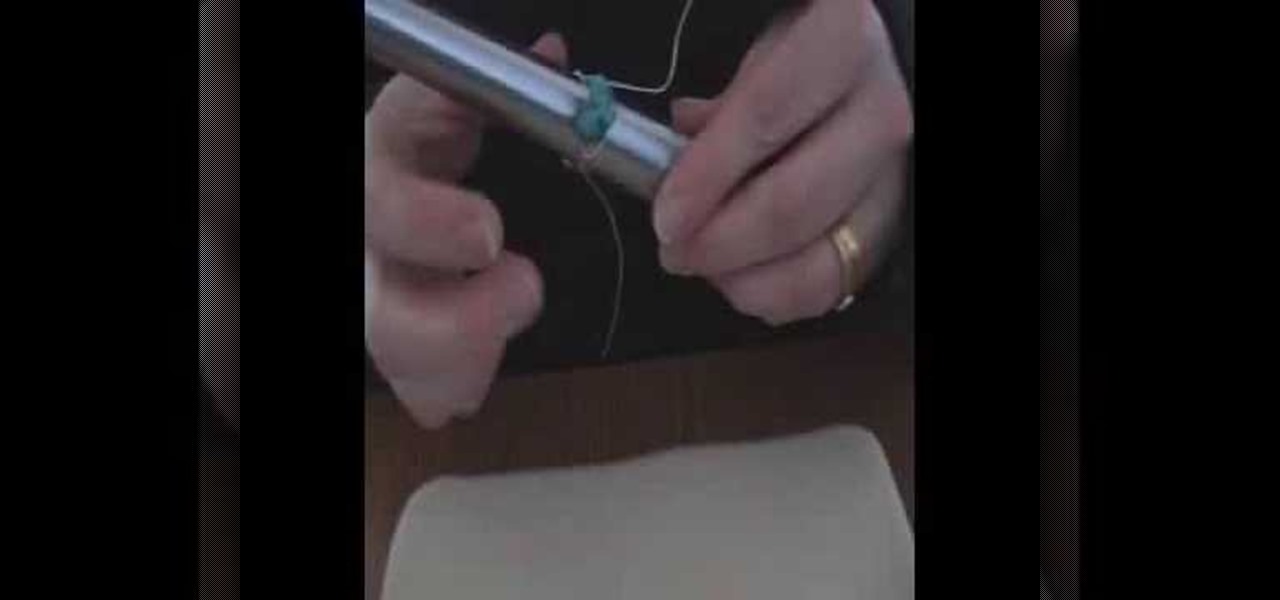
How To: Work with jewelry making memory wire
In this tutorial, we learn how to work with memory wire to make jewelry. This is a coil material that remembers its shape and comes in a variety of different sizes. First, decide how thick you want your jewelry piece to be, then cut the excess wire with wire cutters. Next, apply a drop of superglue to one end of the coil followed by a Memory Wire end cap and let dry. Now, string your beads onto the wire. When finished, put a bead stopper onto the wire and apply glue to the very end with anoth...
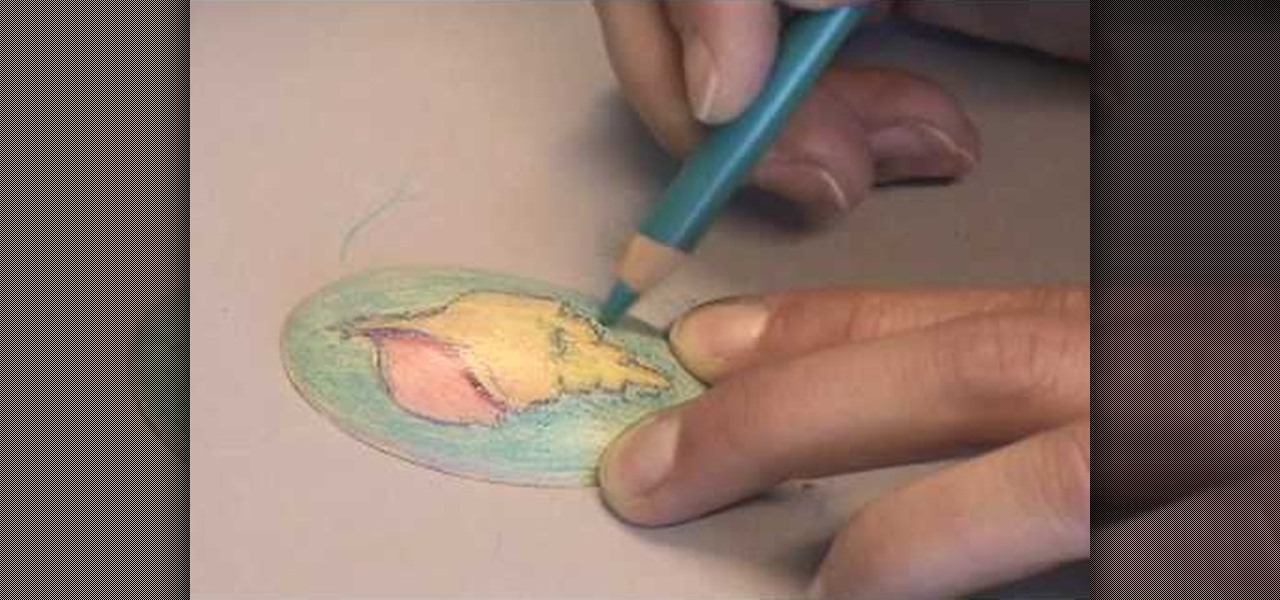
How To: Color copper metal with color pencils for jewelry
It seems contrary to what you instinctually believe is true, but you can actually mix two modes of art - coloring pencils and metal from jewelry making - and fuse them into one work of jewelry.
How To: make a friendship bracelet with vertical stripes
If you think about it, it's actually easy to make friends and acquaintences - you move to a new town or go to college and you're immediately immersed in the culture and the people around you. Those in close proximity you'll definitely talk to an a regular basis if not establish a friendship. But true friendships which lasts years, decades, and even lifetimes are extremely hard to come by.
How To: Craft a golden Roman wire cuff bracelet
The ancient Romans were well known for their decadence. Whether it was coddling enough vino to fill every barrel in donkey kong or having nightly orgies with any partner of their choosing, they knew how to party and could put any frat boy to shame with their decadent endurance.
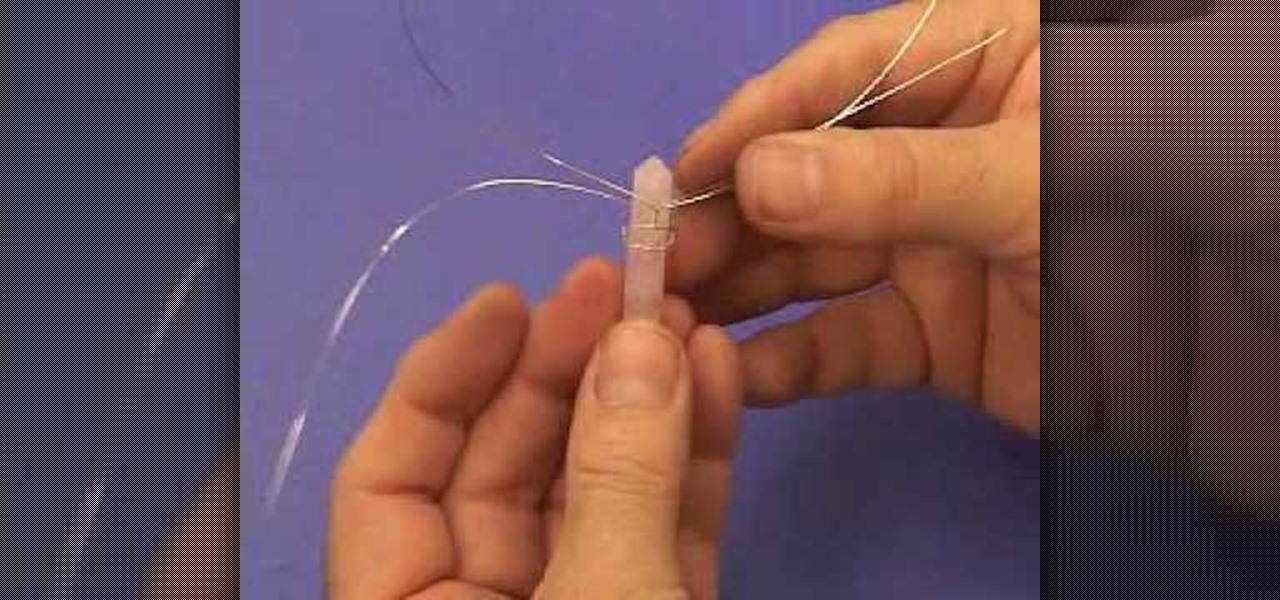
How To: Craft a crystal in a wire basket jewelry pendant
You know those trendy little jewelry stores that line Melrose and Robertson Blvd., filled with gorgeous yet offbeat knick knacks boasting sleek '60s contours and not too much bling? Well, you can create a similar "pretty, but not too pretty" piece of jewelry by watching this tutorial.
How To: Create a rounded wire for gemstone earrings
Hitting up antiques stores or flea markets every now and then engenders eccentric rewards of odds and ends, pretty semiprecious stones that look dazzling but have no home.
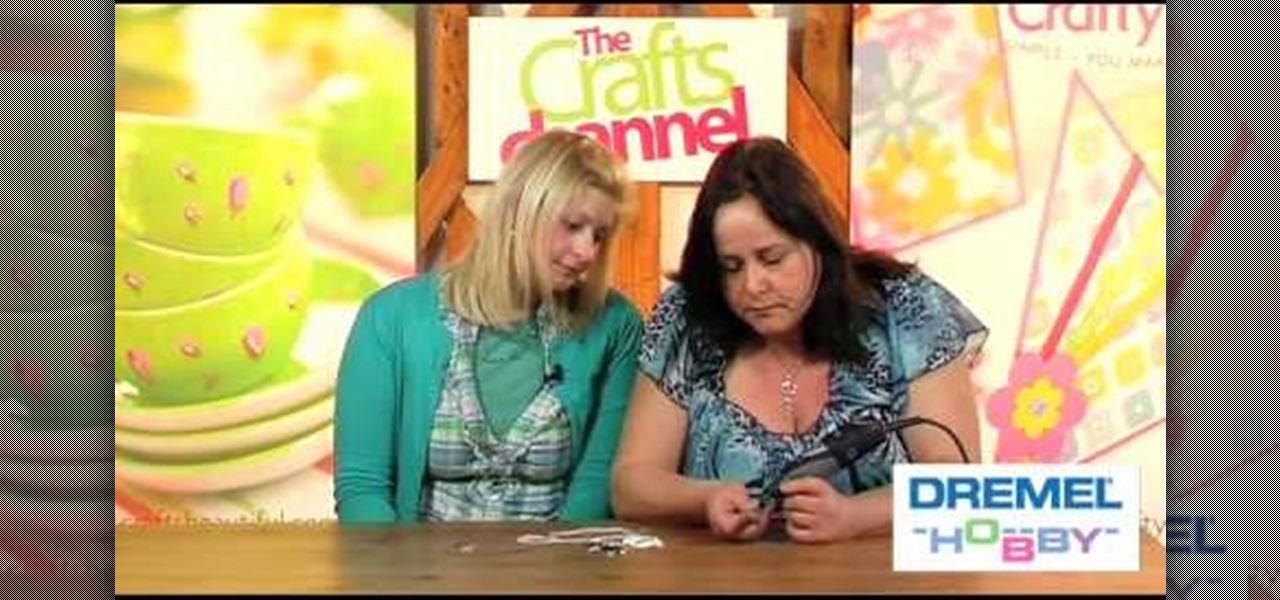
How To: Create seashell jewelry with the Dremel 300 multi tool
The Dremel 300 series multi tool is basically a shrunken down version of a power drill. With a tinier drill and several different speeds, this tool can be used to create holes in even the toughest of surfaces.