Hot Jewelry Posts


How To: Make a beautiful pendant with a head pin
Pendants are like the stars of your necklace. Without them, you'd only have a boring necklace chain or cord. Pendants add excitement to a necklace as well as show off some of your individual style and charm.
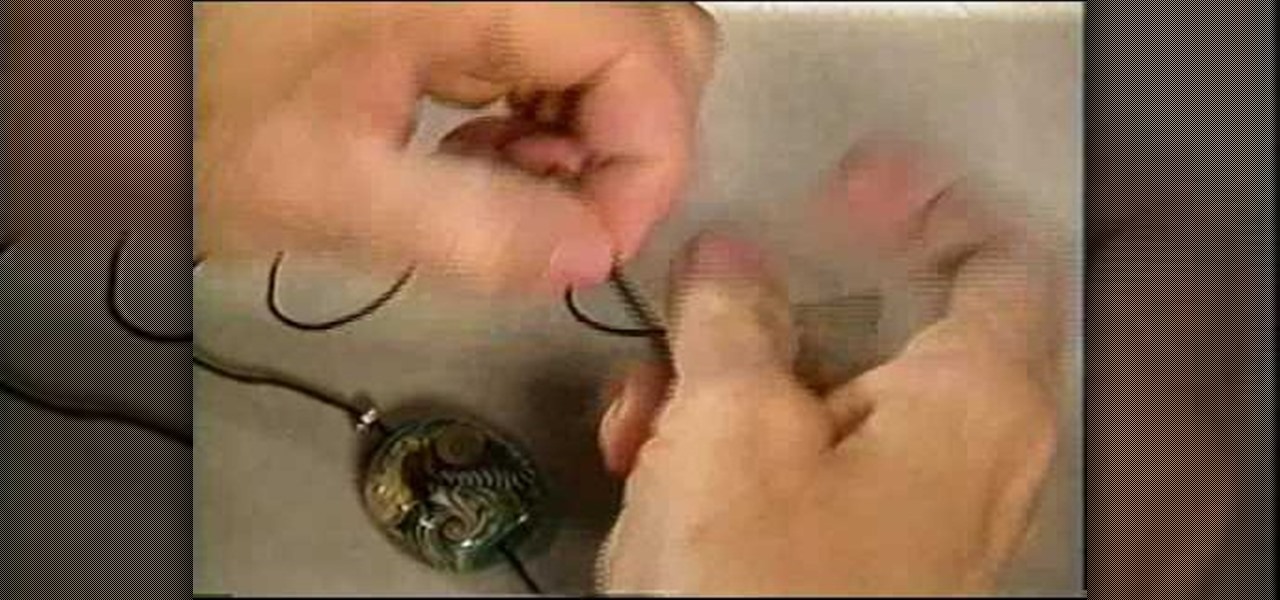
How To: Make a sliding knot necklace for heavy pendants
The phrase "you can never have too much of a good thing" isn't particularly true when it comes to jewelry. While we love our bohemian tree pendants and dangling chandelier earrings, we don't like the fact that they weigh five pounds and pull down on our ears and/or necks.
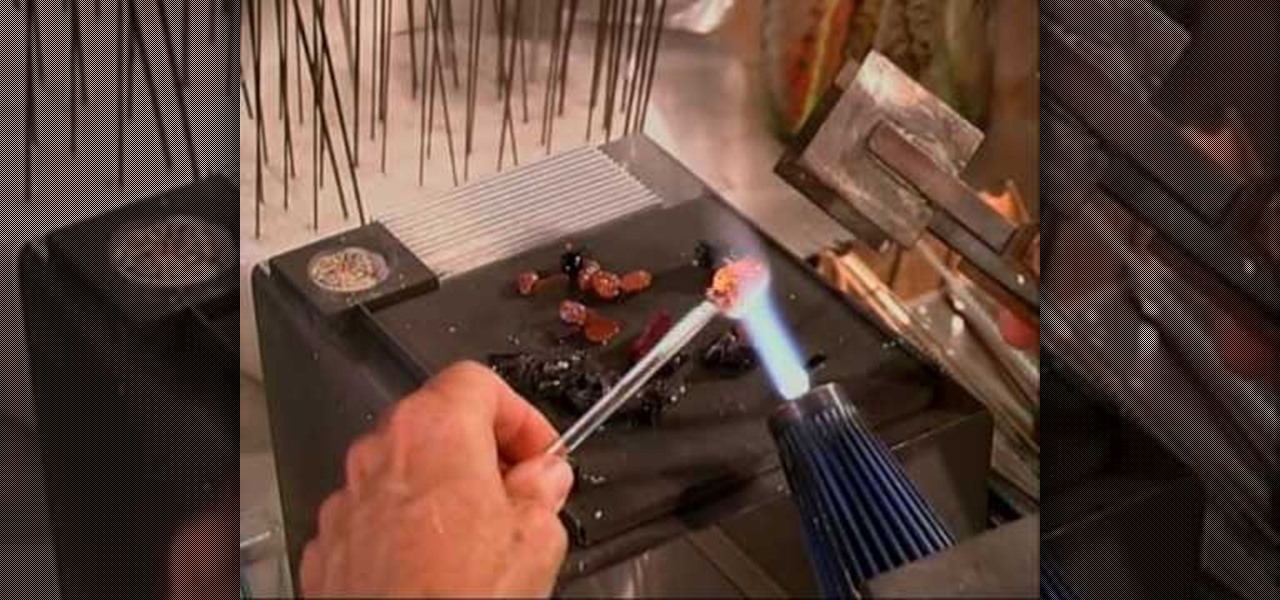
How To: Make gold stone stringers by casing it in clear glass
These gold stone stringers look like glistening incense sticks and are incredibly beautiful. Check out this jewelry making tutorial to learn how to turn gold stone lumps in blue and an orangey yellow into long sticks, or stringers, made of these melted lumps.
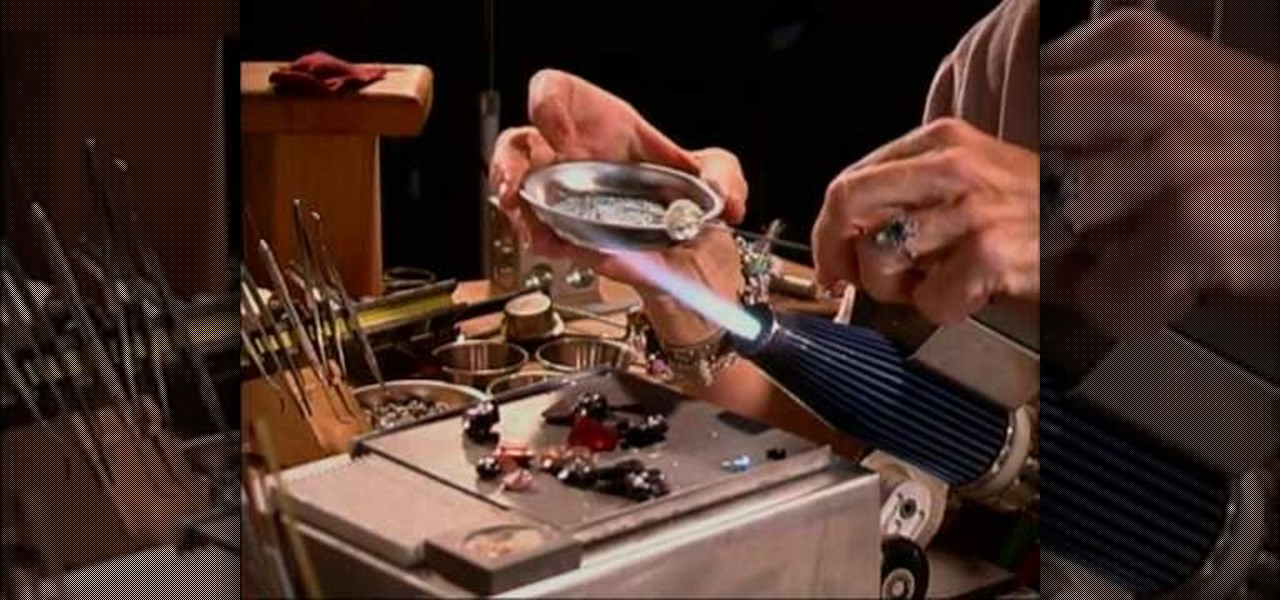
How To: Make a soothing water bead using clear glass
Water beads are gorgeous, luminous beads with surfaces that look like waves on a pond, teeming with various hues of robin's egg blue, sea foam, white, and deep navy blue. Water beads can actually be made yourself from clear glass beads.

How To: Make a blue floral pendant necklace with two clasps
Don't be a bore and think that all necklaces have to end with a single clasp! While single clasp closures are common, they can also be a pain sometimes to open and close (if you've ever had a tight necklace that moved during the day to the back of your head and you didn't know where the clasp went then you know what we're talking about).
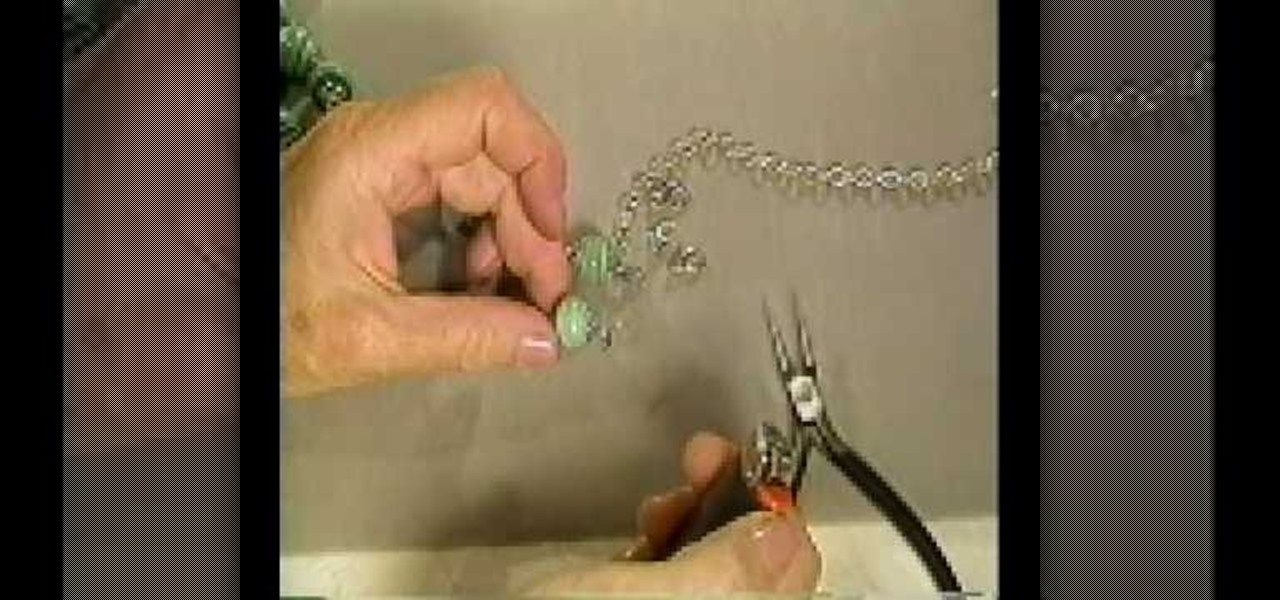
How To: Craft a knotted bead necklace with a lobster clasp
When it comes to jewelry making, knots are one of the easier techniques for adding a prety motif while creating a harmonizing feature for the rest of the elements that go on your necklace/bracelet.
How To: Make jump rings to make chain mail jewelry
Jump rings are super functional in jewelry making, allowing crafters to connecting disparate sections of a necklace easily and also serving as their own minimalist decor. If you're into the look of chain mail (which is just that - lots of chains connected together via jump rings), then you should check out this video to learn how to craft your own jump rings.
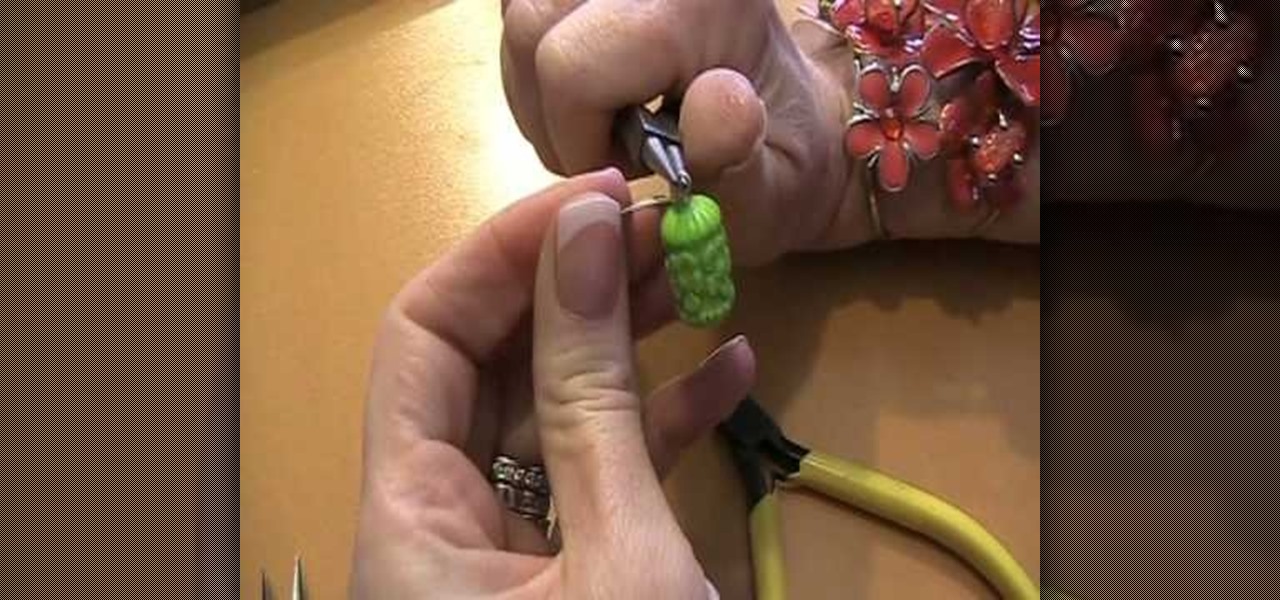
How To: Make a coiled top dangle with pliers for jewelry making
When it comes to making earrings or necklaces, you could take the easy way out and just add a normal head pin to the top of your bead or pendant. But what if you like to create motifs with the wire itself? A great way to start embellishing with wire is by creating this coiled top dangle, or a wrapped head pin.
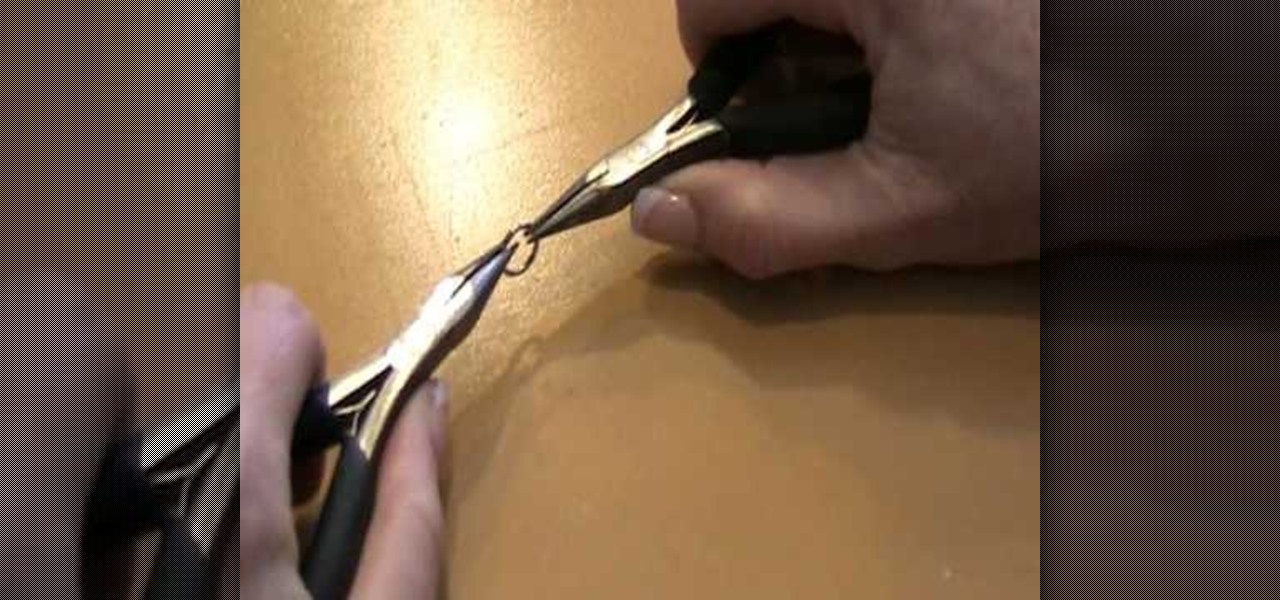
How To: Open and close a jump ring with chain-nosed pliers
Jump rings serve a variety of purposes in jewelry making, the most common of which is connecting adjoining sections of a necklace, bracelet, or earring. If you would like to integrate jump rings into your jewelry crafting then check out this video to learn how to open and close a jump ring using two pairs of chain-nosed pliers.

How To: Attach an EZ-Crimp™ to a wire for jewelry making
An EZ-Crimp is a very useful tool in jewelry making; with a rounded loop on one end and a flat rectangulr space equipped with a hole on the other, it allows for the attachment of a piece of wire (inserted through the hole) and can be used to close a necklace.
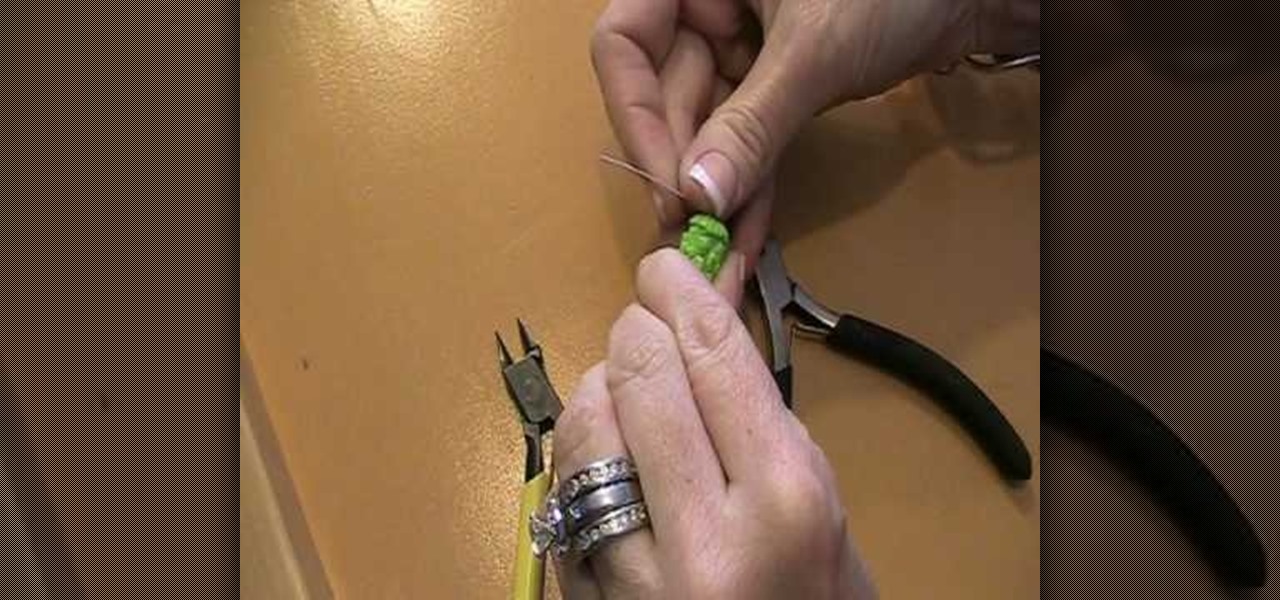
How To: Make an easy looped headpin for jewelry making
What exactly is a head pin? In jewelry crafting, a head pin is the small wire loop on top of a bead that allows the bead to be attached to a necklace or an earring. If you're looking to get into making your own jewelry, then creating a headpin is one of the most basic skills you'll utilize for the rest of your career.
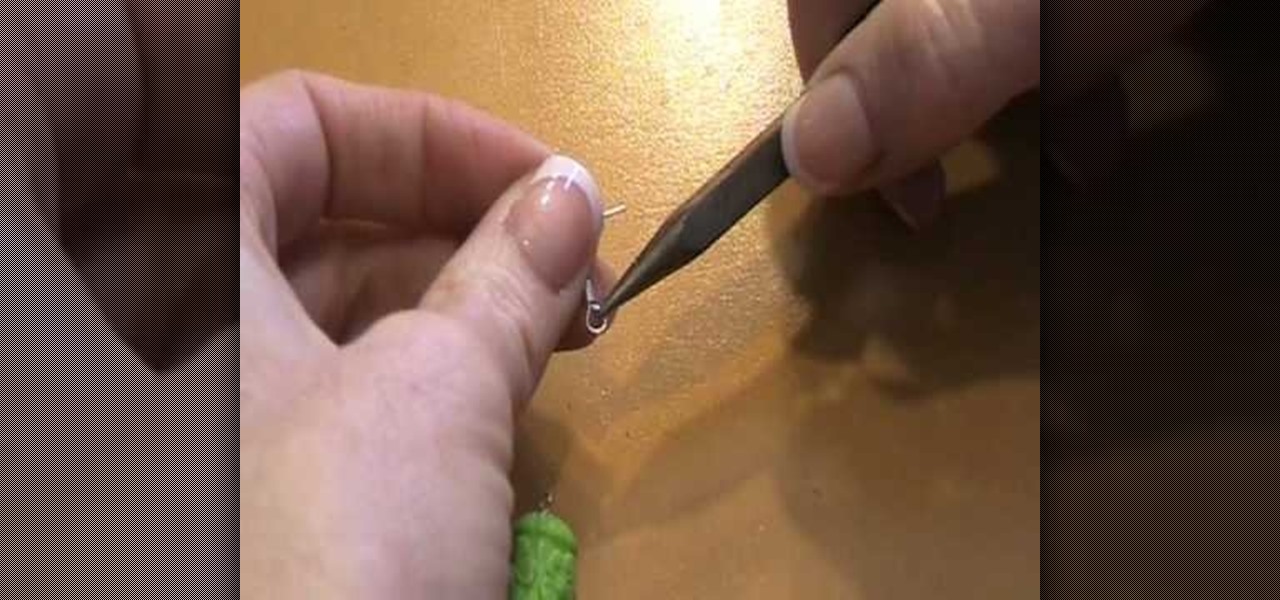
How To: Attach a pendant to an earring hook easily
What is the absolute, most basic thing you need to know in order to asemble an earring? Attaching the earring to its earring hook, of course. By learning how to do this, you'll be able to create a neverending host of funky earrings, from cool guitar pick earrings to drop pendant earrings.
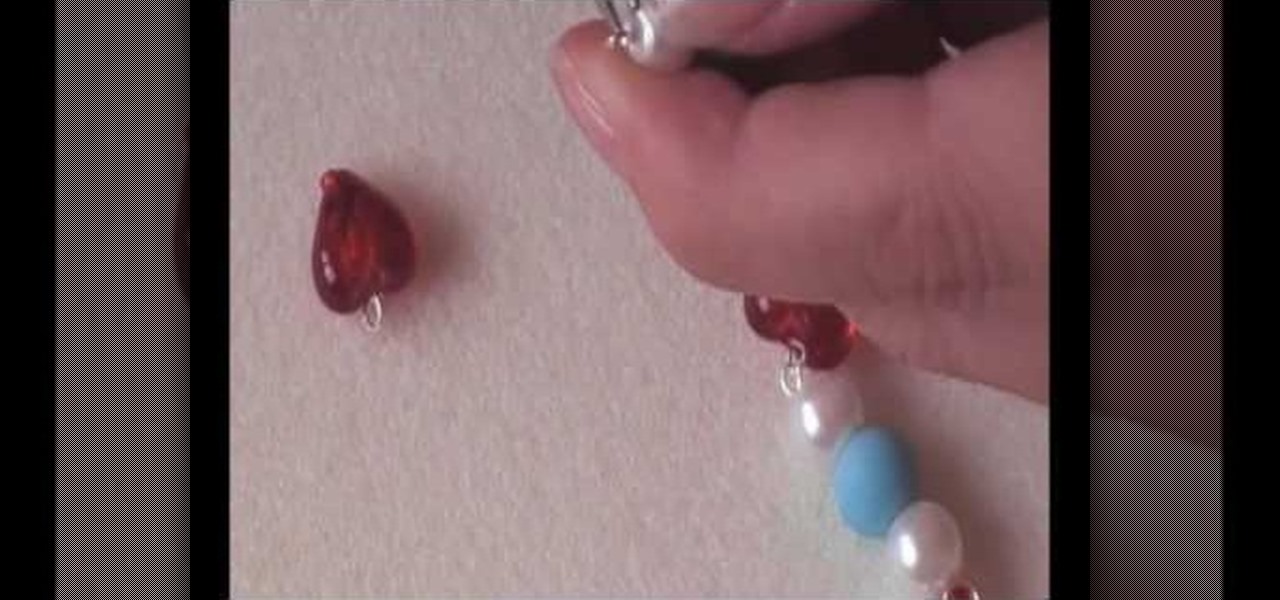
How To: Make cute "Alice in Wonderland" Queen of Hearts inspired earrings
The Queen of Hearts would simply fawn over this pair of "Alice and Wonderland" inspired earrings, especially since a pair of red heart pendants is the focus. Pretty and uber feminine without being over the top, you can flaunt these earrings at any occasion, from school to a midafternoon tea party with the Hatter.
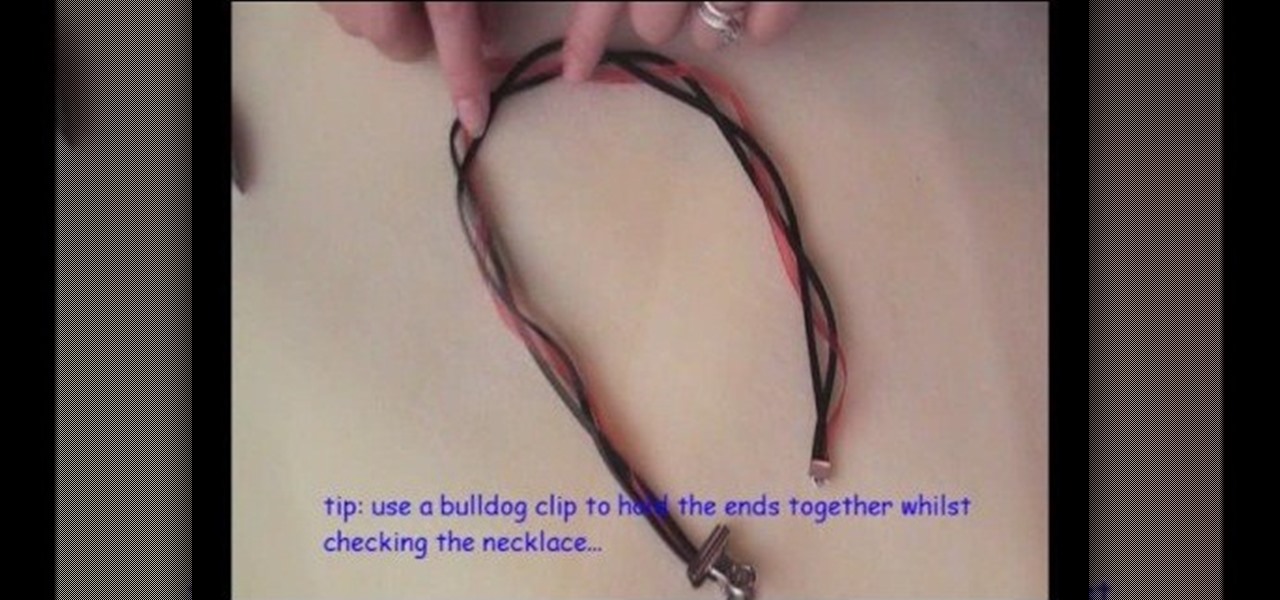
How To: Make a tri-strand necklace with a dichroic glass pendant
Yeah, we know the title of this video sounds confusing (dichroic what?), but a tri-strand necklace with a dichroic glass pendant is simply a fancy term for a necklace composed of three strands with a glass pendant hanging from the bottom.
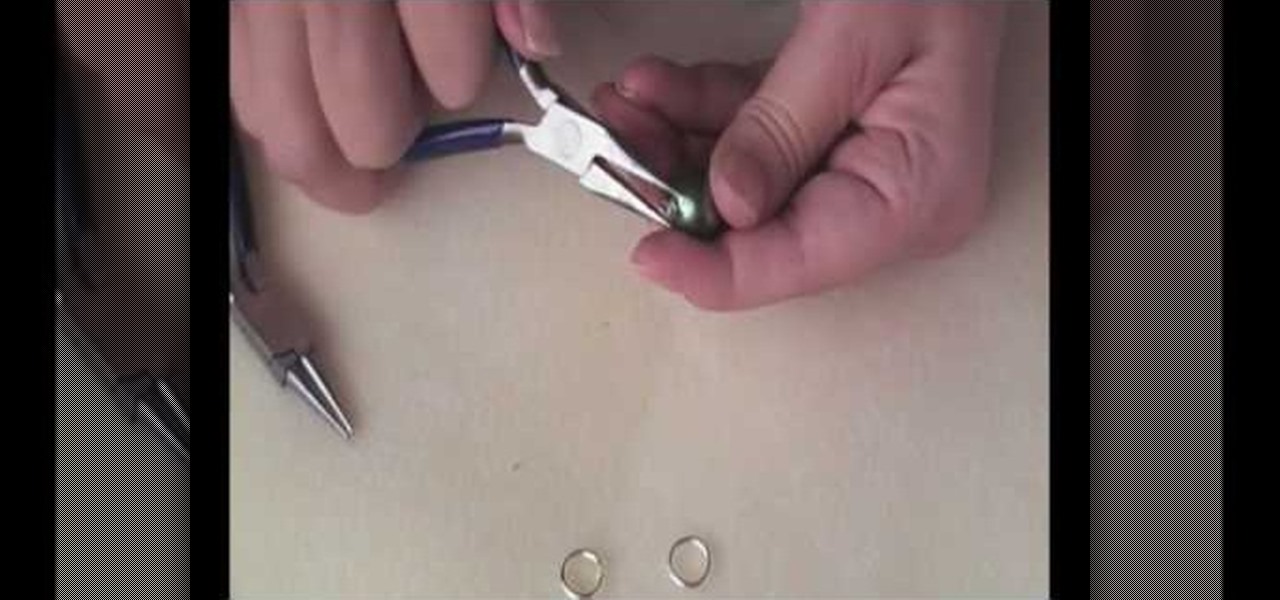
How To: Make fashionable chunky glass pearl drop earrings
We've always had the impression that the only women who wear pearls are those who also own McMansions and tie cable knit sweaters around their shoulders at yacht club soirees. But now that we've seen this jewelry craft - a pair of chunky blue green glass pearl earrings - we're taking a second glance at these pearl things.

News: Who Says Owning Fine Jewelry Means an Empty Wallet?
P.S.- I Made This offers resourceful, crafty tutorials that stretch the imagination. With projects ranging from jewelry to accessories to clothing, founder and creator, Erica Domesek has been featured in Teen Vogue, Glamour, Vogue Nippon, Domino, GQ, InStyle, and Marie Claire. Her brief tutorials also include collaborations with both Helmut Lang and Who What Wear.
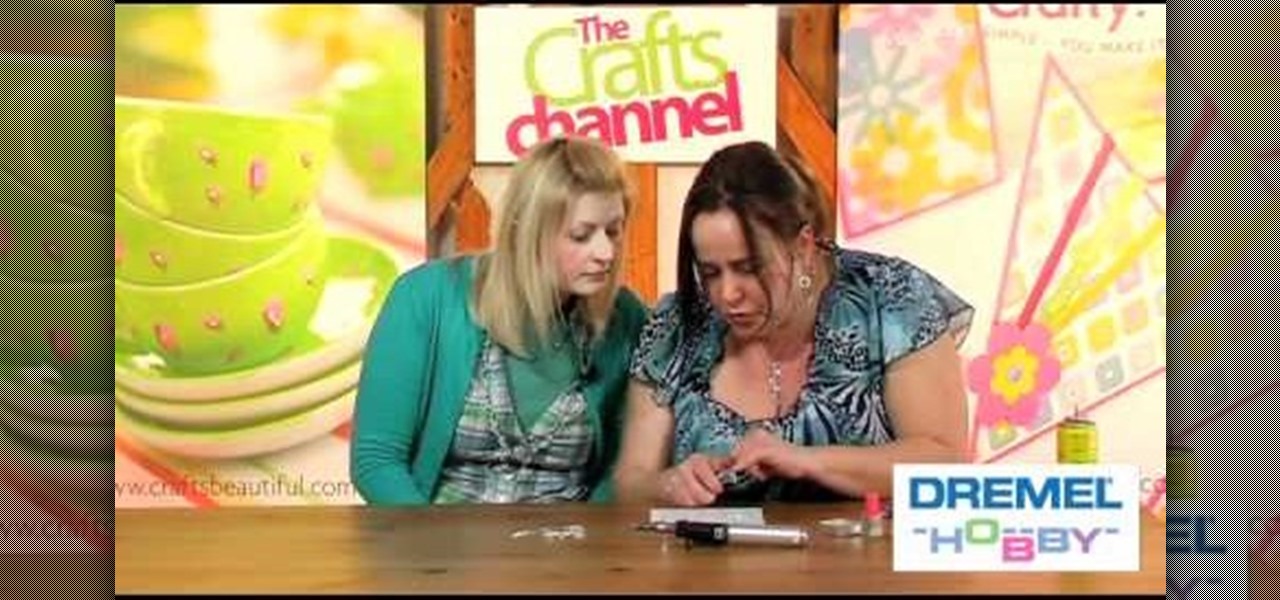
How To: Solder jump rings for an extra security jewelry closure
The difference between an amateur piece of jewelry and a professional one often lies in the details. Almost anyone can link chains together into a necklace and add small floral baubles, but the professional will take care to make sure the baubles are attached almost imperceptibly and the closure blends in with the rest of the necklace and also won't budge.

News: Jewelry From Hell
California native Joji Kojima's jewelry belongs in a Freddy Krueger nightmare. Evocative of death, violence and a macabre fetishism, these accessories aren't for the soft-natured.
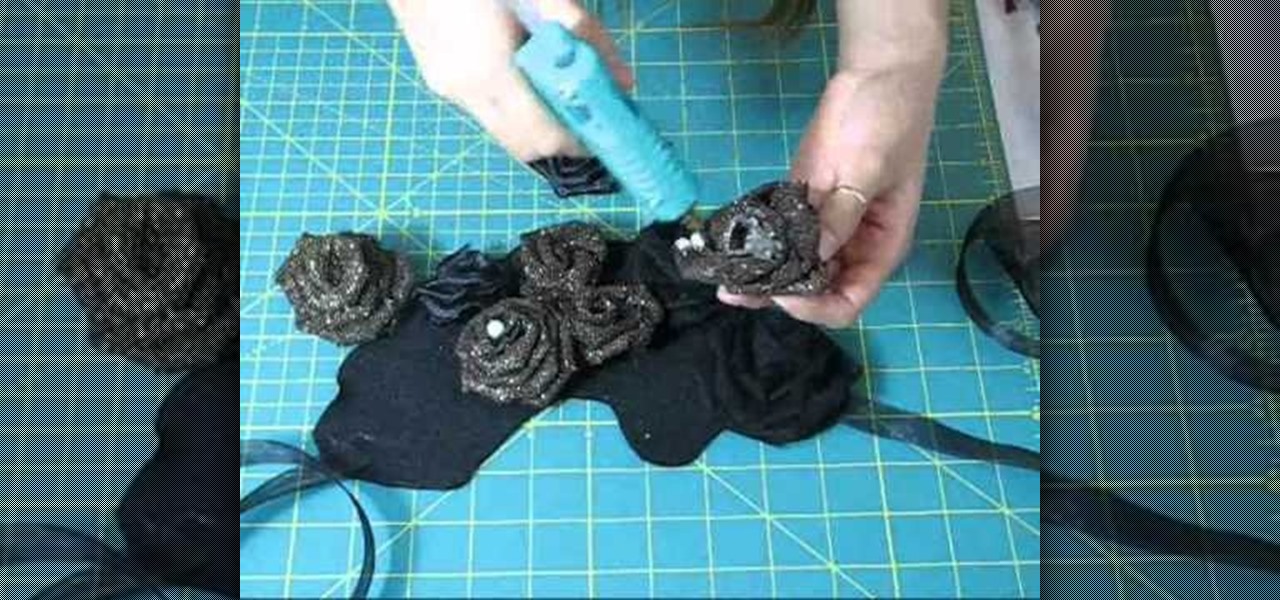
How To: Make a floral bib necklace back to school accessory
Don't worry, just because you're wearing a bib necklace doesn't mean you have uncontrollable drooling urges and drop food out of your mouth like a one-year-old.
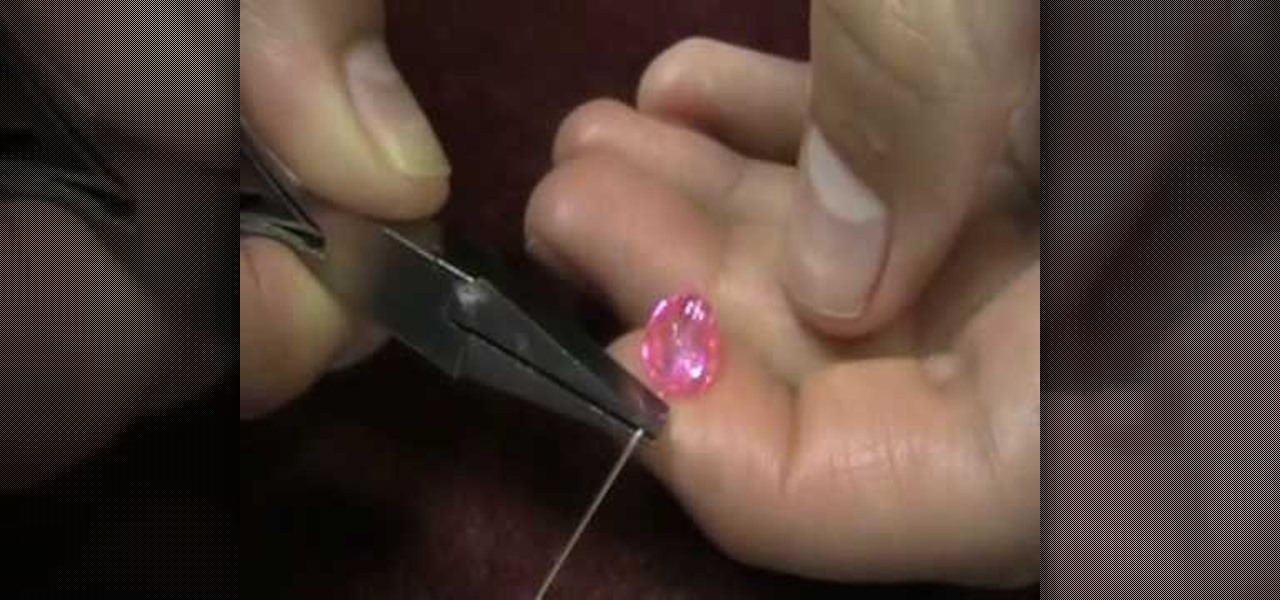
How To: Wire wrap a head pin loop
In this video tutorial, viewers learn how to wire wrap a head pin loop. Begin by placing the bead on the head pin, or on a 5 inch piece of wire. Then make a bend on the head pin approximately 1/8 inches above the bead to a 90 degree angle. Now wrap the pin around the jaw of the pliers, pulling it slightly to one side. Holding the bead and wire, rotate the pliers back to form a loop. Finish by wrapping the tail of the wire around the exposed part of the headpin as many times as possible. This ...
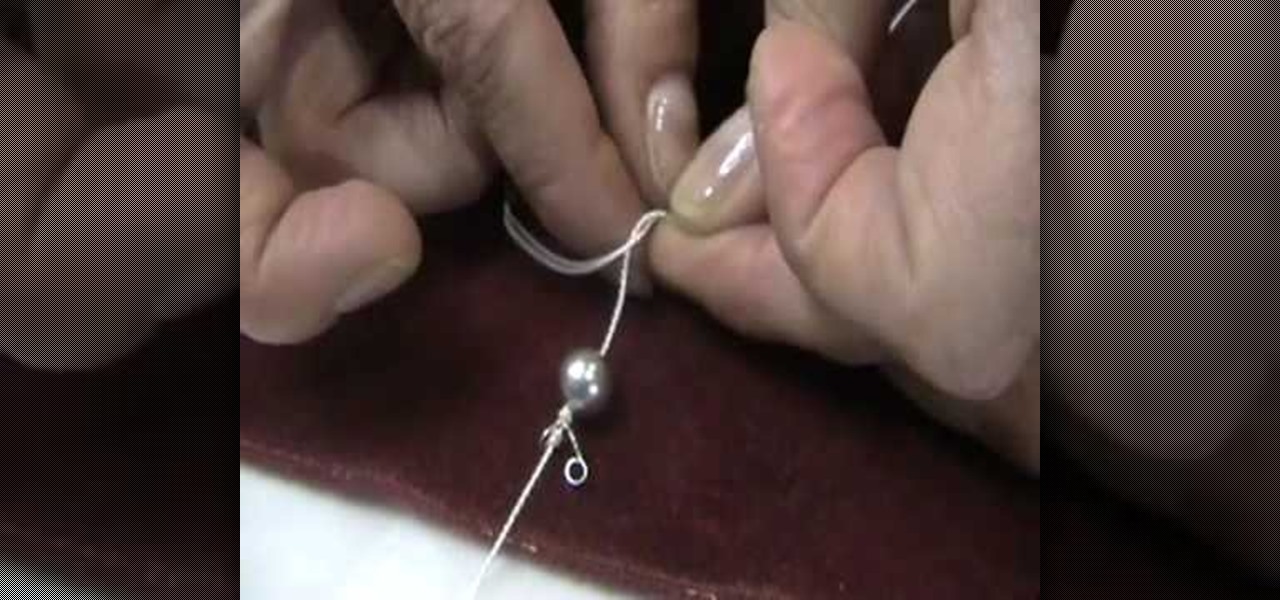
How To: Knot pearl beads
This video tutorial is in the Arts & Crafts category where you will learn how to knot pearl beads from Brenda. Pearl knotting is making a simple knot between each pearl on a strand. They not only give a professional look, they also keep the pearls in place and prevent them from rubbing against each other. After you have strung the clamp to the end of the string, tie a double over head knot and string your first pearl. Make a simple knot on the string behind the pearl. Grab the string with a t...

How To: Apply a crimp bead cover
This video tutorial belongs to the Arts & Crafts category in which Maricela is going to show you how to apply a crimp bead cover. First take a crimp bead cover. Now slide it over the crimp bead through the open jaw. Next take your crimp forming tool and applying a slight pressure to close the crimp bead cover around the crimp bead. If too much pressure is not applied, the crimp bead cover will close evenly around the crimp bead and the effect will be that of a seamless round bead. And that's ...

How To: Make an ear wire earring hook
In order to make a hook for an earring, you will need the following: round nose pliers, a wire cutter, a nail file or sand paper, an ink pen, 20-22 gauge wire. With your round nose pliers, make little hook, in the end of the wire. Bend it, until it makes a little loop.
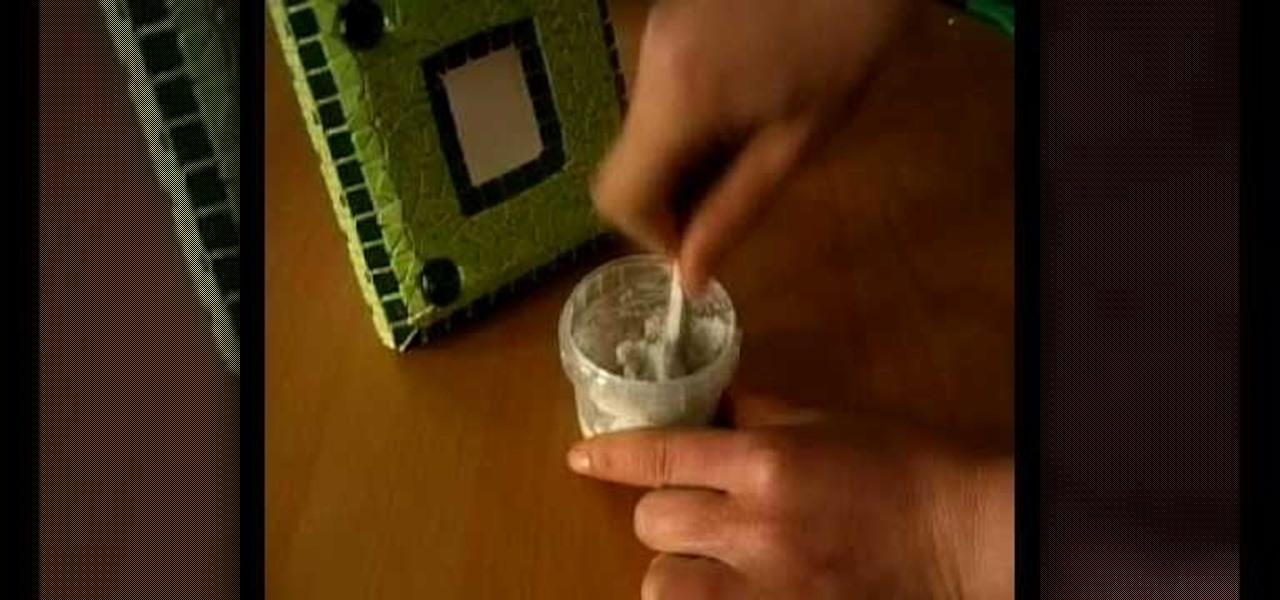
How To: Make a mosaic picture framer with ceramic micro tiles
In this video, we learn how to make a mosaic picture frame with ceramic micro tiles. First, glue on the four gemstones. These will go on all four corners of the frame. Next, place the square mosaics onto the base. You will place these around the edges of the frame that are perfectly square. After this, cut the other squares in half and glue them onto the entire frame in the middle of the squares on the frame. Next, let the frame dry for two hours, then mix the powder together with water and r...
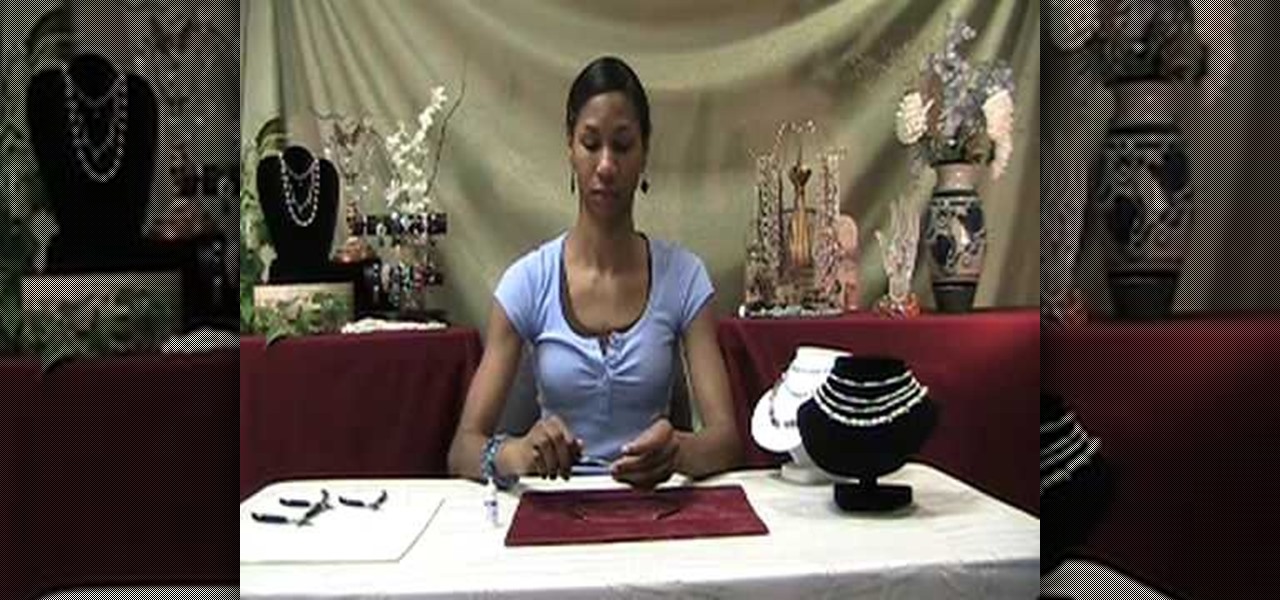
How To: Make a neoprene necklace
In order to make a neoprene necklace, you will need the following: neoprene, scissors, end caps, clasps, glue, and 2 pairs of pliers.
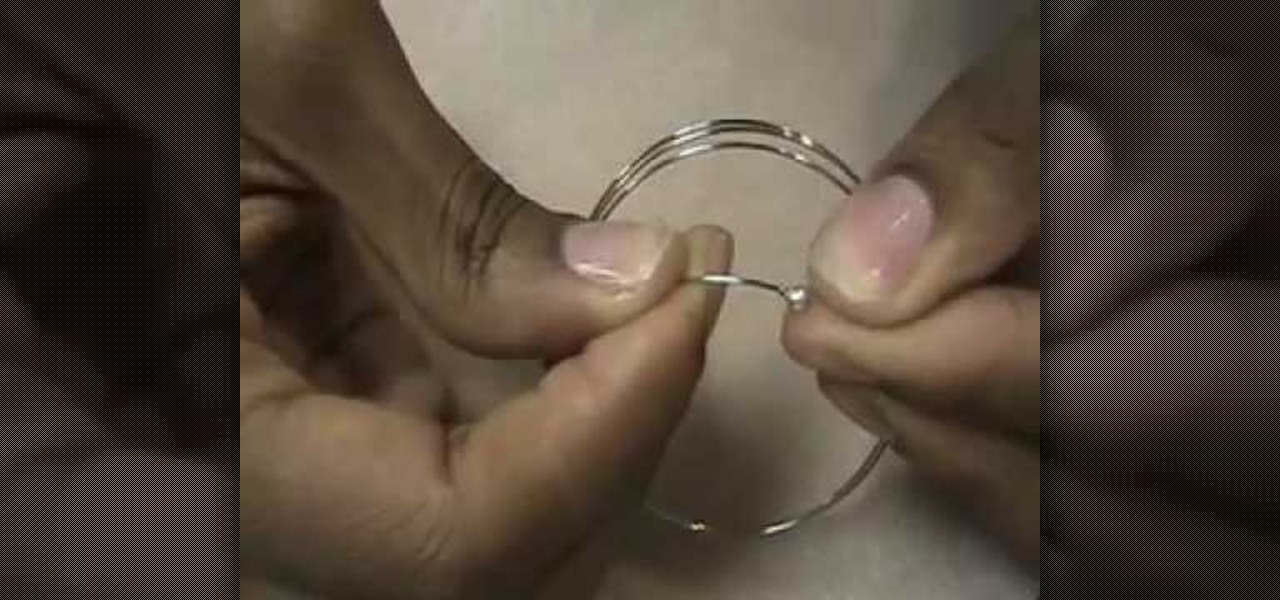
How To: Make a Mediterranean blue bracelet
In this video tutorial, viewers learn how to make a Mediterranean blue bracelet. The materials required for this project are: memory wire, Mediterranean Czech glass bead mix, 4mm sea side mix Czech fire polish round beads, wire cutter, super glue, bead stopper and 2 3mm memory wire end caps. Begin by cutting 3 1/2 clamps of wire and glue one memory wire end cap to the end of the wire. Then string the beads. Users may decide to make a repetitive pattern with the beads or randomly string the be...

How To: Make a twisted necklace
In this video, we learn how to make a twisted necklace. First, you will need to grab the cord you want for your bracelet and cut it double to the length you would normally use. Now, measure the cord in half, then start twisting the two together until you reach the end. You can do this with several cords if you would like a more unique necklace. After this, tie the ends and then loosen them up. Next, start to twist the necklace together again, then you can add your jumper bead into the necklac...
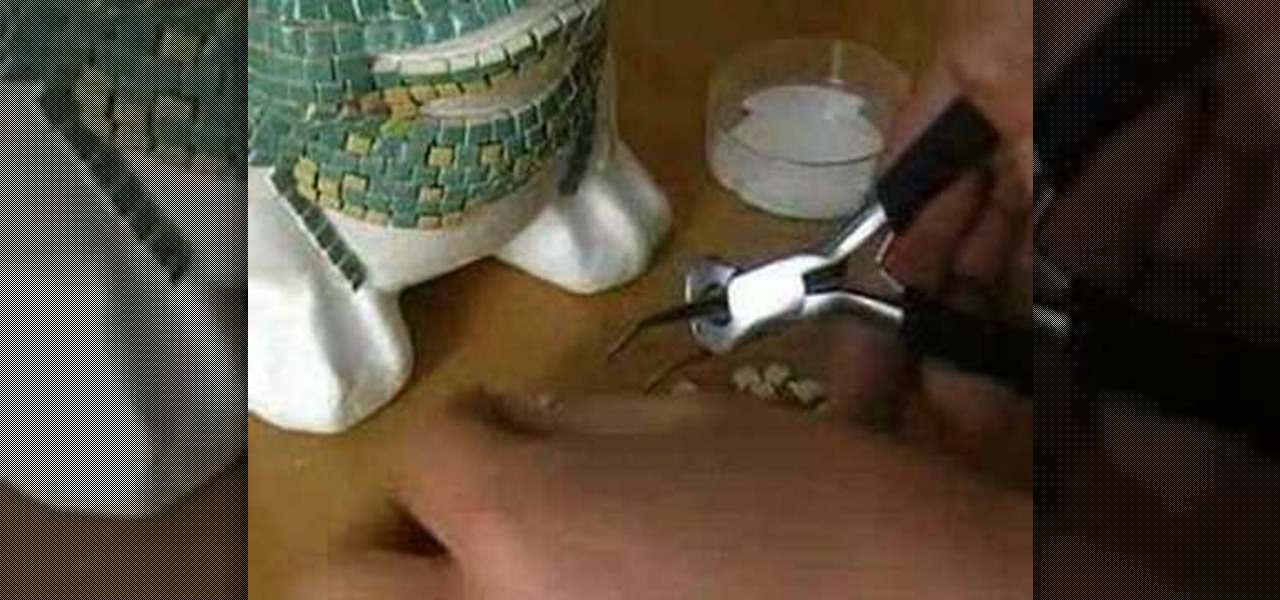
How To: Make a mosaic frog for your garden
In this tutorial, we learn how to make a mosaic frog for your garden. Start by painting white glue over the eye sockets where the eyeballs will be placed. After you place the eyes on, brush on glue to all surface areas and start to place the mosaic on the glue. Follow directions that are given to you for the patterns so you know where to place each tile. You must cut the corner pieces so they fit in correctly. After two hours of drying time, you will rub a powdered solution all over the frog,...
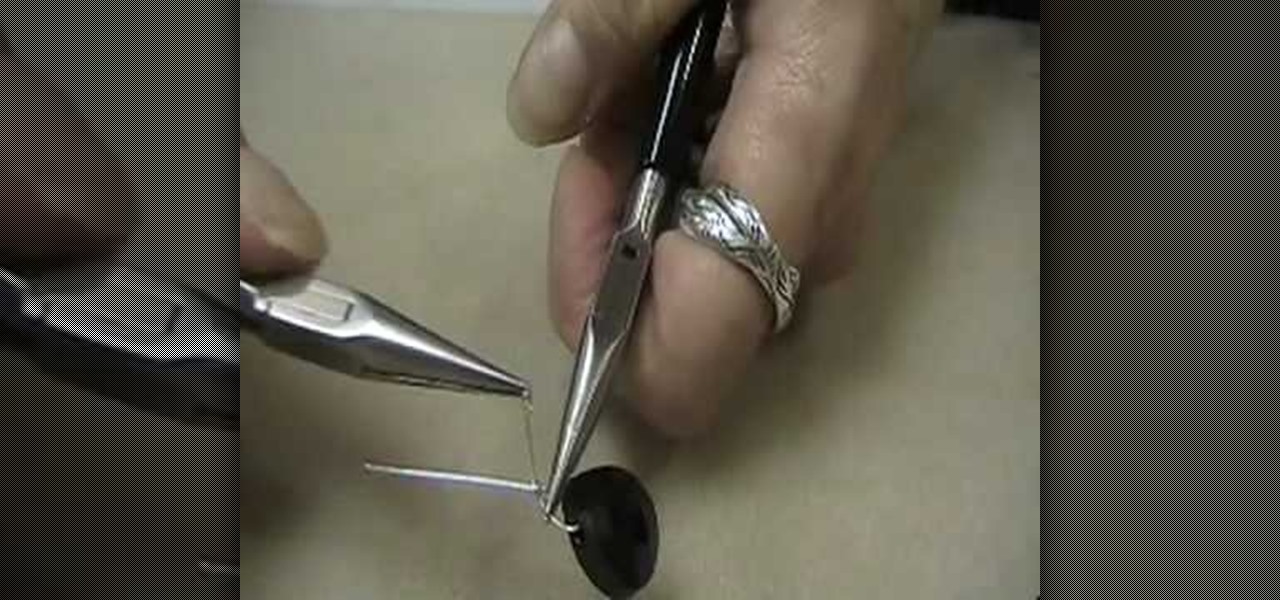
How To: Wire wrap briolettes
In order to wire wrap briolette, you will need the following: wire, wire cutters, chain nose pliers, flat nose pliers, and briolette,

How To: Use cones when jewelry making
In this video, we learn how to use cones when jewelry making with Christina. First, take a half inch hard wire with a looped end and use a pair of pliers to open up the loop slightly. Next, take your strands of beads and place them onto the loop. After this, close the loop making sure it's secure and the beads won't fall off. Then, take the cone and insert the wire through the wide end and pull it through the narrow end. Using your fingers, bend the wire to a ninety degree angle, then trim of...

How To: Use a chain extender
Would you like a necklace longer or is your neck too big for a necklace you love? No problem, a chain extender will allow you to wear or lengthen any necklace.
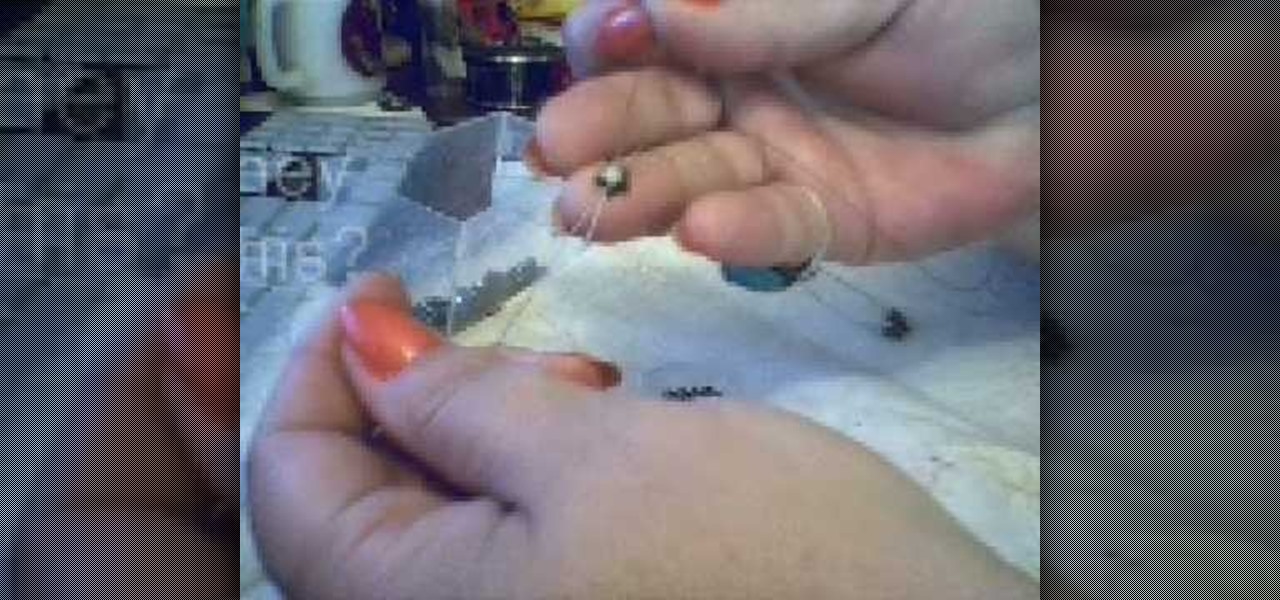
How To: Make a hematite bead ring
Make a hematite bead ring

How To: Make a mosaic jewelry ring
In this video, we learn how to make a mosaic jewelry ring. First, put the glue into a container, then place the stones into the glue and then place them onto the ring. Start by making the outer ring of the circle, then continue to go around the inside and the middle. Once you have all the stones placed inside, let the ring and stones dry for a full two hours. Next, take your powder and add a small amount of water. Mix together until you have a toothpaste like consistency, then rub it on the r...

How To: Make a simple wire loop
Where making jewelry, there are a lot of times that you will have to make a simple wire loop. This is how to do it.
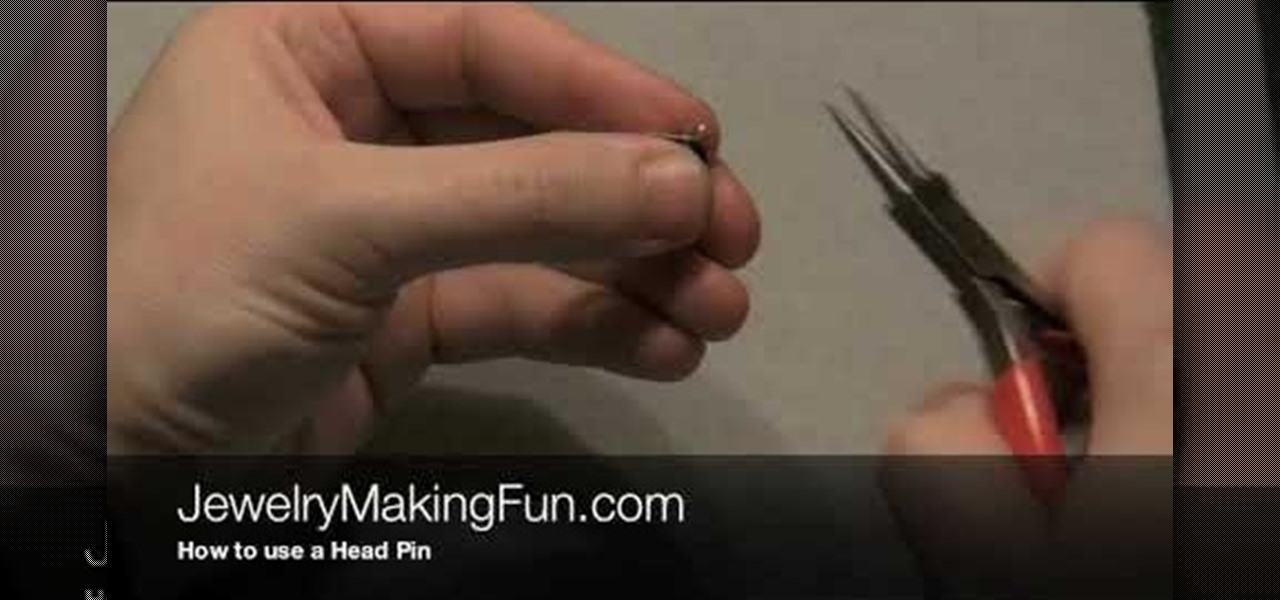
How To: Use a head pin while making earrings
In this video, we learn how to use a head pin while making earrings. Start off by grabbing a 1" long headpin and feed a bead through it until it reaches the other end of the pin. Now, decide how you want to close the loop. The first way to close it is to make a single loop by using pliers and making a 45 degree bend. Cut off any excess wire with wire cutters. The next way to do this is to wind the excess wire around the base until it comes to the bottom of the bead. This is visually appealing...
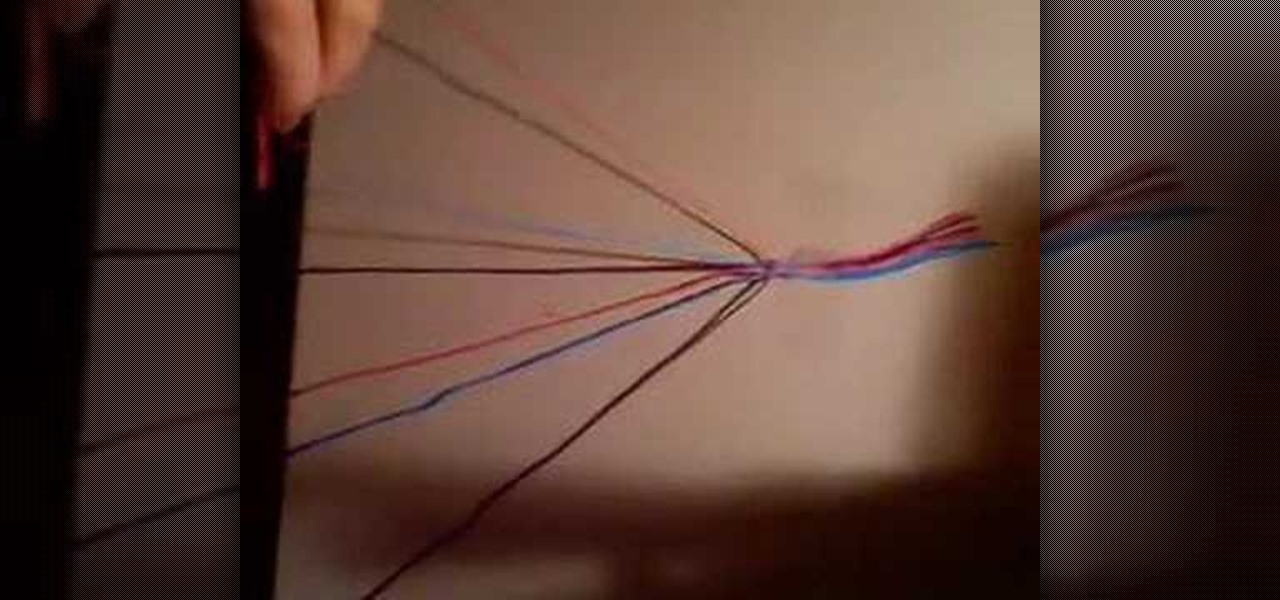
How To: Make a simple friendship bracelet
In this tutorial, we learn how to make a simple friendship bracelet. First choose three colors and then cut two strands of each 3 ft long. After this, tape the strings together at the end and tie a knot. After this, start to tie the strings, one underneath each other. Make sure after you do each color, you pull on the string tightly. As soon as you finish wit all the colors of the bracelet, continue to the bottom of the bracelet and tie it at the end. When you are ready to wear it, tie it aro...

How To: Make a snowflake with beads
In this tutorial, we learn how to make a snowflake with beads. You will need: clear crystals, beads, and thread. First, string six beads onto the thread. After this, string a crystal next to the beads. Now, tie this and start to repeat the process on the left side of the beads. Continue to do this process until you have created a shape that looks like a snowflake. You can do as many or as few of these as you would like. This creates a beautiful necklace, or you can use it as a bracelet if you...

How To: Make a floating flower, Swarovski crystal toe ring
Kameron Kay teaches us how to make a floating flower crystal toe ring in this tutorial. You will need: stretch cord, large crimp bead, flat nosed pliers, flat backed crystal flower, glue, and small scissors to make this. First, cut out your chord to the exact size that you need. After this, use glue to attack the ring into the middle of the string. Place a crimp bead on the bottom to help the bead stay in place, then glue these together as well. Next, tie this together and attach an end to th...

How To: Make a two-knot friendship bracelet
In order to make a 2 knot friendship bracelet, you need to anchor about 10 strands of yarn. Separate out 2 strands. Then, one by one, make a simple knot using the remaining strands. The knot is similar to the way you would tie your shoes. Simply, interlace them. Tie it first to the one nearest it. Then, tie it to the next one. Then set it aside. Continue working your way through, until each thread has made a knot in each of the two strands. Make sure that you tie each knot neatly. They will b...

How To: Make a pendant and adjustable cord necklace
In this tutorial, we learn how to make a pendant and adjustable cord necklace. First, grab your pendant and guide a small metal ball onto the bottom of it with a needle. Next, place a spacer through the top and another ball on the top of that. Now, take your pliers to bend the needle to keep the balls in the same place. Keep twist it until you make a loop shape with it. Now, place a string into the loop and then make a knot with the two ends of the string. This will now become your necklace a...


