

Hot Jewelry How-Tos


How To: Make your own kilt pin in minutes
First of all you need roll of wire around 1 or 1.25 millimeter thick. Now take the roll of wire and using a round nose pliers bend the wire about 5 cm. now take a flat nose pliers and the hold the ends and bend it round to make a hook. Now taper off the end and then straighten the wire. This shall be the top portion of your pin. Now take round nose pliers and then wrap it in a complete circle and then repeat it two more times. This shall produce three loops and you can also adjust the length ...

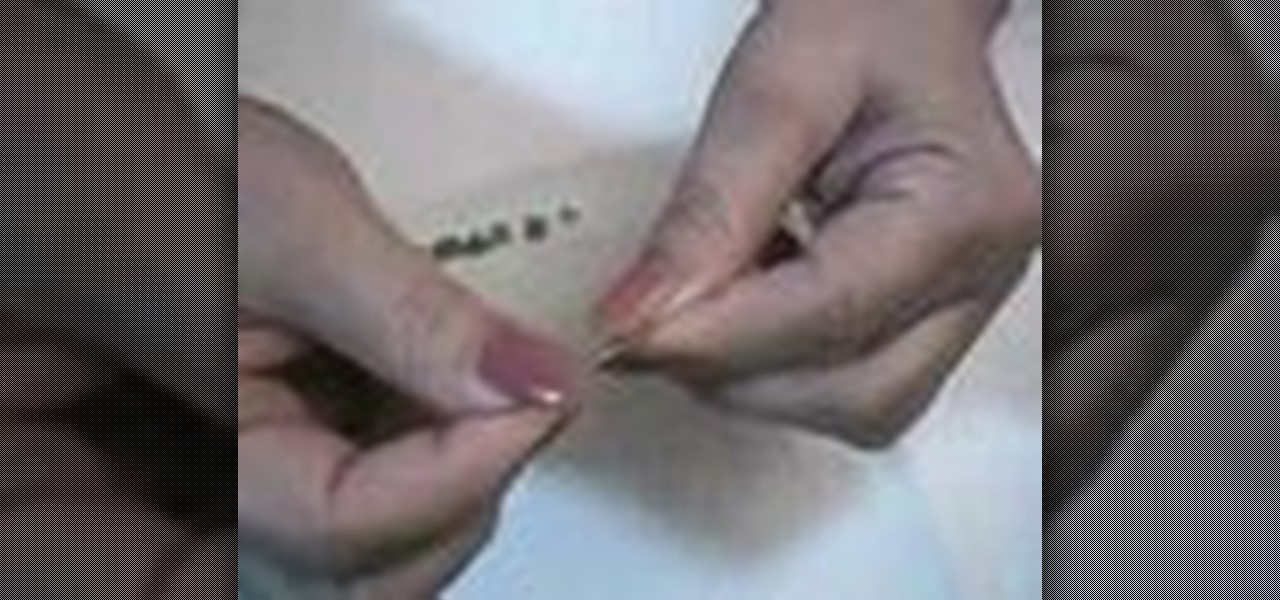
How To: Open and close jump rings
In this tutorial, Artbeads gives us a tip on how to open and close jump rings on a bracelet. First, take a pair of chain nose pliers and hold one side of the jump ring. Then, take a pair of needle nose pliers and pull the other side of the jump ring. Twist the ring by twisting side to side with the pliers to open and then attach your charm. Don't open any other direction, this will cause the jump ring to become weak. Close it by pushing it back in the same side to side manner. Repeat this to ...
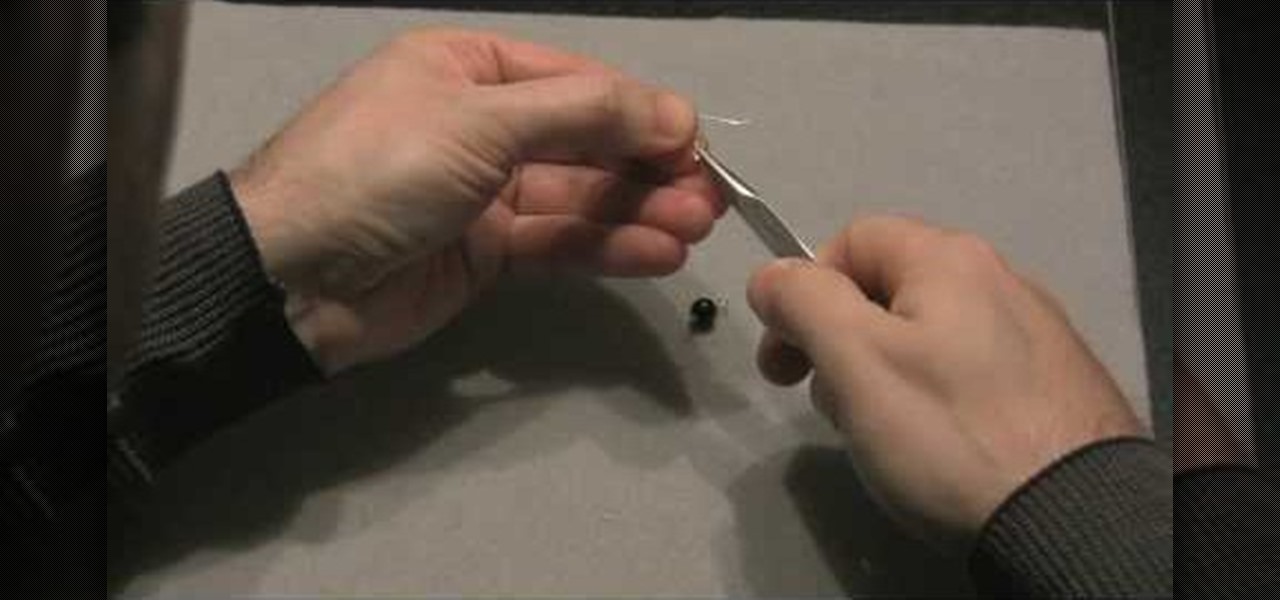
How To: Use a bead reamer to smooth sharp edges on a bead
This video teaches us to use a bead reamer to smoothen sharp edges on a bead. You need a reamer, some water and the reaming tips. We need the large tip for enlarging and smoothening the holes and a 45 degree edging point for smoothening the edges of the hole. Twist the handle of the reamer and insert the tip in it. Take the bead and the reamer with the large tip & dip it into water periodically during the procedure so that the water acts as a lubricant. Begin filing the inside of the bead hol...

How To: Master the skinner blend method in 4 minutes
First of all take two pieces of FIMO- one white and the other red color. Now roll them flat on the table into rectangles. Now cut triangles out of them and then join together to form a rectangle which has more white than blue color. Now use a rolling pin to flatten their surfaces. Use a ruler to lift them off the table top. Now fold it in half and roll it again in the same direction. Don’t roll it too hard. Now keep rolling and folding in the same way. Now when you go thinner while rolling it...
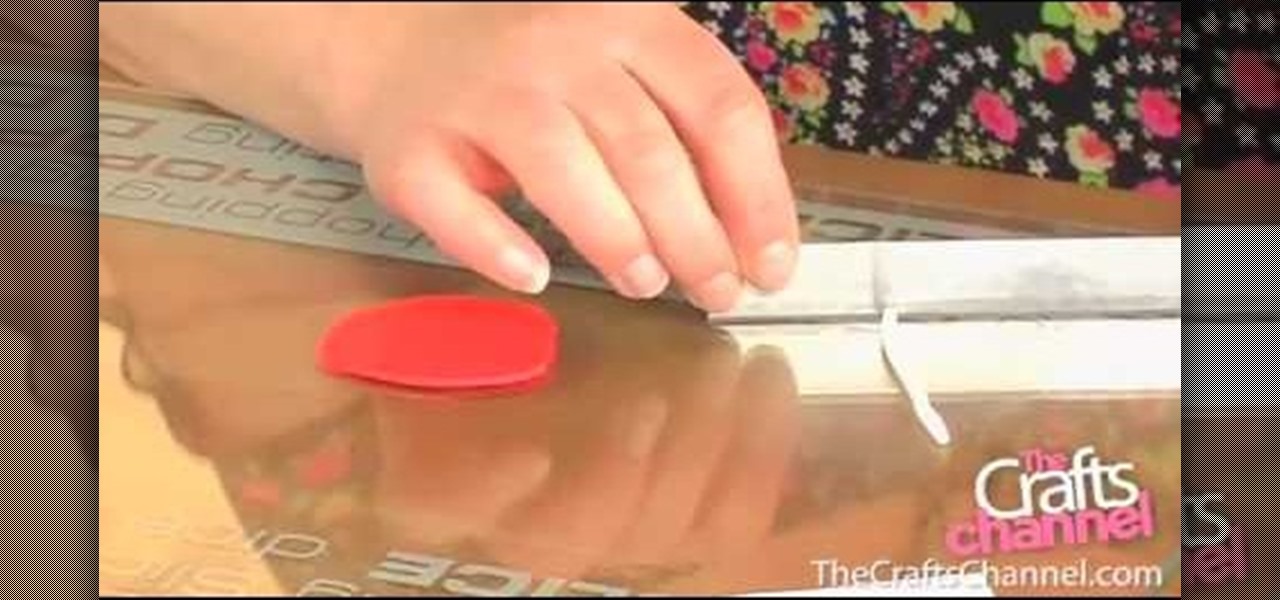
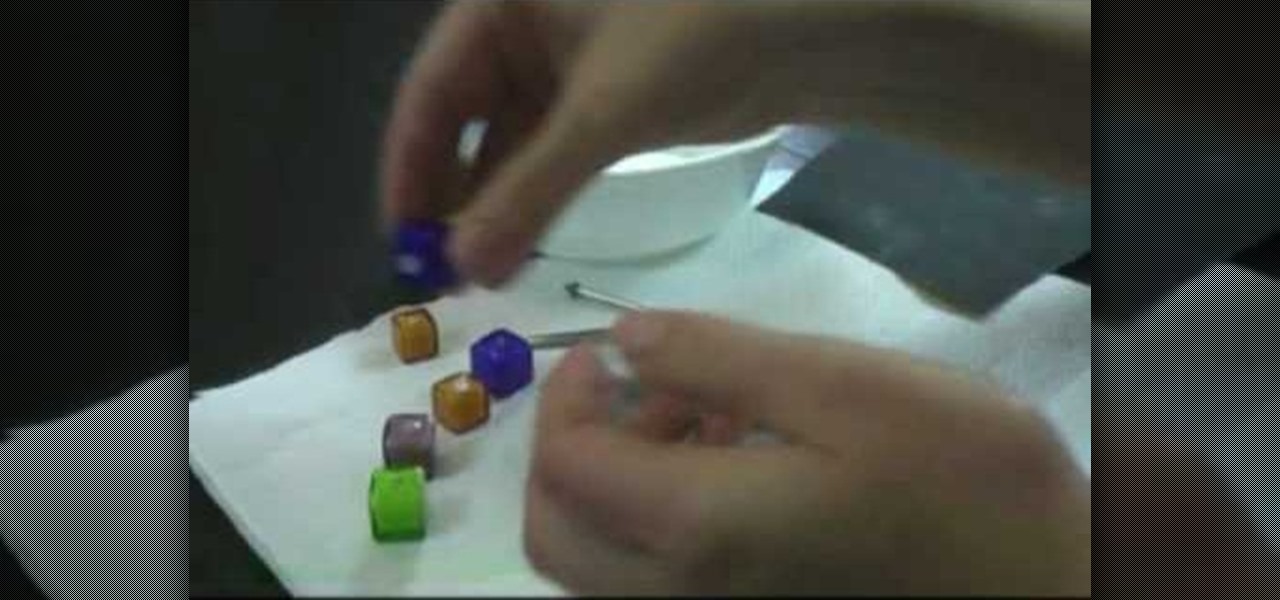
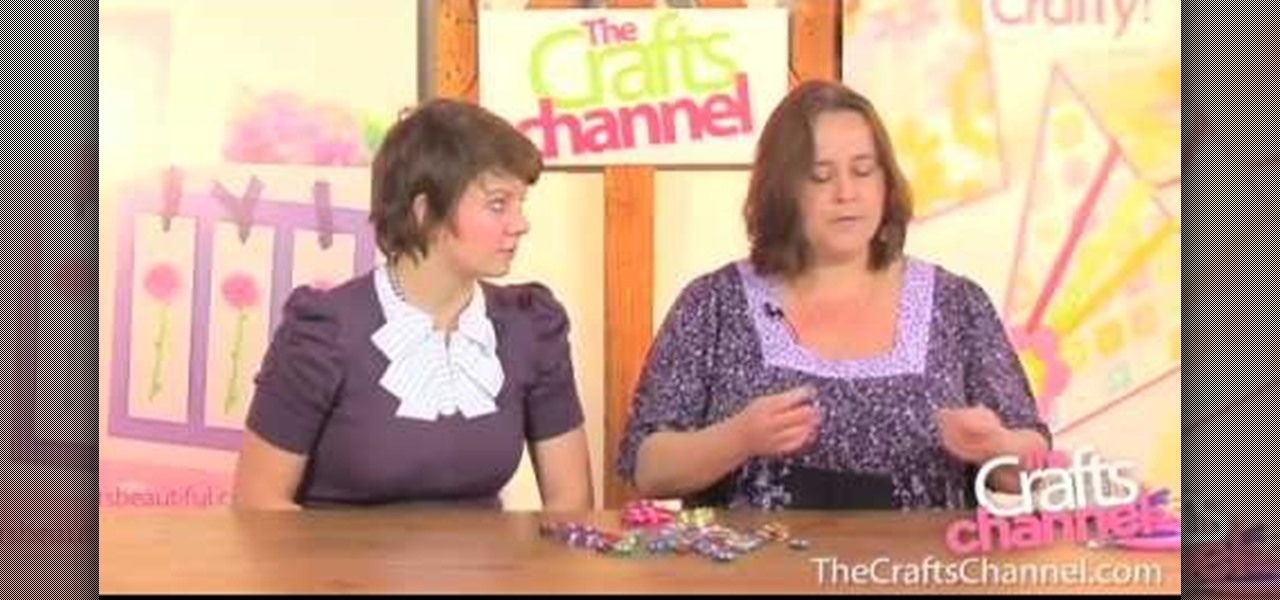
How To: Make spotty fimo buttons
The Crafts Channel teaches viewers how they can make spotty fimo buttons! First, take a piece of fimo and roll it out to about it's a few centimeters thick. Take another color and roll this into a thin long snake shape. Then cut this long snake into lots of tiny slices. Lift them off and put them onto the surface of your rolled out clay. Next, roll over this clay and take a baking surface, cut out the clay with a circular cutter and take away the excess clay. Now with a needle, make your hole...

How To: Set rhinestones with a Bejeweler
In this tutorial, we learn how to set rhinestones using a Bejeweler. To do this, you will first need to prepare your Bejeweler and the fabric you are using. Lay out the pattern on your fabric and use tape as a guide for any letters you write. The rhinestones may move during this, just push them back in with tweezers. Once the Bejeweler is plugged in, rest it in a stand since it will become hot. Once it's ready, place it over an individual rhinestone for around 15 seconds. When time is up, lif...
How To: Make a crystal cluster ring
In this video the crafts channel demonstrates how to make a crystal cluster ring. Start with a pen about the size of your finger and wrap your thin gauge wire around it completely twice. Give the wire a simple twist. Put your beads on the wire, then bend the wire around into a circle. Next wrap the wire again around the base on the stone setting. Be sure to wrap it tightly. After twisting the wire tightly around the shank of the ring cut the wire. Use a pair of round nose pliers to create a f...

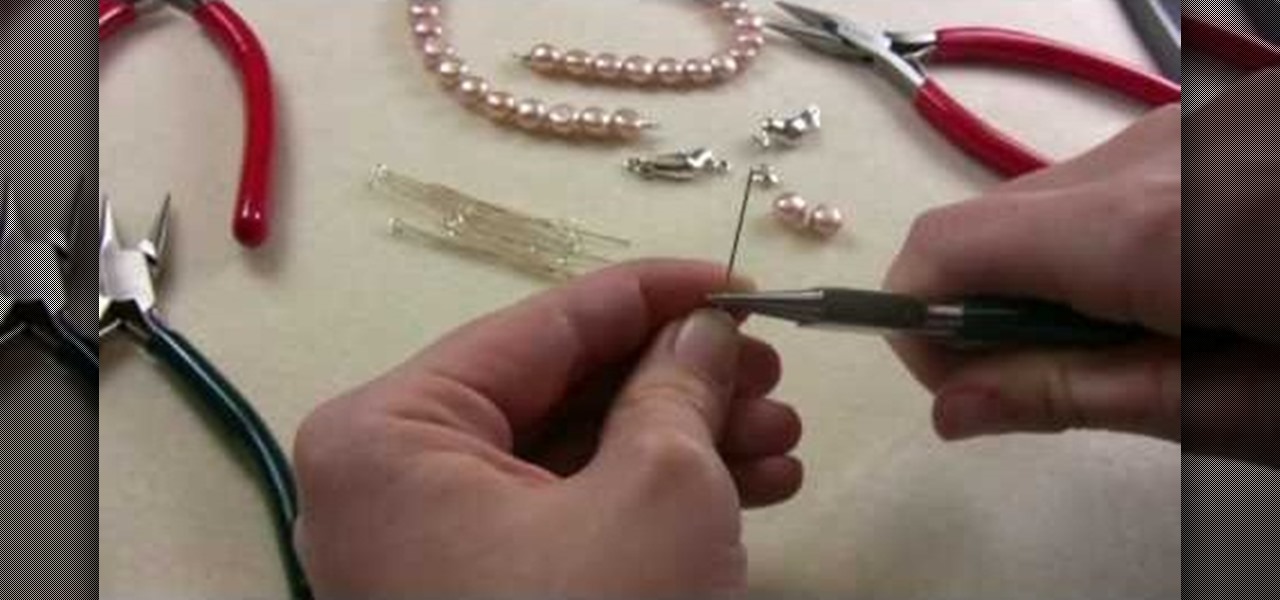
How To: Make a simple loop using eye pins
Artbeads demonstrates how to make a simple loop using eye pins. Simple loops on head pins or eye pins are great ways to attach charms to your jewelry. To make a simple loop use chain nose pliers to make a 90 degree bend in the pin above the bead. Then, cut the wire so that there is a 3/4 inch tail on the wire. With round nose pliers, create a loop on the end of the wire. Use chain nose pliers to open and close the loop to attach it to a chain or clasp. You can also make a loop by using the ro...
How To: Created a wrapped beading loop
Artbeads demonstrates how to make a wrapped beading loop. First, take a head pin or an eye pin and add the beads that you would like to use. Use chain nose pliers to make a 90 degree bend about 1/8 inch above the bead. Hold the bead so the tail of the wire is facing towards you. Use round nose pliers to position the wire into a loop. Use your fingers to complete the loop. Next, attach chain link or a clasp to the loop. Use another pair of chain nose pliers to wrap the rest of the wire around ...

How To: Create a striped cane in 5 minutes
Fimo expert Corinne Bradd and Emma Ward with The Crafts Channel and magazine Craft Beautiful demonstrate how to create a striped cane in 5 minutes. To create the stripes, cut out rectangles of black and white clay and stack them in alternating colors. Then, roll out a cane in a nice, bright color so that it matches the length of the stacked clay rectangle. Then, cut the rectangle into slices. Then, press the rectangle stripes onto the bright cane so that it completely wraps the cane. Squeeze ...
How To: Make irregular bead cages
In this how-to video, you will learn how to make irregular bead cages. Corinne Bradd will show you how easy this is. First, if you have a flat or nugget type bead, it will be hard to make the cage easily. First, place the wire through the bead and bend it up from the loop. Hold it in place and wrap the wire around the bead. Keep wrapping until you get to the top. Next, wrap the wire around the top so that it will be completely fastened. Snip away any excess piece of wire. You can hang it from...

How To: Use crimping pliers
In this video arsbeadsvideos instructs you on the use of crimping pliers, crimp tubes and how to use crimp covers. Make sure you use jewelry wire that is fine enough to fit through the holes in your jewelry. On your crimping pliers you'll notice there are two notches, also called stations. The first notch is furthest from tip of the pliers and has a raised bump or dimple in the middle. This helps to created figure-eight crimps. The second notch is used to form the crimp into a tube shape. To ...
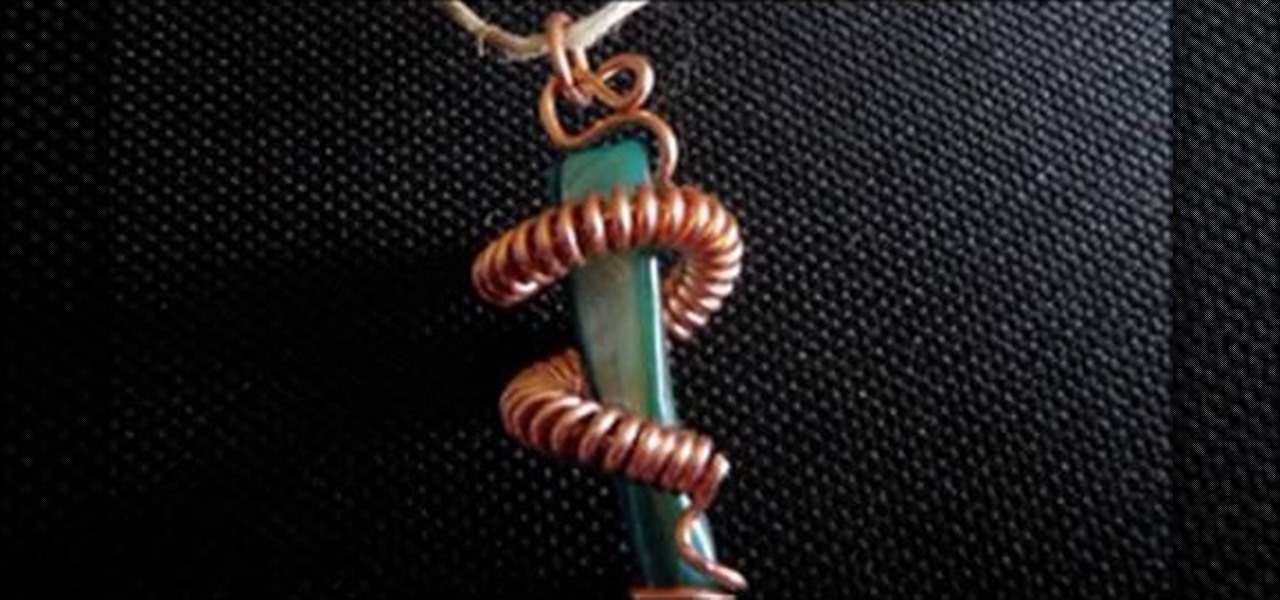
How To: Make saber tooth pendant jewelry from recycled wire
This video shows you how to use household electrical wire to make stunning jewelry pieces for you or a friend. Taking the wire from a renovation project, I stripped the wires of their plastic and then started twisting and creating designs. Make cheap jewelry but expensive designer like stuff with your own hands.

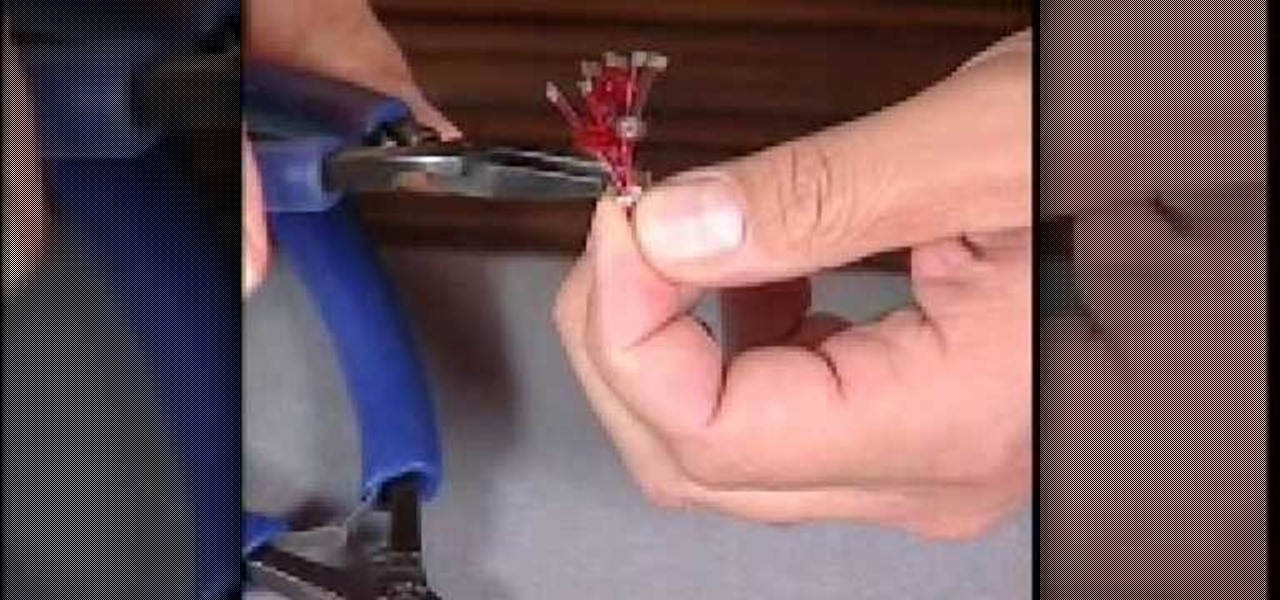
How To: Use Swarovski crystal to make unique jewelry pieces
This is a video using Swarovski Crystals to make jewelry. This video shows how to make one with a gold bow. You need a pendant with 2 hoops (in this case it is a gold bow), a pendant holder, a crystal, a bill, and pliers. You take the bill and hook the crystal on it. Then you hook the bow on it and secure it using the pliers. You take the pendant holder onto the top of the bow pendant, and press it down to secure it, and you’re finished. You can also make rings, earrings, necklaces, and many ...
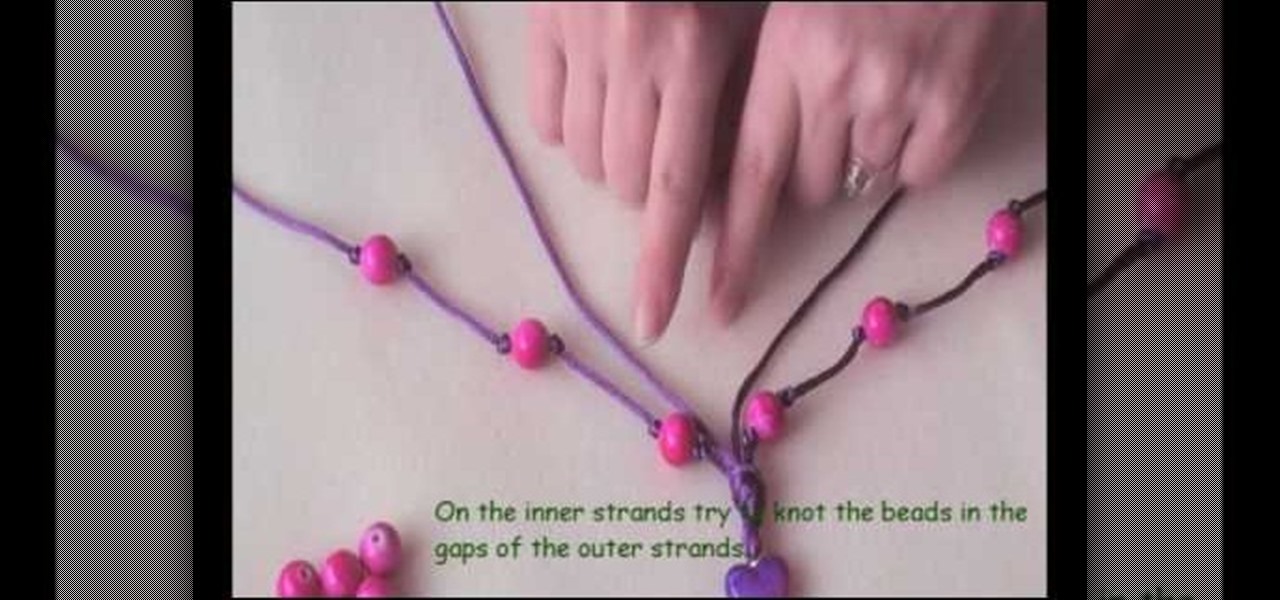
How To: Make a large beaded "rock star in love" necklace
In this video the demonstrator shows how to make an alternative style rock star bead necklace. She uses purple cording, pink round beads, and a pink and purple heart bead to construct this fun, original piece of jewelry. By using a headpin and pliers, she shows how to turn the heart bead into a charm to use in the center of the necklace. She also shows us how to knot the beads in place for a polished look. Follow her unique tips including using nail varnish to sting beads easier, seed beads t...

How To: Make cute mini cupcake earrings
To make mini cupcake earrings first take a piece of sculpey and make a cylinder. Make vertical indentations around the cylinder, similar to those an the edge of a quarter. this forms the bottom of the cupcake. Next take another small piece of sculpy and role it into a line like a piece of yarn. starting at the edge of the top of your cylinder coil the line of sculpy around the edge and up, similar to a piece of novelty poop. this forms the cupcake. stick a earring finding through the top of t...
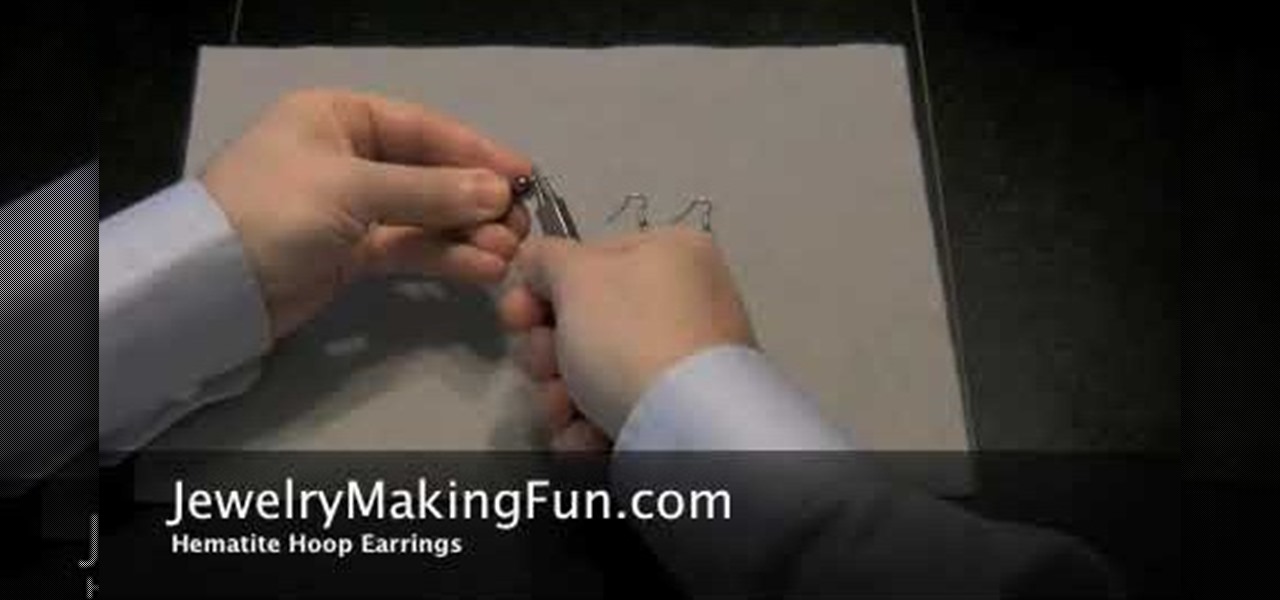
How To: Make a pair of hematite hoop earrings
The first step in making a pair of hematite hoop earrings is to gather your supplies. You are going to need some needle nose pliers, two head pins, a hood bead, a small bead, a bigger bead, and two French earring hooks. First, take a head pin and insert it into one of the holes on the loop bead. Follow with the smaller bead and then the larger one. Then, taking your needle nose pliers, bead the remaining wire of the pin 45 degrees. After that, go above the bend about a quarter of an inch and ...

How To: Make gold-filled beaded hoop earrings
Making your own hoop earrings can be fun and easy. In this video we learn to make gold-filled beaded hoop earrings with some wire, pliers, beads and an empty pill bottle. Take a 6 inch piece of 20 gauge wire and wrap it around the pill bottle. Then you take your round nose pliers and bend the tip of the wire in a 90 degree angle ending in a circle. You can be creative with what you put on for beads. In this video it shows a purple focal bead and 30 plain beads. So you would put 15 of your pla...

How To: Make a Nintendo necklace
You will be using a picture of a Nintendo character and perler beads to make the necklace. Start by making an outline of the character using black perler beads. Then begin using colored beads to fill in the character. The color beads allow you to fill in the character and they also allow you to create all the detail on the character. You can shade and use multiple colors in making the characters. After you have put all the beads on the card put a sheet of waxy paper over the character and iro...
How To: Bead a Halloween skull bracelet
For this project you will need some 4 mm orange beads, acrylic spacers, 4 mm black glass beads, 8 mm black glass beads, 10 mm orange glass beads, memory wire, headpins & skull charms. You also need pliers that include bent nose pliers, chain nose pliers, round nose pliers and memory wire cutters. Ordinary pliers become blunt when used on memory wires. In the first step cut some loops of the memory wire depending on how many loops you want to have on your wrists. Now take a skull charm and a 4...
How To: Make a hemp style necklace or bracelet
Hemp jewelry is very trendy and eco-friendly. They are easy to make and don't take long. In this three part tutorial, learn the basics for making your own hemp bracelet.

How To: Make an eye pin for jewelry making
In this jewelry-making basics tutorial, learn how to make an eye pin. To create an eye pin, you will need wire. Size 24 or 22 gauge wire is the best kind of wire to make an eye pin. The thicker the wire, the more difficult it may be to work with. To begin, straighten out your wire and cut the length you need to make your eye pin. Taking some round nose pliers, you will bend the wire up while rolling it toward yourself. Do not pinch the wire too tightly with the pliers because it can leave per...
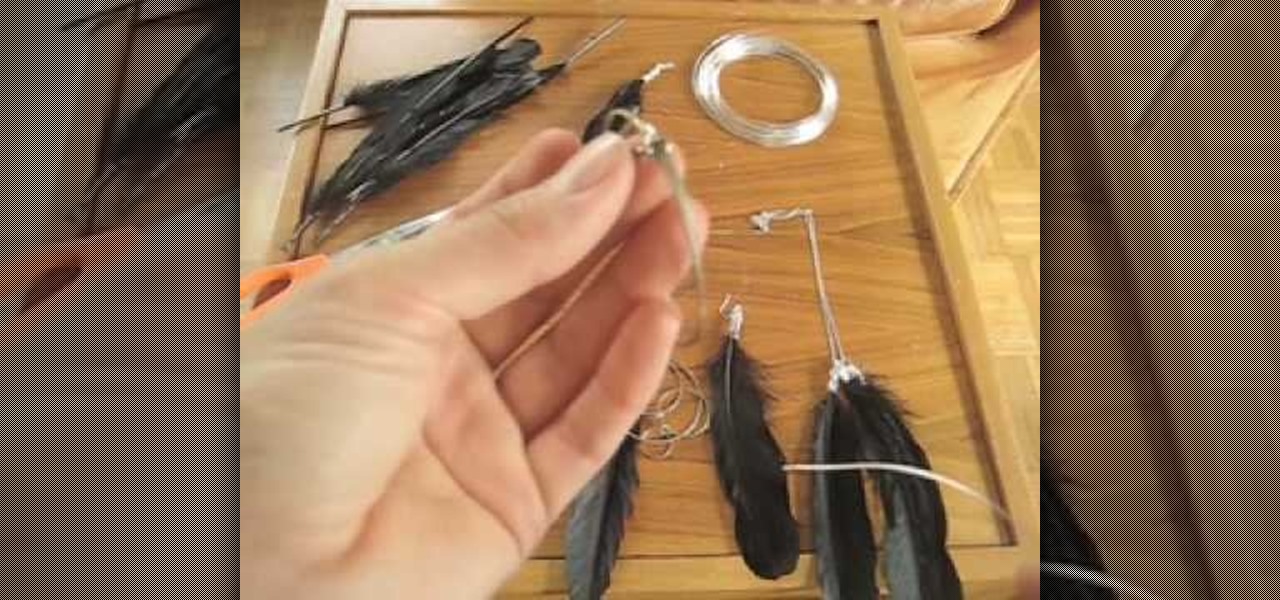
How To: Make feather earrings & necklaces
Here is a way you can make your own jewelry for little money and have fun doing it. In this video we are shown how we can add feathers to existing earrings and necklaces. For this project we need some feathers, a pair of earrings, some silver plated copper wire, needle nose pliers, and scissors. The earrings used in the video are already made circle earrings. The first step is cut about a circle's length of copper wire and grab a feather. Wrap the wire nice and tightly around the quill of the...

How To: Make a simple & classy charm necklace
You want to start by determining what kind of charms and the size of the necklace. Most necklaces are about 16-20". If you wanted to make a choker or a bracelet, then measure out a smaller piece of cable chain. Using a ruler makes it easy to measure and later on to add the charms evenly. Using chain nose pliers and side cutters, you want to cut a jump ring and attach to the trigger clasp and then close the end with the pliers. Take the chain and center it on a ruler, find the middle and that'...
How To: Make fire & ice crystal bead earrings
Mark Nelson accompanied by Rio Grande demonstrate by the start where you need a wire with stiffeners to it of various colors. 3 pieces of different colors of wire each 2 ½ inches long is needed for the earring. Pick a clamp where you can pass the 3 wires twice. First push it half way once and put the other end back in the hole and pull the ends through. This can also be done in an asymmetric way. Now you add 6 beads in any combination of colors. Use it in a 2 mm length and then cut off the en...
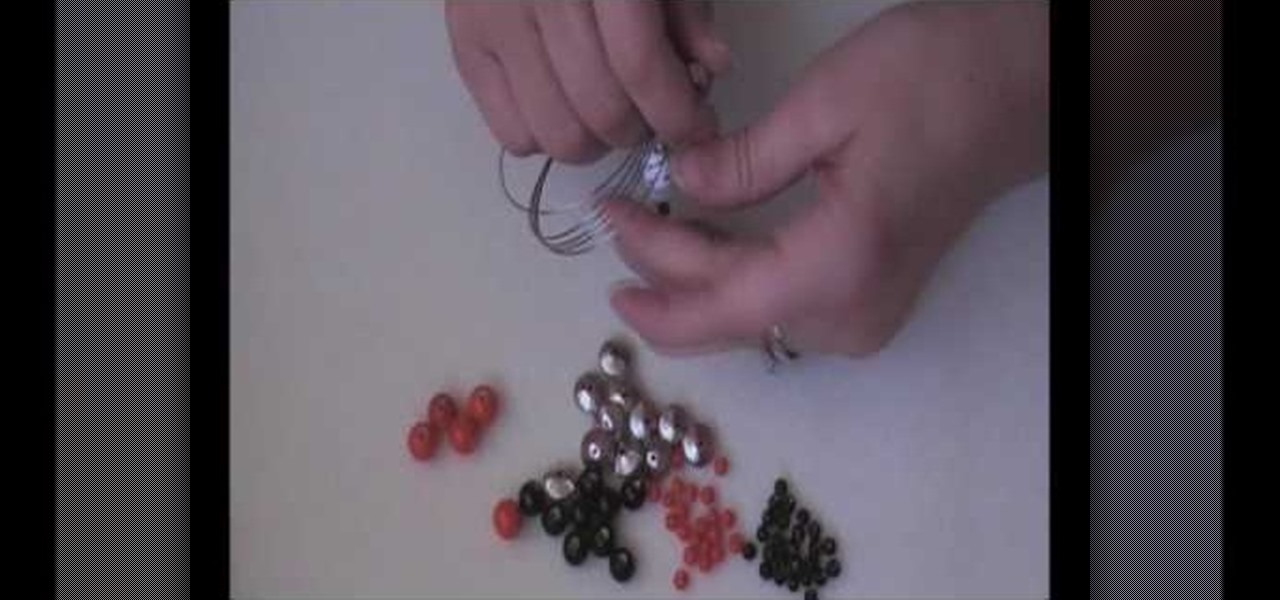
How To: Make a pair of large silver hoop earrings
In this video, Marc Nelson describes how to make large hoop earrings to the wearer's choice out of silver wire and beads. The process if very simple and inexpensive. First he takes a larger gauged silver wire for the actual hoop earring. Then taking the smaller wire for bead placement, he preemptively threads the smaller wire through the beads. Because you have to use the smaller wire for holding the beads in place, the wire must be much longer. It seems with enough practice and know how, mak...
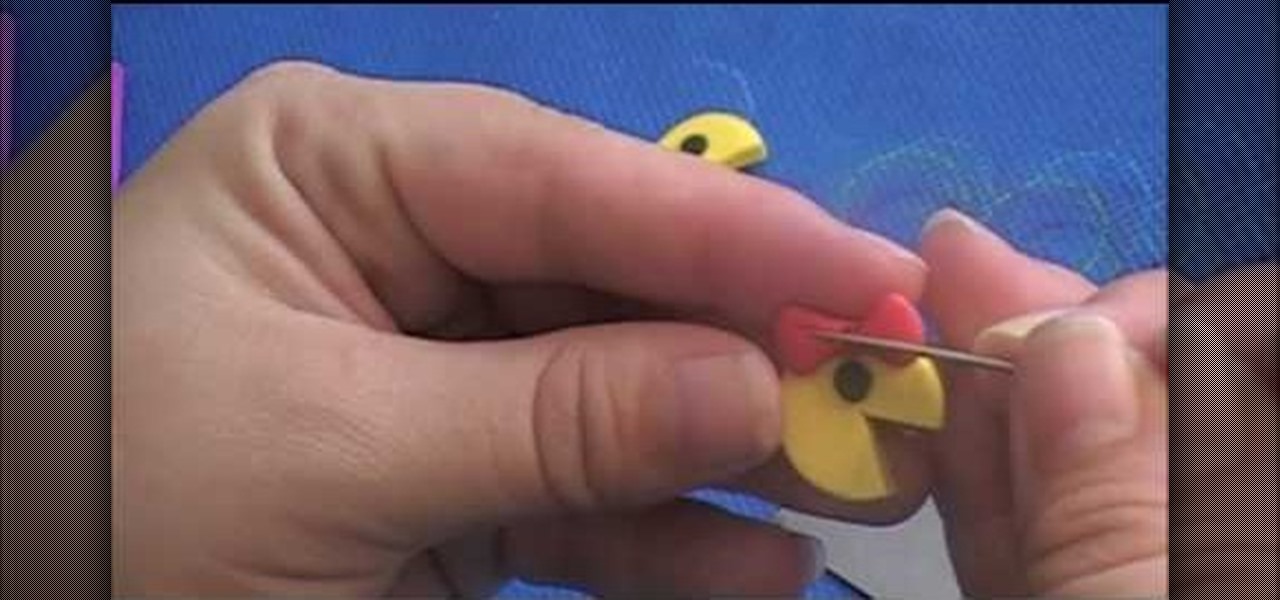
How To: Make a polymer clay charm bracelet
kriquit describes how to make a PacMan charm bracelet in this video. She uses various colors of polymer clay to make Mr.. and ms. PacMan and the little ghosts. The color she uses are red, blue, pink, orange, yellow and white and black for the eyes. She also says that you need some hardware tools: a poster roller, wire tools, quick drying glue, needle tool, a flexible razor blade (to cut the polymer clay), chain for the bracelet, 24 gauge wire and a lobster clasp. She makes the shapes using th...
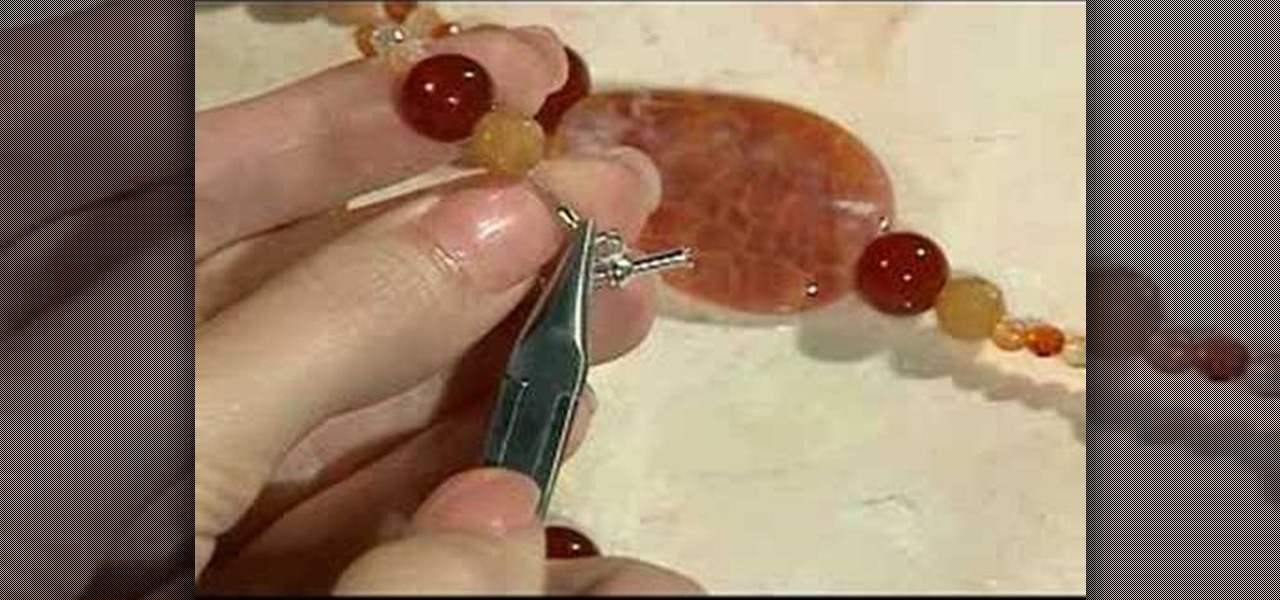
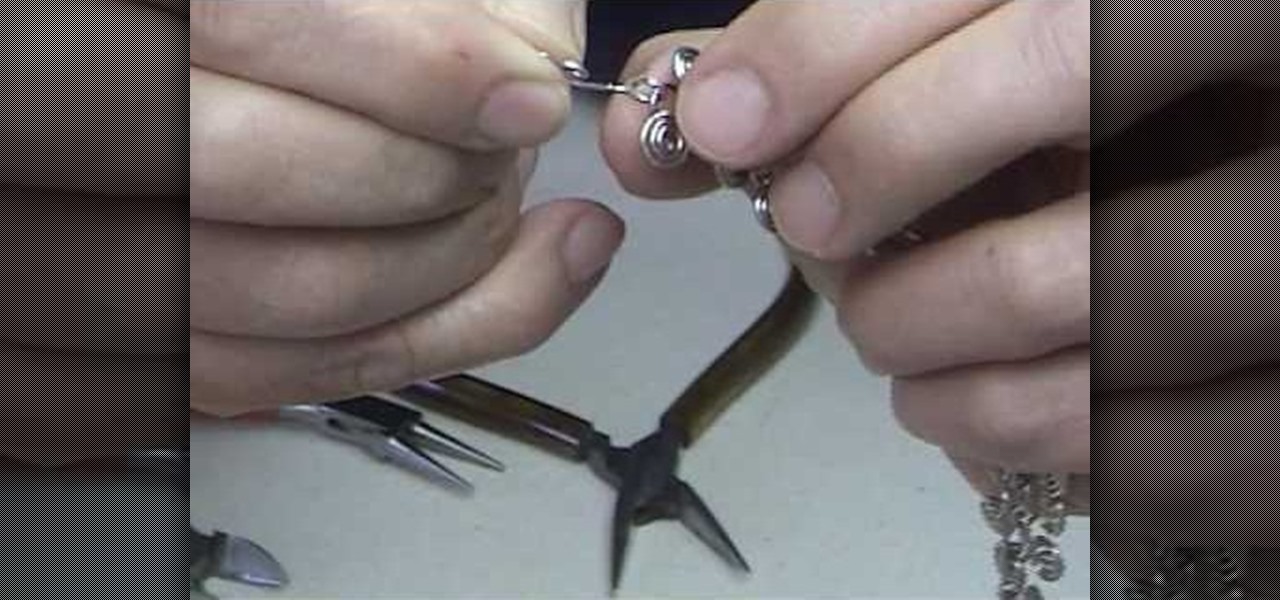
How To: Attach an eye pin to a French hook
In this Arts & Crafts video tutorial you will learn how to attach an eye pin to a French hook. The video is from Jewelry Making Fun. For this you will need nose pliers, an eye pin and a French hook. One way of doing this is to hold the French hook in one hand. With the pliers twist one end of the loop on the French hook to open it slightly. Then put the loop of the eye pin into the loop of the French hook and close the loop with the pliers. The other way is to open the loop of the eye pin, pu...
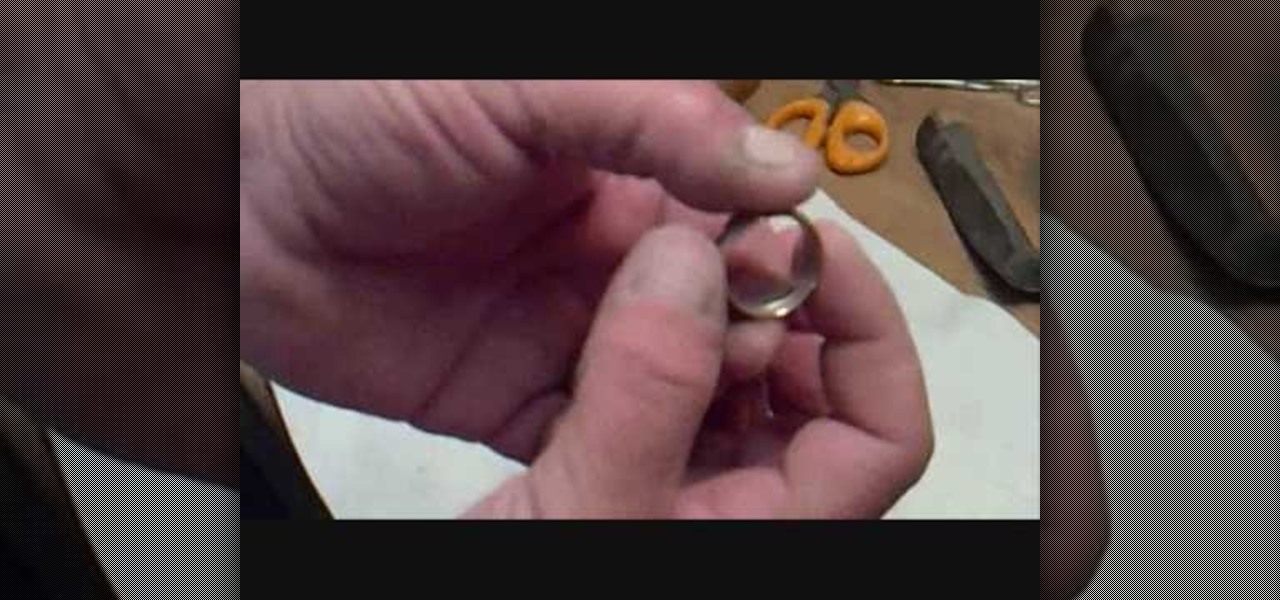
How To: Make a ring from a coin without power tools
Looking for an incredibly unique gift? In this video, learn how to make a cool, long lasting ring out of a coin! All you need is the coin (whichever size is best suited for your finger), hammer, file, emery cloth, saw and a hand drill. With this method, you will be able to see the writing on the outside of the ring, so everyone will know how unique it is. This would make a perfect gift, fashion statement or even wedding ring!
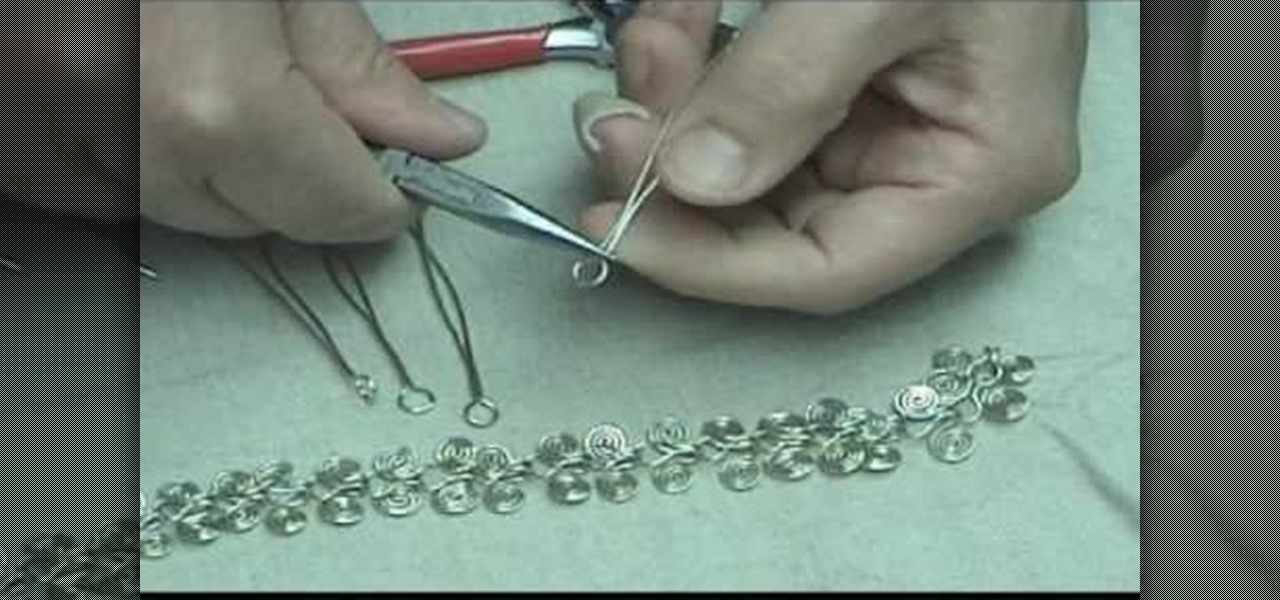
How To: Make a silver figure 8, Egyptian link jewelry necklace
Save money by making your own jewelry at home! Learn how to make yourself a beautiful Egyptian link, figure 8 necklace by following the easy to follow instructions in this two-part video. The wire used in this example is a standard 0.035 sterling silver wire. You can substitute 0.035 with an 18 gauge nickel silver wire (or you can experiment with other wire). In addition to the wire you will need three pliers to make this necklace: round nose pliers, chain nose pliers and diagonal cutters.

How To: Craft a charm bracelet
In this video tutorial, viewers will learn how to make a charm bracelet. The materials needed to make the bracelet are: a light silver plated chain, 100 grams of plain glass mix, 1 toggle clasp and 100 headpins. All these materials can bought from Beads Unlimited. The tools needed for the bracelet are: flat-nosed pliers, round-nosed pliers and cutters. This video is descriptive and clearly explains all instructions. This video is at a slow pace and provides step-by-step instructions that will...

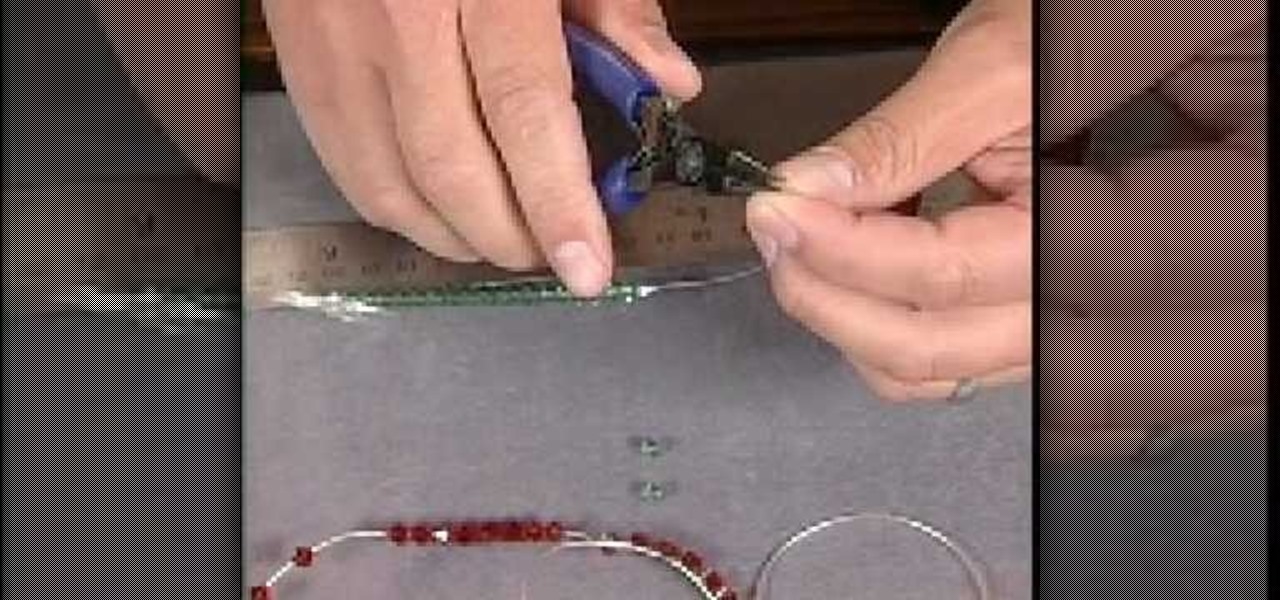
How To: Make a sunset-inspired necklace
Catherine demonstrates how to create an eclectic, sunset-inspired necklace in this video. To create the necklace you must gather 40 yellow bugle beads, 18 orange chip beads, 3 mm red round beads, a barrel clasp, 2 crimp beads, 2 bead covers, about 20 inches of beading wire, clippers and pliers. The design is to start by threading a clap and a crimp bead onto the wire, leaving a 2 inch tail. Then thread on 15 yellow beads, remembering to cover the tail you left with the beads, 3 orange beads, ...

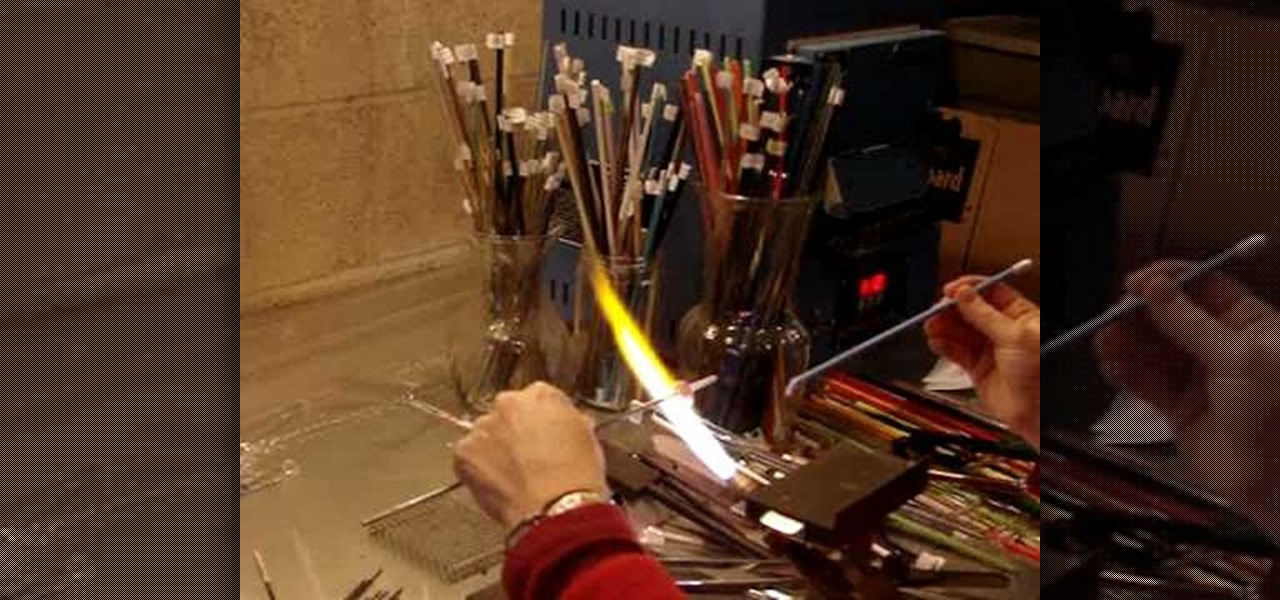
How To: Torch fire metal clay using a handheld butane torch
The metal clay must be completely dry before you begin the torch fire procedure. Set up your work space in a well-ventilated area with your metal clay on a fire brick. Start your flame and move around the piece in a circular motion, not staying on one point for long. You might see little flashes of flame. Don't panic. That is to be expected. Time yourself for about a minute. Your metal clay should take on a peach color. It is important not to use a butane torch and metal clays that contain or...
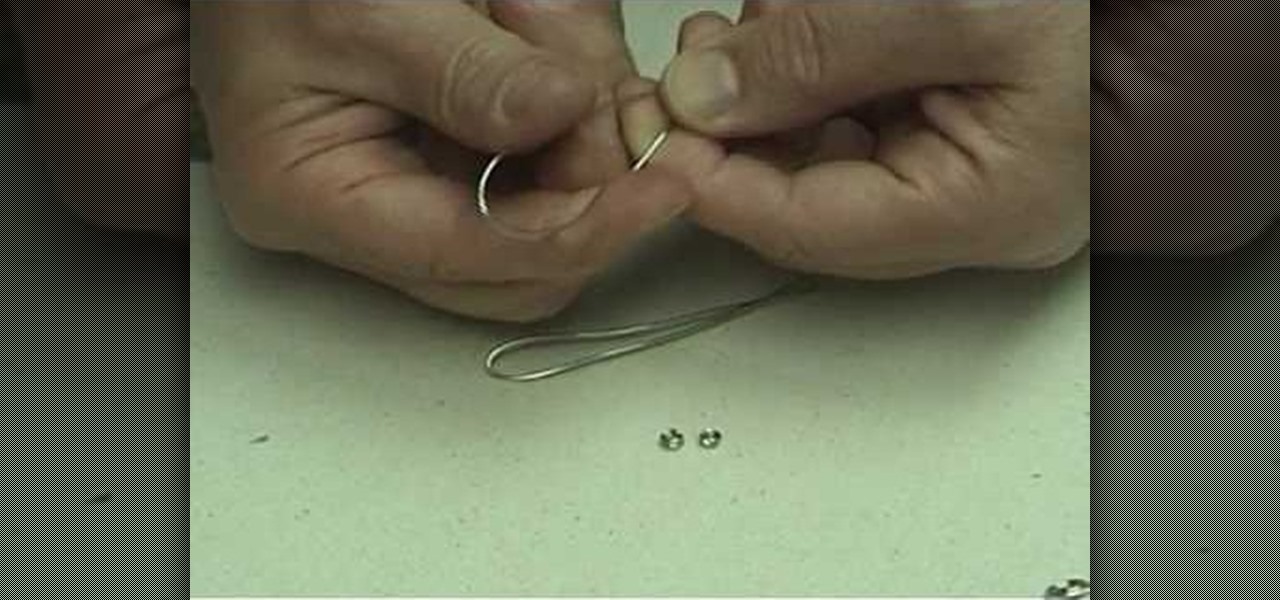
How To: Make a simple jewelry clasp
Sick of buying clasps to finish off your handmade jewelry? In this two-part jewelry making tutorial, learn how to make your own clasp for a necklace or bracelet with easy to follow instructions. Construct a handmade wire clasp to use on any of your necklace or bracelet jewelry creations.
How To: Make upsidedown heart wire earrings
Accessorize your outfit with a pair of adorabe handmade upside down heart earrings! Why shell out tons of cash to walk down the street in style, when you can make your own accessores at home for half the cost!? In this two-part video tutorial, learn how to make wire wrap upside down heart earrings step by step.
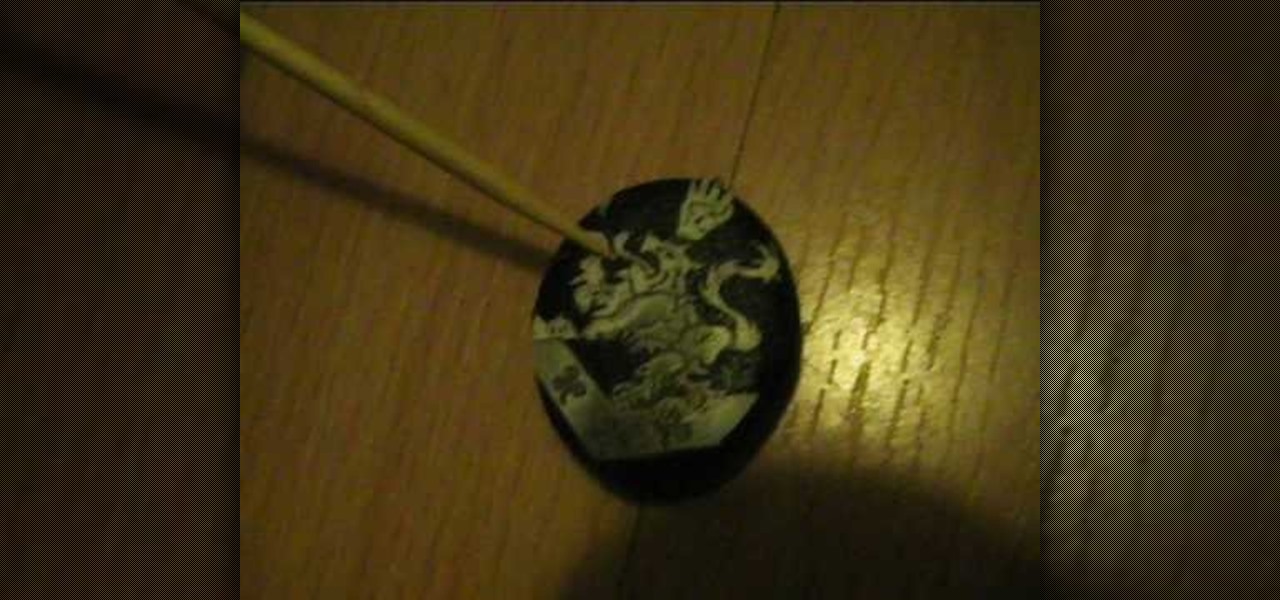
How To: Make an Alice Cullen crest necklace
In this video, Alice demonstrates how to make a crest necklace using simple things. For making this necklace she collects some materials such as oblong shaped rock or polymer clay, some paints, a computer print of a cullen crest and so on. She uses the ordinary black paint to paint the rock completely. Next, she collect a computer print of a layout for the culler crest and carefully cutout the shape and using craft glue she stick it on the painted rock to see it fit. she takes some white pain...
How To: Make earrings with gemstones, freswater pearls & wire
Marianna takes us through the process of creating a beautiful set of earrings! For this project you will need two sterling silver head pins, four fresh water pearls, some gemstones of your choice, two sterling silver ear wires, round nose pliers, flat nose pliers, and a cutter. Take your head pin and string your beads and gemstones on the head pin. Next using the flat nose plier, bend the end of the head pin to create a 90 degree angle. Then make a simple loop where the ear wires will be plac...

How To: Make fish-shaped earrings
This video is in the Arts and Crafts category and you will learn how to make fish-shaped earrings in this video. It is really very simple and easy to do this. You will need some silver plated rings that have hooks at one end and round nose pliers. First, press the hook with your fingers to give it the shape of a fish. Then with the pliers, bend the non-hook end of the ring backwards to form the tail of the fish. Now you have the fish-shaped earring. You can hook it into another ring and you h...

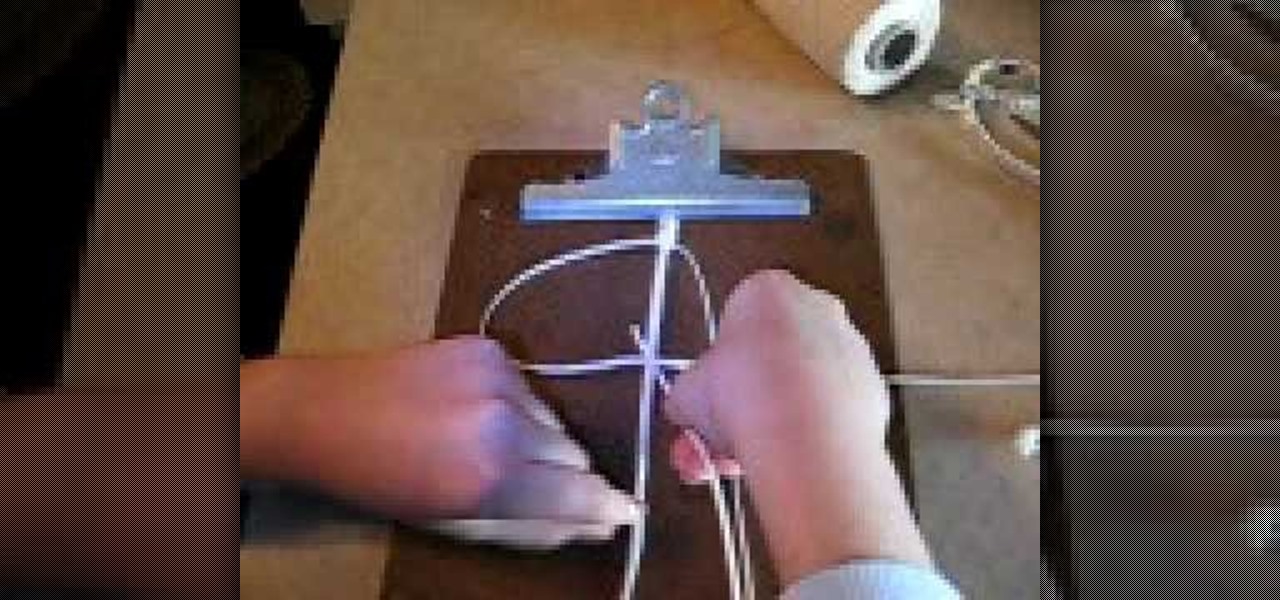
How To: Make a zig-zag Chinese staircase bracelet
In this video we learn to make a zigzag Chinese staircase friendship bracelet. You can go wild and make it all different colors or all one color. You start off with 5 strings about a yard long and fold then in half. Then you make a knot creating a loop for the end and to hold to a nail or clip while you make it. Take a strand and make 5 forward knots. With the same strand you then do 5 backward knots. Repeat this one time, so in all are 20 knots and then switch color, or to another strand. Do...
How To: Make a Victorian-inspired necklace using a ribbon
This video is in the Arts and Crafts category and you will learn how to make a Victorian-inspired necklace using an old ribbon. This is a very simple and easy way of making a necklace. Take a ribbon of about an arm’s length, tie it around the neck and check that the length should be OK. Then you can take a bunch of beads or a flower or some such suitable item which is fixed on a wire to put on the ribbon. Tie a knot around the wire and then turn the wire around the ribbon and your necklace is...