

Hot Jewelry How-Tos


How To: Make an H2O locket
This video tutorial is going to show you how to make an H2O locket. You will need a snake chain and a couple of clothing studs. Take two clothing studs, bend the spikes and glue them together and let them dry. Use Krazy Glue or Super Glue. Regular glue will not work. Then you take the snake chain; put it snugly around the clothing stud and glue them. Just make sure you don’t put too much of glue. Otherwise, the glue will show and make the locket look shabby. Watch the video for further instru...

How To: Make a floating illusion necklace
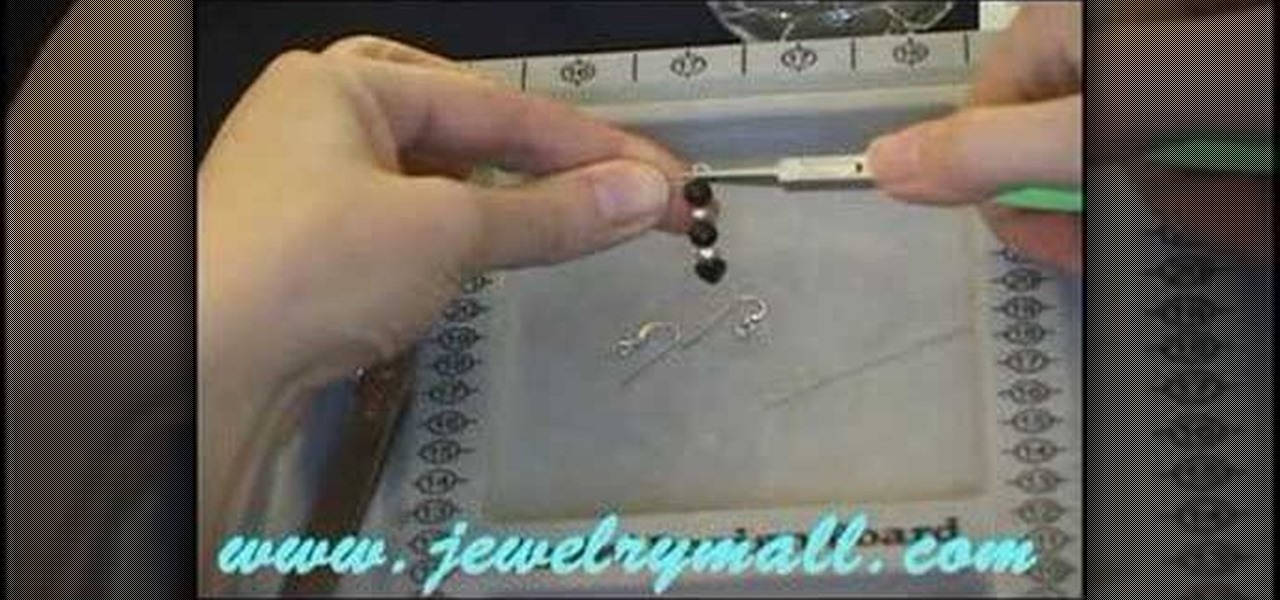
Those interested in learning how to make their own jewelry, can learn how to make a floating illusion necklace by following the steps in this video tutorial. You will need a beading board, beading wire, crimp beads, beads of your choice, a barrel clasp, wire cutters, and crimping/flat-nosed pliers. First measure out how much wire you will need. The tutorial is making a 16-inch necklace. Make sure to cut extra wire. For a 16-inch necklace, this means you should cut approximately 20 inches of w...
How To: Make simple gemstone bead earrings
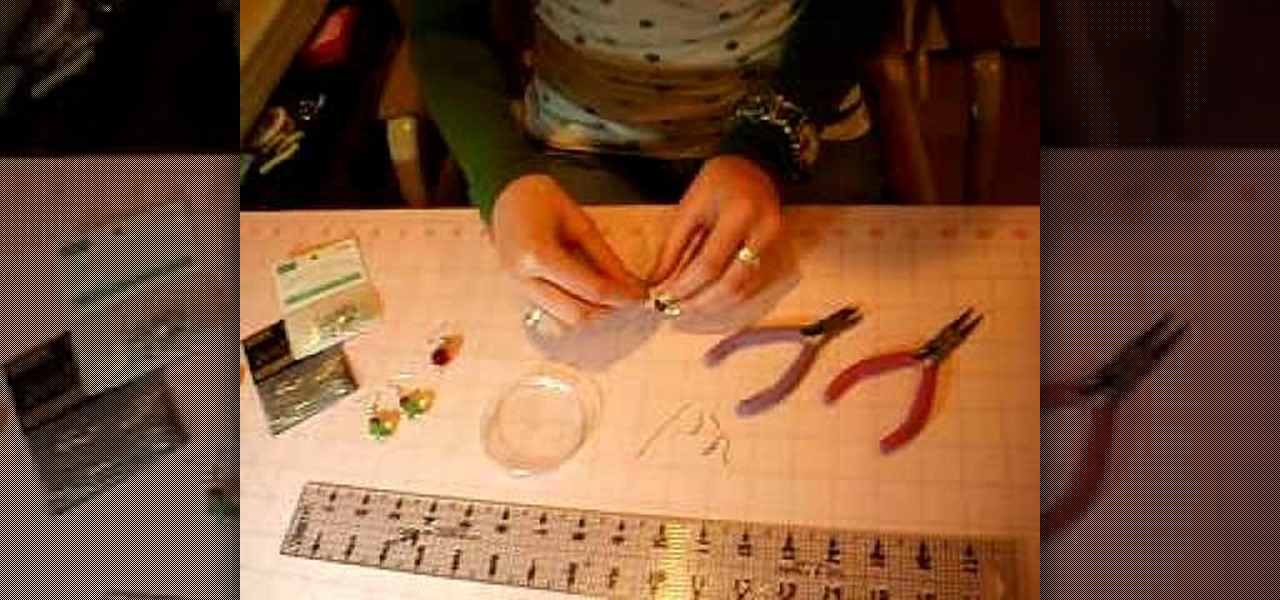
Learn how to make beautiful beaded earrings with this instructional video! The tools you will need are two head pins, ear wires, a pair of pliers, tweezers, and a nail clipper. First start off by choosing your favorite combinations of beads. Begin by stringing the beads in any order on the head pins. Next you will need to close the head pin off. The easiest way to do this is wrap it around with the pliers. You do this by easy twisting around the earring. You make sure to make a round loop whe...
How To: Make a simple pair of headpin loop earrings
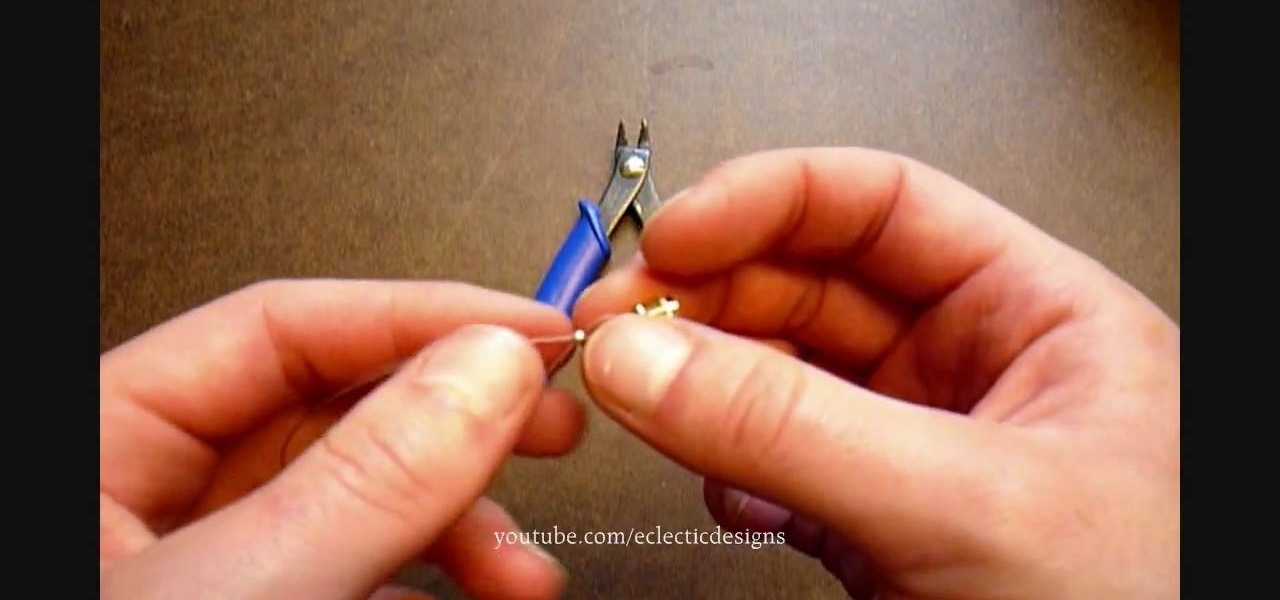
In order to make a simple hair pin you need a couple things first, a small and big bead (although you can use other items), an ear wire and a head pin. Tools that you will need are a pair of round nose pliers and a pair of cutlets. Now take the head pin and loop the beads through it. Take the nose pliers and bend it, about half way up the head pin and gently bend it with your fingers, making a 90 degree angle. Twist the pliers up and bring the head pin over the nose pliers. Then twist it cloc...
How To: Gloss your polymer clay pendant jewelry
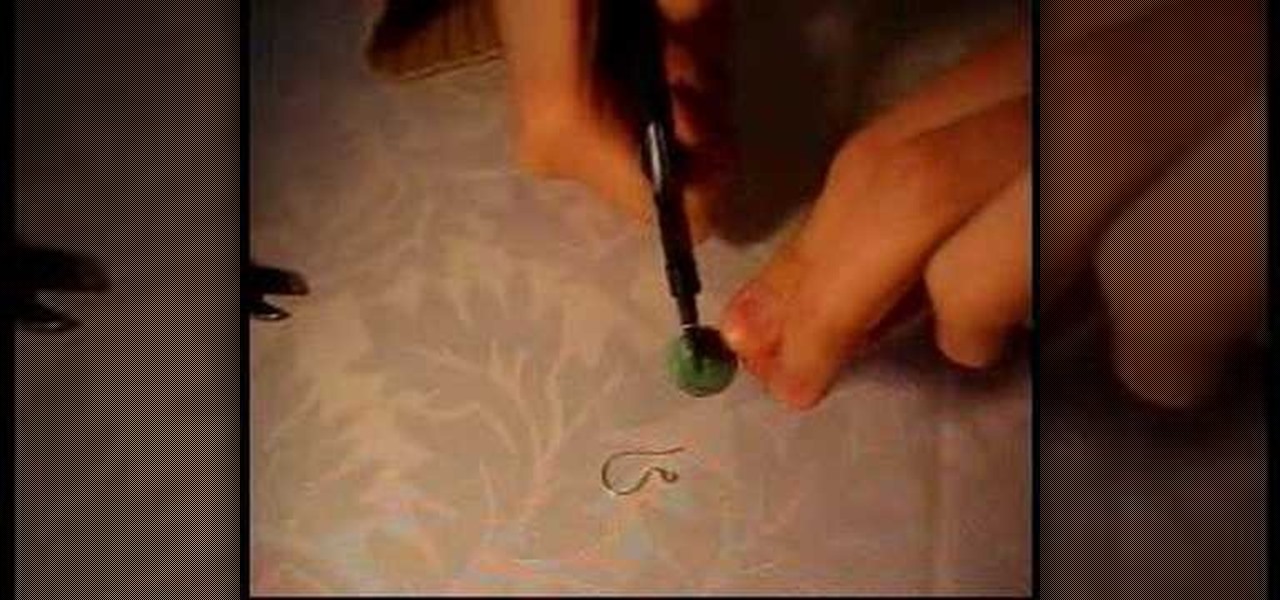
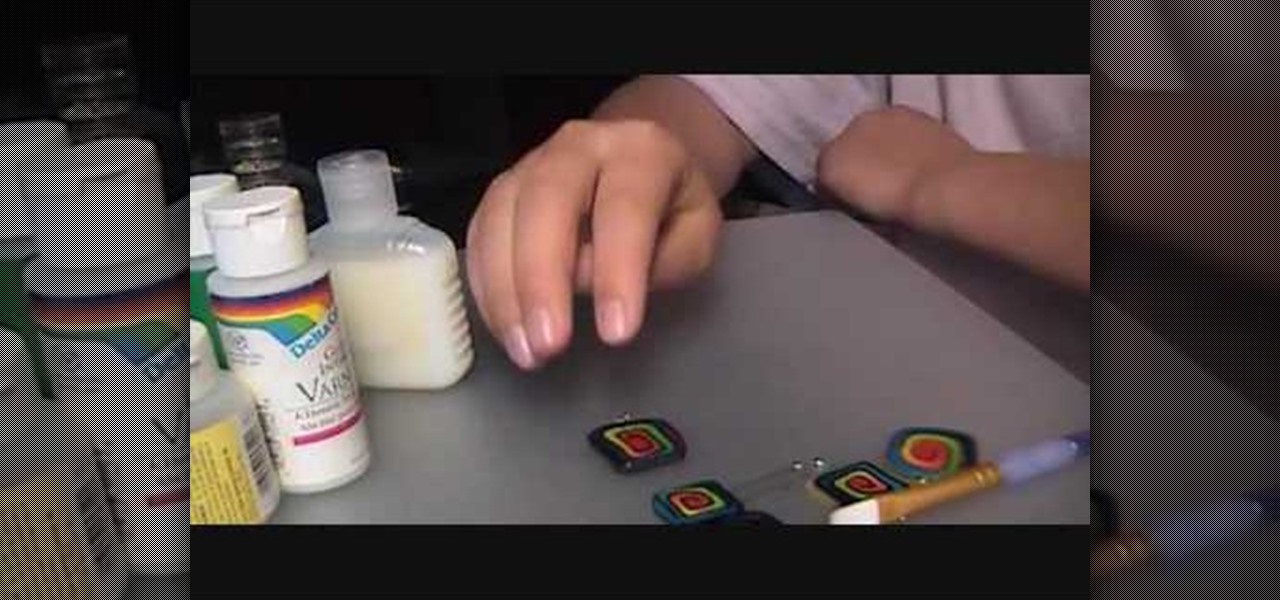
You'll learn how to gloss/polish your polymer clay pendant jewelry in this video. To do this, you'll need a brush. Preferably, a nice, soft brush. You'll also need your clay pendants (of course), some gloss, and aluminum foil. First, you pour two drops of the gloss onto the aluminum foil. Next, you take your brush, put it in the gloss, and run it across your pendant. This will give your pendant a really thin coat of gloss. Be sure to wash your brush soon after, otherwise the gloss will dry an...

How To: Make homemade earrings
Brittany helps guide you throw the steps of making your very own homemade earrings with beads and the right tools. She shows you everything you need with a subtitle description to help you understand just what you are looking at. Brittany demonstrates how to make the earrings with using the heaviest bead on the bottom so they are weighted down and by sliding them up the head pin and cutting the end of the pin off with a pair of wire cutters. Next she bends the end of the pin with needle nose ...

How To: Make a DIY earring holder
This video shows how to make an earring holder. You will need a canvas and some acrylic paint. Paint the entire canvas including the sides. You can paint it a solid color, or paint any design you like. Use glue to attach some glitter, or use puffy paint or glitter glue to decorate the earring holder. When the paint is dry it is ready to use. Simply push your earrings through the canvas. If you have earrings that are delicate, you may want to use a nail to form a hole in the canvas before plac...
How To: Make sterling silver hoop earrings
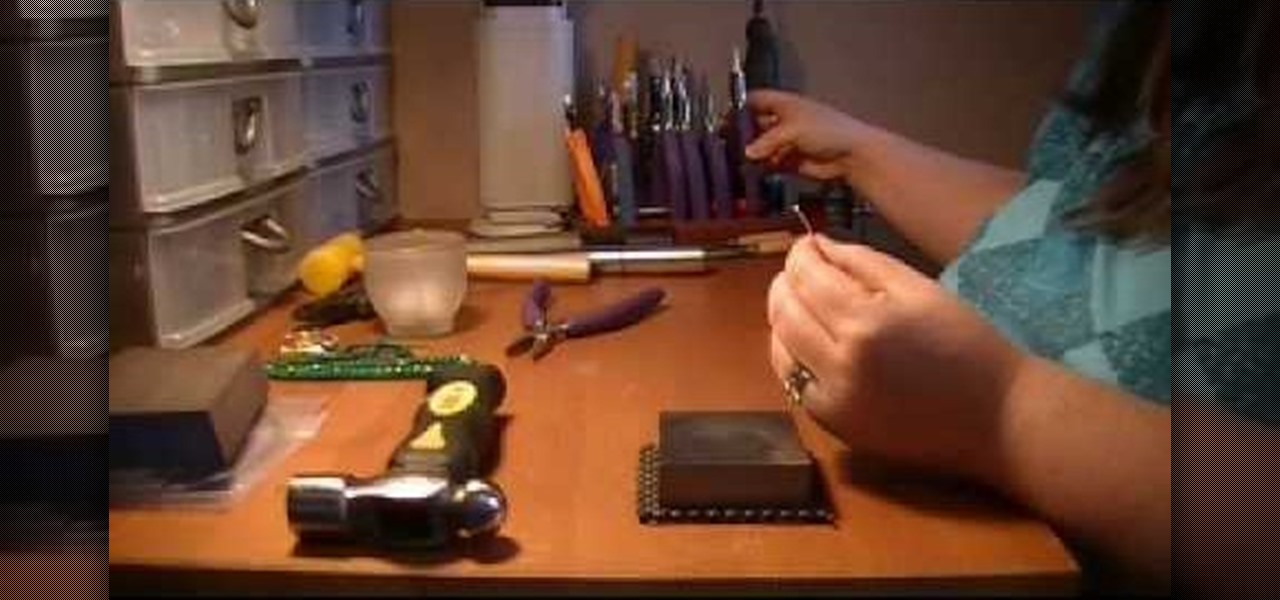
The video helps us to make sterling silver hoops earrings. It is one the popular style of earrings. These earrings can be made of different sizes, shapes, forms whatever we like. This art and craft work is shown by Natalie.

How To: Make a heart-style friendship bracelet
In this video Kiwua shows you how to make a heart bracelet. She recommends that you start braiding the wool yarn from left to right and then progress from right to left. In the middle she creates a heart shape from the wool yarn with the wool yarn extending in four rays from both sides of the heart. The same steps are repeated with a different color of string each time, braiding the yarn once again beginning from left to right and then proceeding to the right hand side and knitting over from ...
How To: Finish off your jewelry with crimps & crimp covers
Jewelry-making Techniques demonstrates how to finish your jewelry with crimps and covers. To use crimps and covers to finish your jewelry you will need 2mm crimps, 3mm crimp covers, crimping pliers, a clasp and beading wire. First, attach the clasp by stringing the crimp bead and one part of the clasp onto the wire. Take the end of the wire and string it back through the crimp bead to make a loop. Adjust the crimp bead up to the clasp and use the crimping pliers to crimp the bead. Repeat on t...
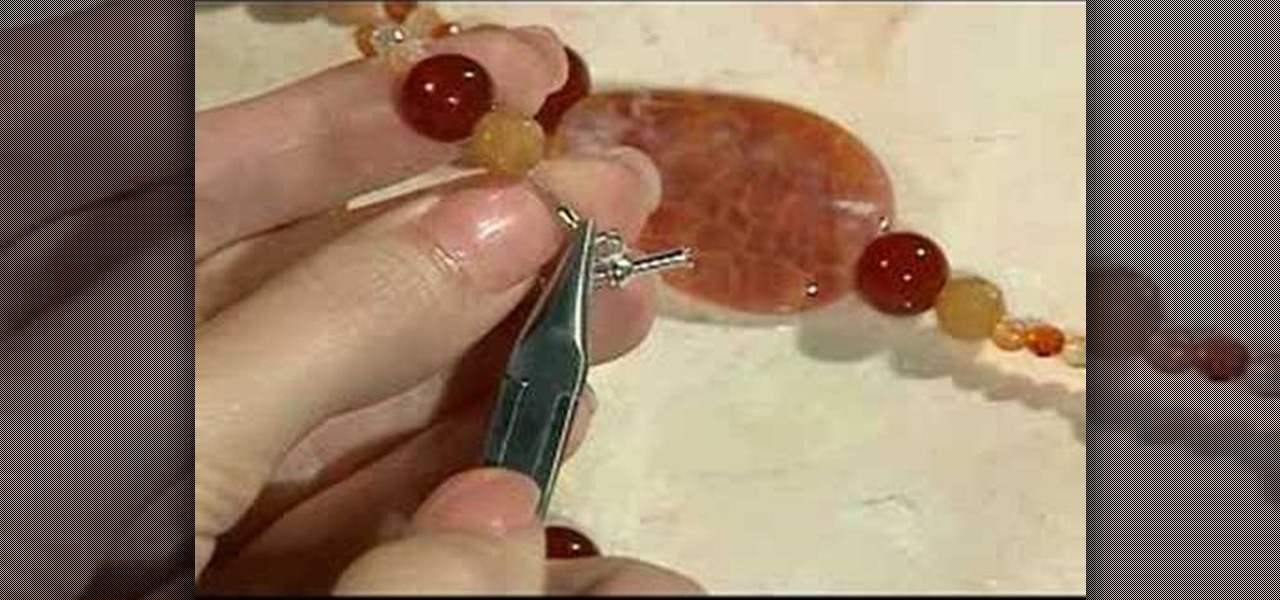
How To: Make Swarovski crystal earrings in sterling silver
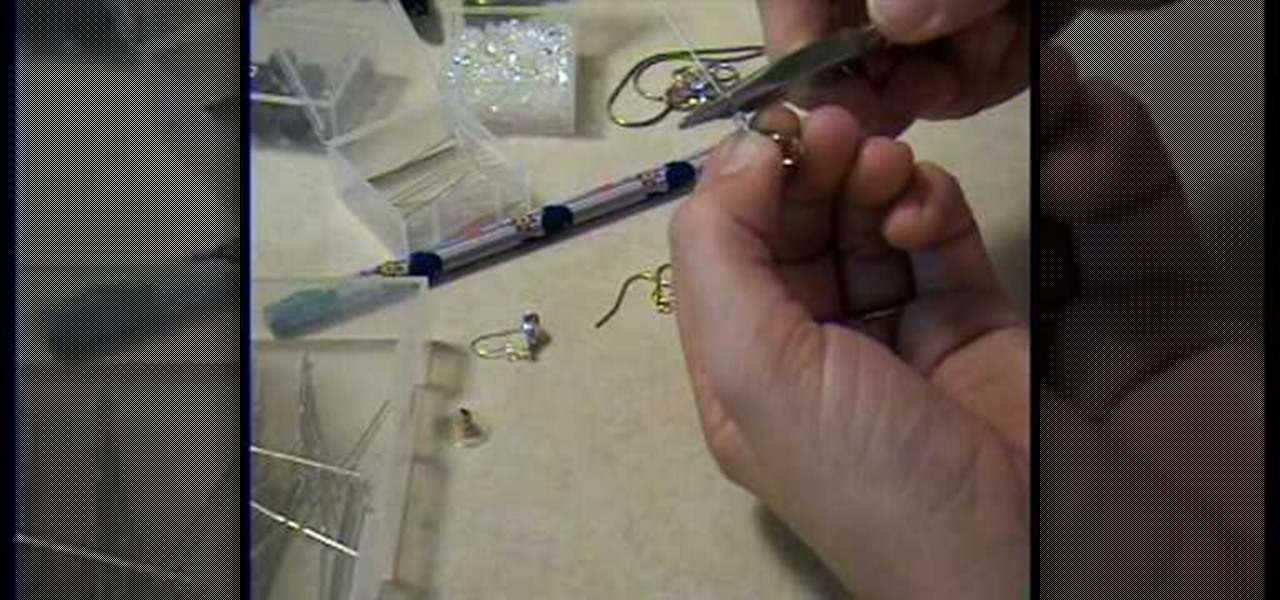
This video explains how to create a pair of Swarovski crystal earrings. You will need a tooth headpin, two pear-shaped crystals, two spacers, two diamond beads, and sterling silver ear hooks. First, slide the pear-shaped crystal onto the head pin. Follow with a spacer, a bead, then use a pair of pliers with a side-cutting edge to cut the wire and bend at a 90 degree angle. Use round-nose pliers to then create a circle at the end of the wire, then 'squash' a bit with the other pliers. Then ope...

How To: Make a continuous daisy chain necklace
This video shows you how to create a continuous, daisy-chain necklace. The materials used include: size 11 rock eyes in yellow, red and purple, a toggle clasp , 9mm thread and a size 10 beading needle. Start by sewing on one half of the clasp, tying a knot to hold it in place. Be sure to leave the tail ends long enough to be able to re-thread it later with a needle to sew the tail ends. The video then shows the precise order in which the various beads are threaded through to produce a chain i...

How To: Make DIY guitar pick earrings
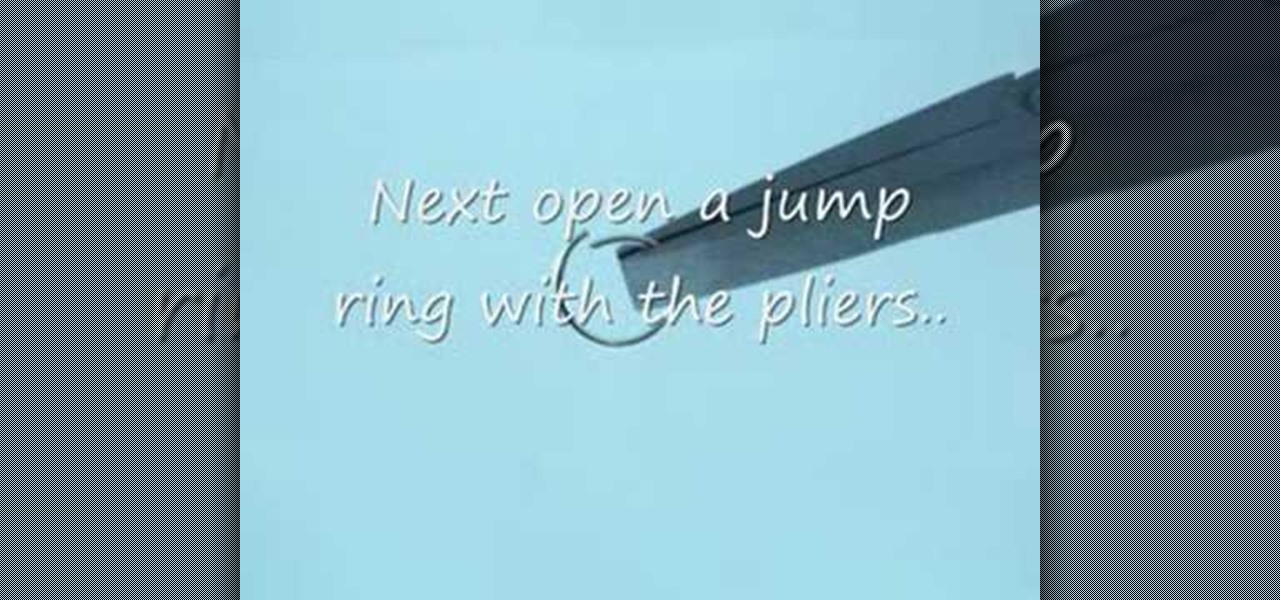
In this video you learn to make earrings out of guitar picks. You will need round nose and regular pliers, wire cutters, 2 regular picks, bead reamer, earring hooks, jump rings, and long silver strands. Use the bead reamer to make a nice clean hole on the top edge of the guitar pick. Use the jump ring through the hole you just made to attach the silver strand. This makes the earrings dangle. On the other end of the silver strand connect the earring hook with another jump ring. This completes ...

How To: Make cute mini polymer clay radish earrings
MsKreant teaches viewers how to create cute radish earrings with polymer clay! Use Sculpey baked clay in red, white, and two different greens for the leaves. Roll each color into tiny balls. First, take the red ball of clay and put the white ball of clay next to it. Put them together and pull together. Make the white part pointy. Next, make and indent at the top for the leaves with a bamboo skewer. Next roll your two colors of green into long spaghetti strips. Put the two together and flatten...

How To: Make vintage-style button earrings
This video tutorial demonstrates how to make a simple vintage style button earring. Materials required are two pairs of vintage style buttons, a button shape remover or pliers, some earring poles and super glue

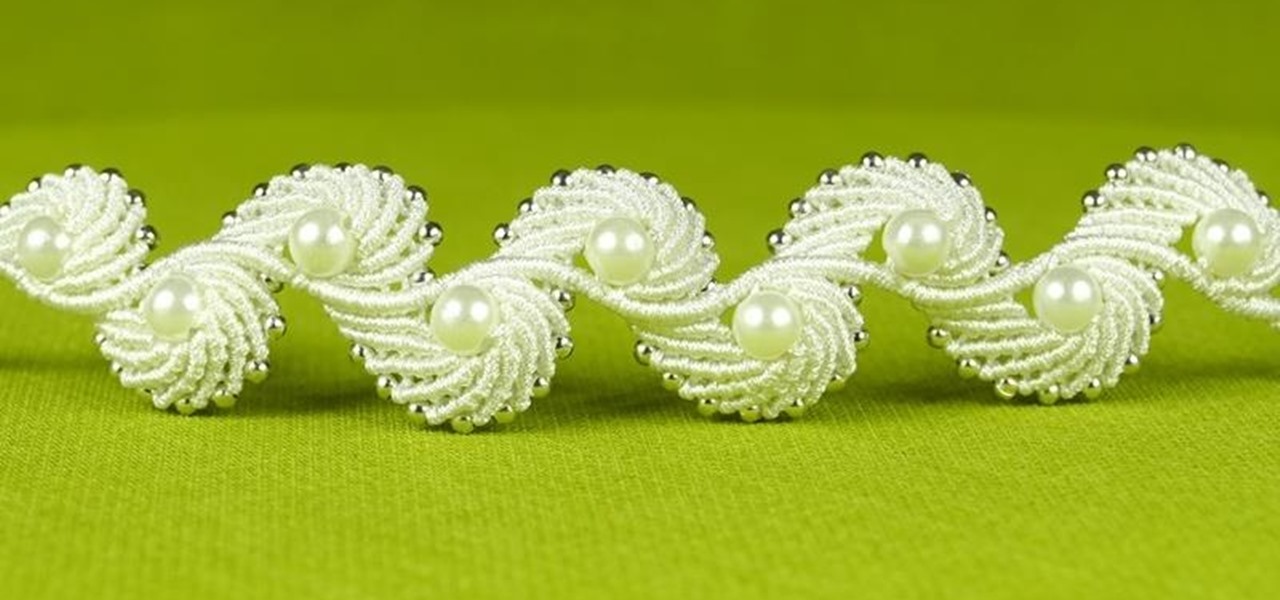
How To: Make a simple daisy necklace
To make a daisy chain beaded necklace you must get three different bead colors, two that are size eleven and one that is size four. The size eleven beads are for the stems and the outer part of the flower, while the size four beads are for the inside of the flowers. You will also need nylon thread and a clasp, such as a magnetic clasp. First slide the clasp on first and connect it to the thread. Next follow the following pattern for the beads, 8 for the stem (size 11), 6 for the outer petals ...

How To: Use a head pin when jewelry making
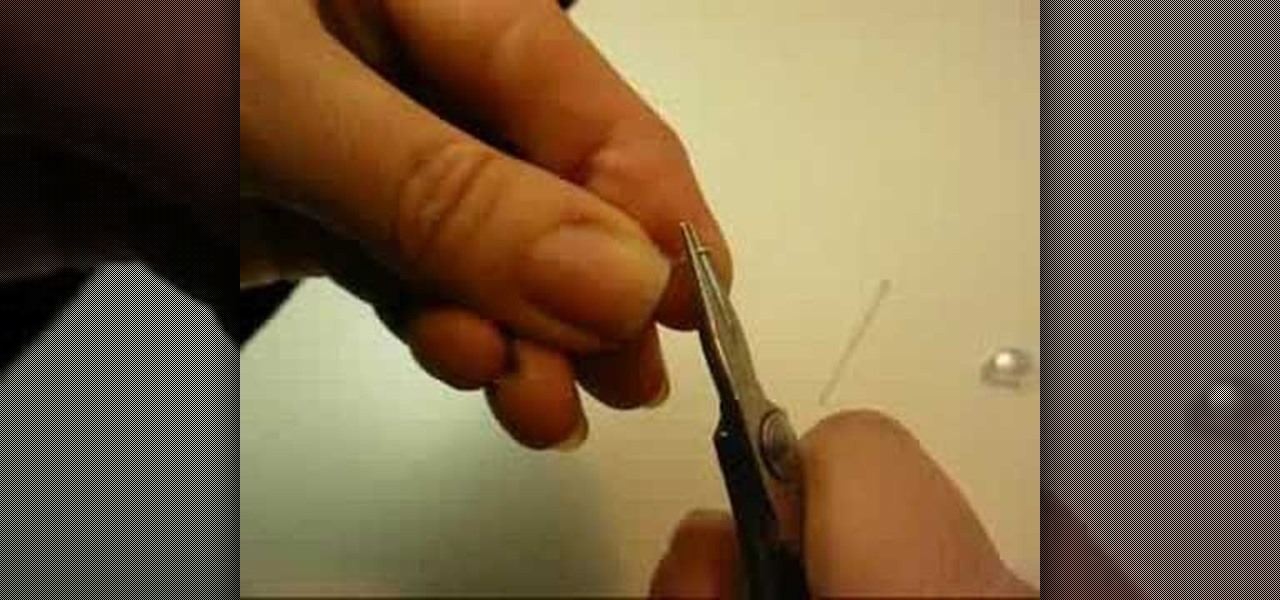
Rob shows us how to use a silver one inch long wire head pin to place a bead on. He uses both flat nose and round nose pliers to close the loops he demonstrates how to make. outlining the basics for loop making and the loop connection process. He slowly and clearly shows us how to make two different types of loop closures. On of the loop closures is simple and easily reopened. The other loop closure is made by making the first loop and then using tools to wrap the rest of the wire around the ...
How To: Make a Swarovski crystal necklace for cheap
Learn how to make a Swarovski crystal pendants that can be used to make your own necklaces by following the tips in this tutorial. You will need a pair of needlenose pliers, a chain, Swarovski beads, and bails (a pinch bail). You can get the beads from ArtBeads or FusionBeads, which offer shipping promotions and low prices. Once you have these items it is simple to put the pendant together. Simply take the bail and open it with the pliers. Slip the bail through the hole of whatever bead you b...

How To: Make a pair of textured metal earrings
To begin take a 28 gauge copper sheet and cut out a pattern that you wish your earrings to be. Your pattern can be any shape that you wish. Cut out both earrings. Next sand your two earrings so that a texture will begin to arise on the copper sheet. Then you can color the copper with colored pencils to add the colors that you would like. Now with a break machine feed the copper sheet into the break in order to form the texture on the earrings. Then take a pair of pliers and exaggerate your pa...
How To: Make a Peruvian inka necklace
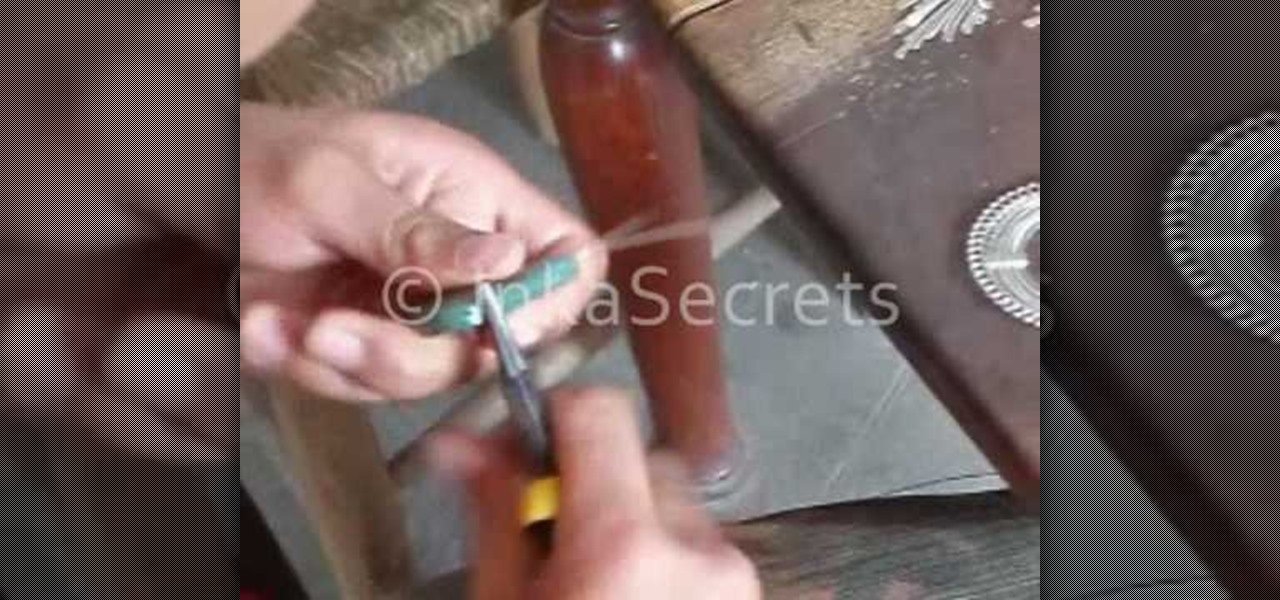
In this video a Peruvian Inka necklace is begun by selecting and washing precious stones. The stones begin as varied sizes and irregular shapes. These stones are then coarsely ground down to the desired size and shape. Finer grinders are used to get the exact shape and make the stones smooth. The polishing of the stones comes next. After much polishing these stones are ready to be placed in handcrafted Peruvian Inka necklaces. Each of these tedious steps are shown in abbreviated video clips o...
How To: Make dangle earrings
Take an inexpensive earring and use hot pliers to ease it away from the cheap metal fastening. Take a more expensive silver or gold earwire and pull it through the loop at the top of the pendant part. Squeeze the wire closed with the pliers. Using an inexpensive earring part as a model, bend your own wire to the same shape. You then take a 4mm Swarovski crystal and attach it. Bend your earwire round a smooth pencil and make sure the bead cannot slide off from the wire. You can use the same pr...
How To: Make Nintendo perler bead necklaces
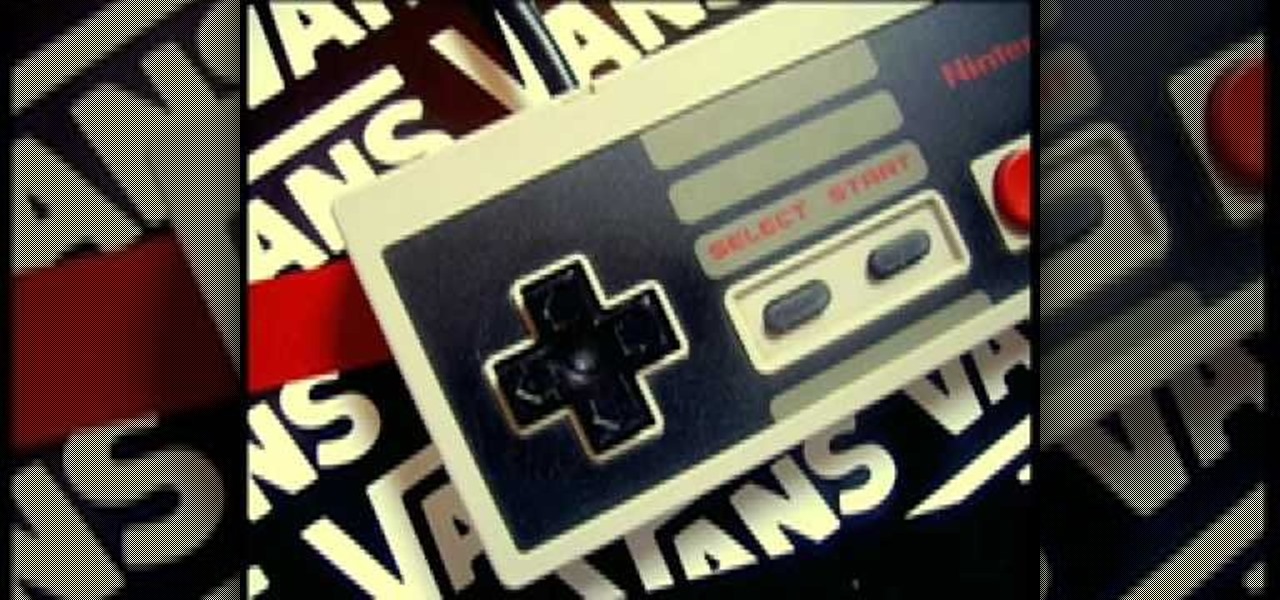
The video tutorial is about creating an 8 or 16 bit Nintendo Character necklace. The first step is to select or search an 8 or 16 bit game character, the person in this video tutorial recommends choosing a sprite (which is a 2D character. Doing online search will help a lot in finding a Sprite character. The second step is to gather the supplies such as Perler Beads and Peg Boards. The peg board will be used in assembling the Nintendo Character necklace. Other supplies includes ring, chain an...
How To: Make a simple pair of beaded earrings with wire
To begin you will need to gather the following supplies: needle-nose pliers, wire cutters, two fish hook wires, two head pin wires, and a few beads of your choosing. First take the head pin and string your beads onto the head pin. Once all of the beads are on the head pin bend the top of the pin at a 90 degree angle, then cut the wire about 3-4 cm from the top of the wire. Next use the needle nose pliers and bend the wire into a circle, place the fish hook wire on top of the head pin wire to ...
How To: Make button drop earrings
In order to make this your going to need buttons (as many as you want depending on how you want it to look), some hook earrings, jump rings and a flat nose pliers. Take the buttons you wish to use, and open the jump ring with your flat nose pliers. Take another button and do the same thing. Link both of the jump rings together. Close the jump rings with the pliers. Next set up another jump ring with button. Repeat with as many buttons and jump rings as you wish. When your finished with adding...

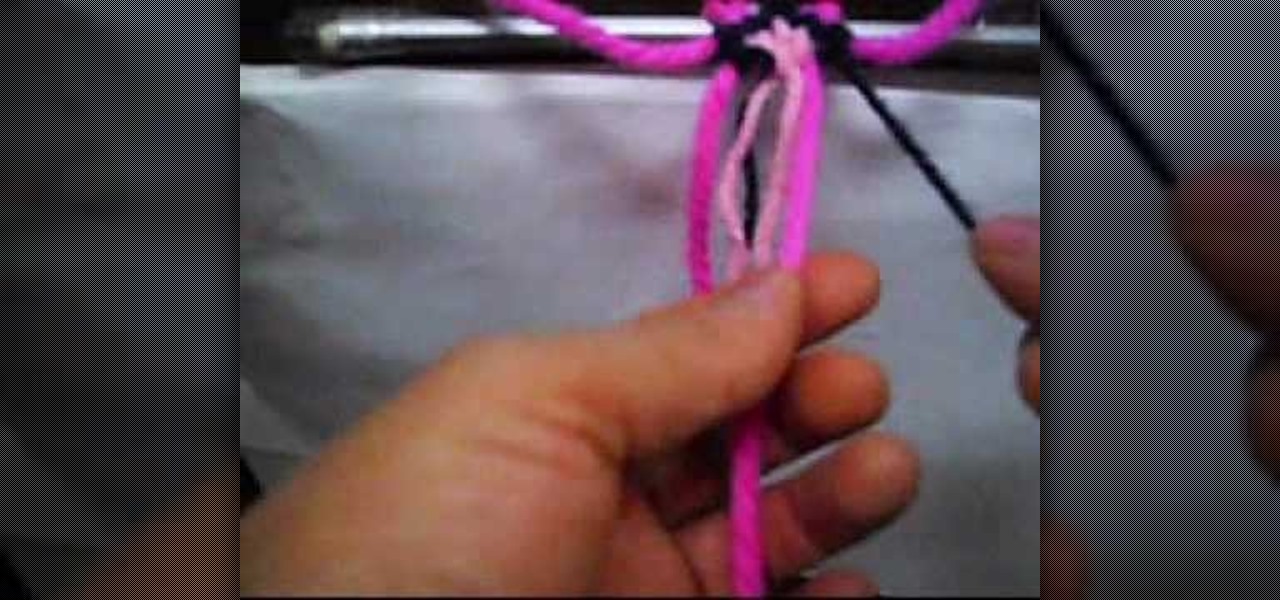
How To: Make a squared-style friendship bracelet
Kiwua demonstrates how to make squares friendship bracelets. There are 3 pink threads on the left, 2 black threads in the middle and another 3 pink on the right. First, you take two from left and make a knot from left to right. Then, with the same threads, another knot from right to left. Now you take the next two, a pink one and a black one and makes a knot from right to left. She repeats this action, the same way. After that, she takes the next two threads and knots them from left to right....

How To: Make a friendship bracelet with the letter "I"
Ever want to have a friendship bracelet with your own personal saying on? Well, it's going to take a lot of experience to get there. Start off with learning the basics of friendship bracelet making, such as the basic knots and skills. When you think you are ready for a challenge, try to write your name in a bracelet. This video is ideal for learning the letter "i". "I" is a very common letter to be in first names and it is probably found in yours too! After learning how to make the "i" try to...
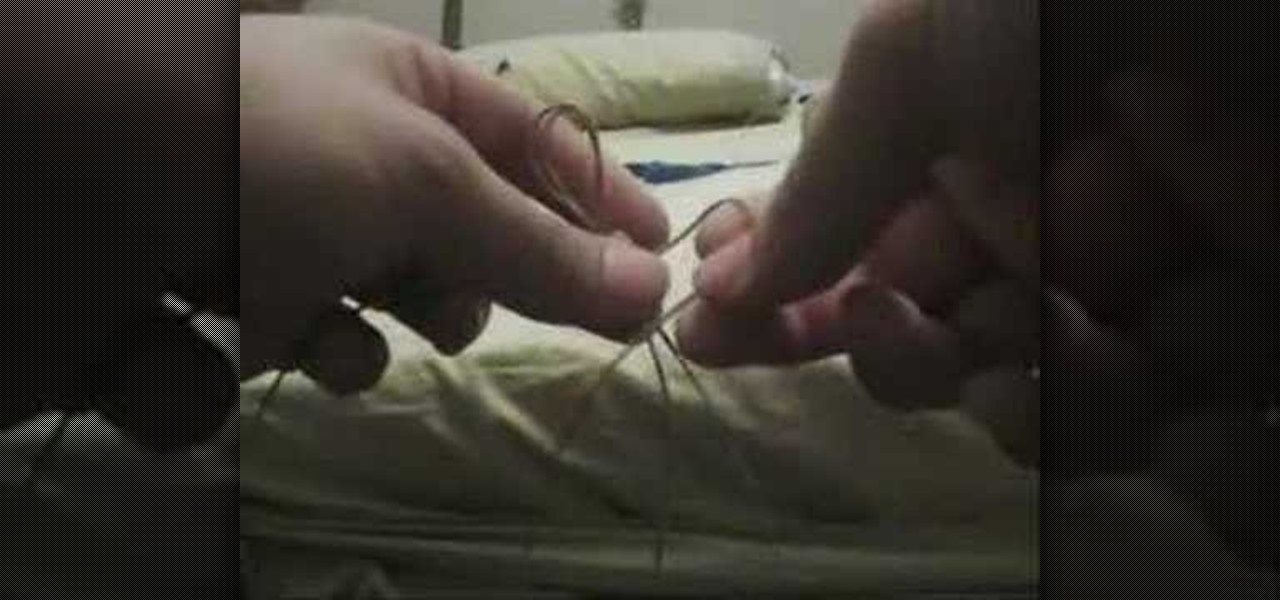
How To: Make diamond-styled friendship bracelets
Kiwua How demonstrates making a diamond patterned friendship bracelet. She starts with eight strands of string tied in a knot at one end. She has the knotted end clipped to something so that it doesn't move easily. The diamond pattern is created with a series of simple knots rotating across the strings. The direction of the knots is rotated from left to right and right to left among the screens. She does a great job demonstrating pulling strings out of the way as needed and showing which stri...
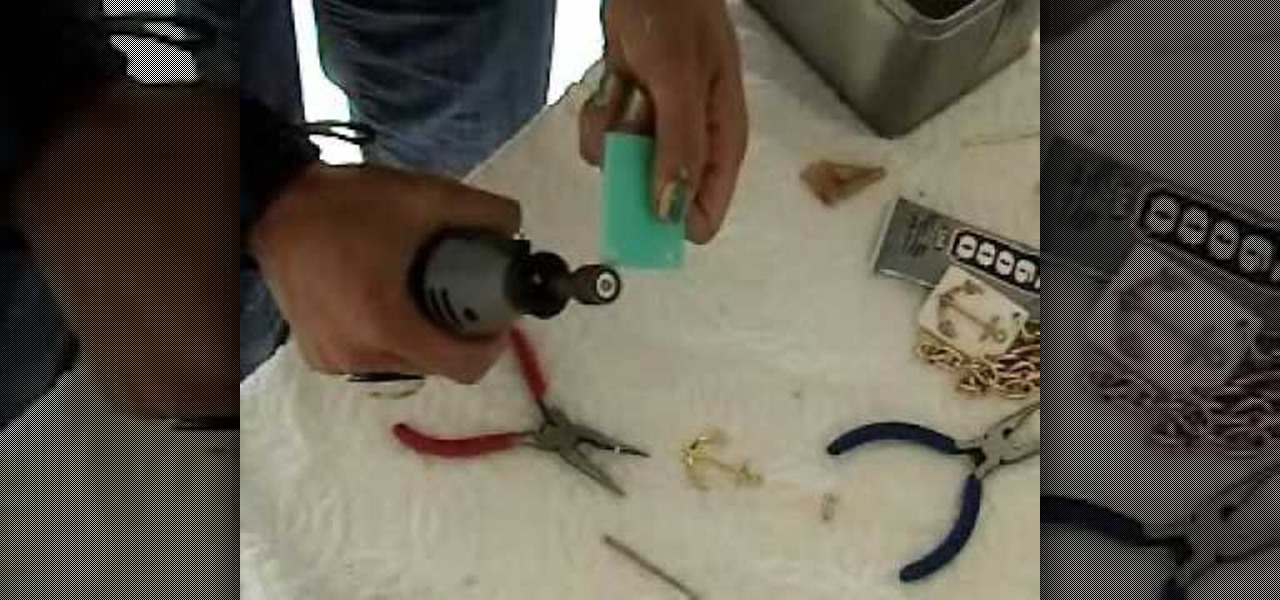
How To: Make a chunky sailor anchor necklace
Learn how to make your own jewelry starting with a gold anchor and plastic gold chain necklace by following the steps Kandee outlines in her tutorial. You will need a drill, some attachments for it, a gold pendant, gold chain, and clasps to connect your necklace. To begin, create your pendant by gluing an anchor charm to a plastic square pendant. Once you have created the pendant, drill holes in the upper portions of the pendant. Then connect the gold chains on each side of the pendant using ...
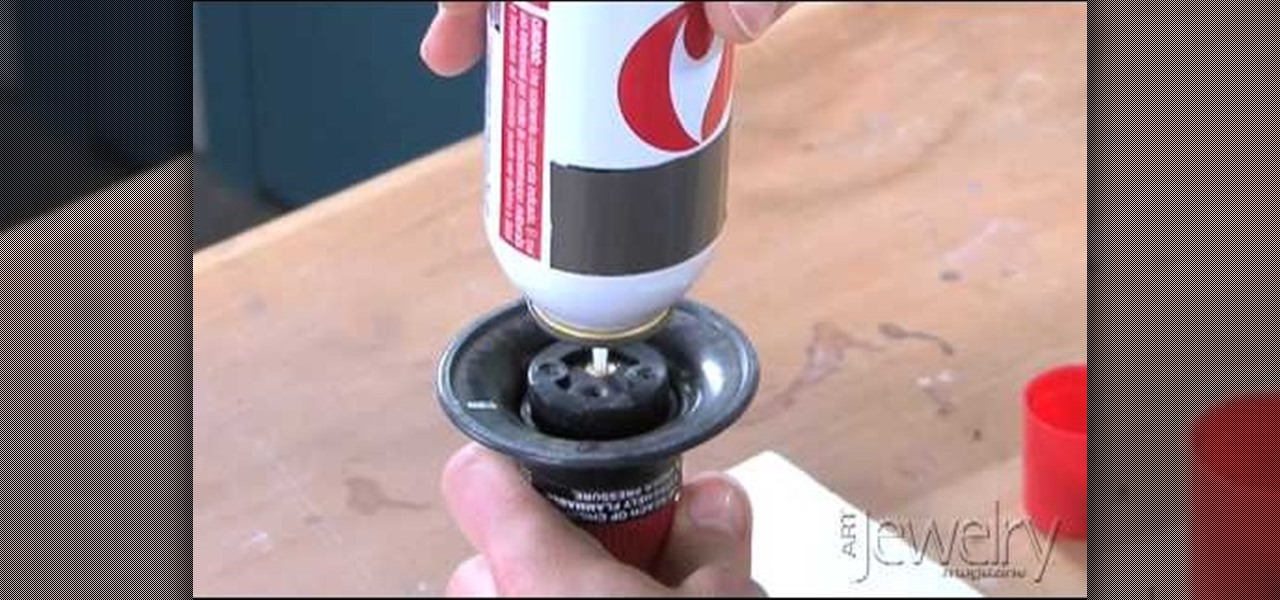
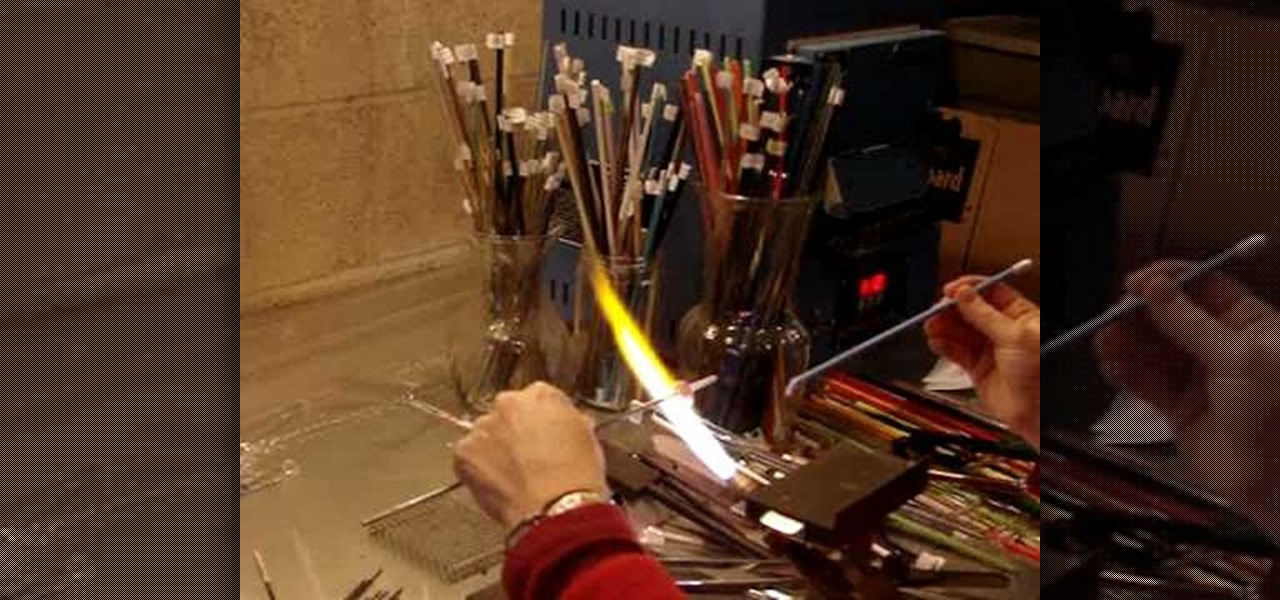
How To: Fill a handheld butane torch with fuel
Jill Erickson of Art Jewelry Magazine demonstrates how to fill a handheld butane torch with fuel. You can purchase butane fuel at a grocery store or at a hardware store. First, uncap the butane fuel can and hold your butane torch upside down. There will be a small opening valve where you will vertically insert the top of the butane fuel can nozzle. Make sure the components are aligned straight up and down. Then, use direct downward pressure to get the fuel into the torch. The fuel can will hi...
How To: Clean a diamond ring
If your diamond ring has lost some its sparkle, it might time to clean it. Diamonds might be expensive, but you can easily clean them with simple household products. Follow the steps in this video and that rock will be shining again in no time!
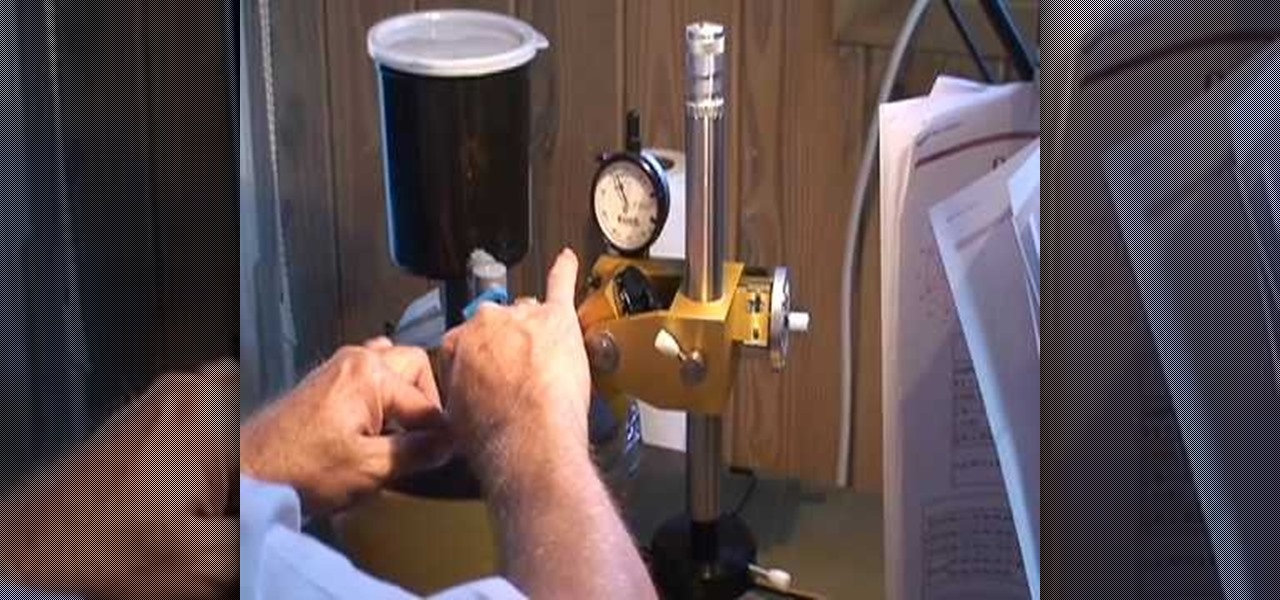
How To: Use Amaco bead rollers
Our instructor will choose set 2, 6 and 8 to show you what the company offers. On the wrappers are pictures of the types of beads possible with each set. She will create from set 2 today, which makes oval beads. Inside of the packages, such as this package which holds set 2 are several items. First is the thin metal pins or rods that can go into the baking oven with the polymer clay molded around them. Next, two pieces for the mold, a bottom and top that fit together with grooves. There are a...
How To: Use liver of sulfur solution to create a patina
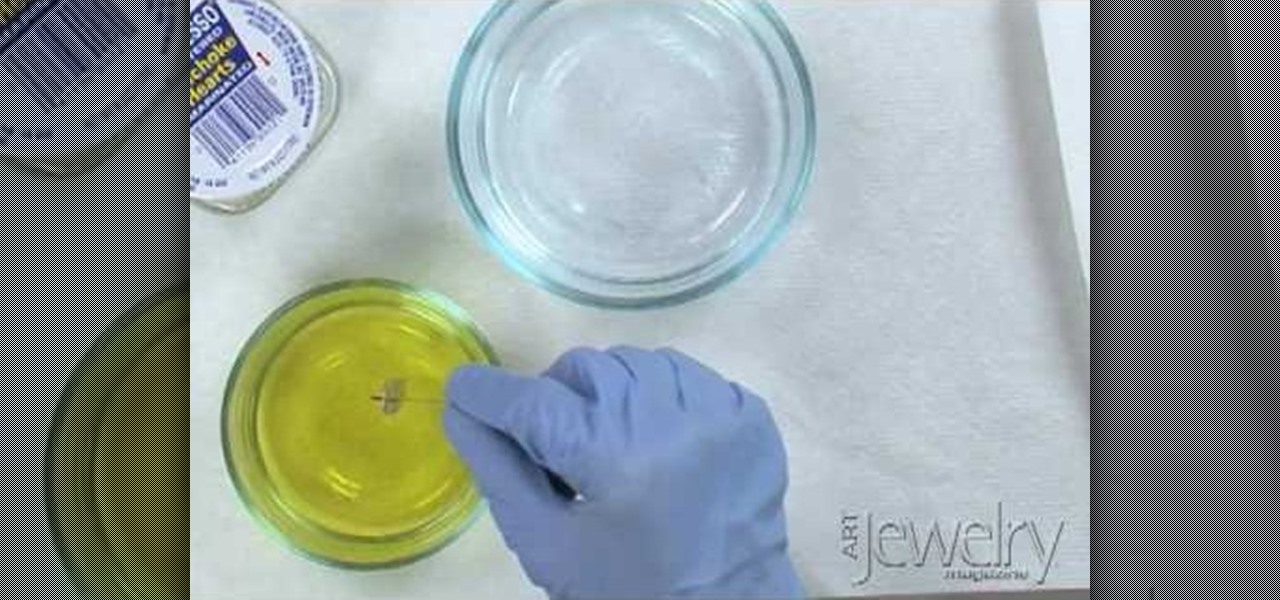
artjewelrymag teaches you how to use a liver of sulfur solution to create a patina. First, be sure to wear protective gloves and eye gear. Be sure to perform this operation in a well-ventilated area because sulfur smells like rotten eggs. To get started, add a few small pieces of liver of sulfur to a small dish of warm water. Use a wooden stick or a small PVC pipe and stir. The temperature and the amount of time you leave the metal in the solution will affect the patina. You can dip the metal...
How To: Make a polymer clay "screwed up" heart
We have all experienced a screwed up heart, and in this episode of "Look Learn & Create" we learn to turn that experience into some cute art!
How To: Use molding UV resin to make jewelry
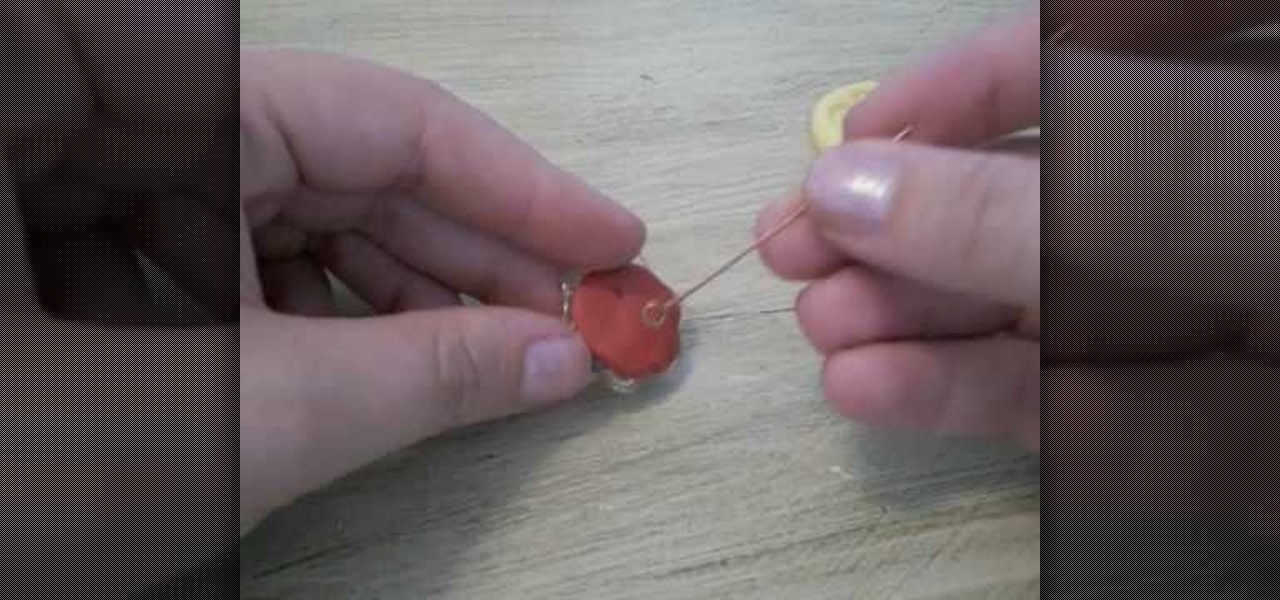
She begins by taking something she has molded with Amazing Mold Putty. She uses Magic Gloss resin which cures with UV light to fill the silicon mold and sprinkles some glitter onto the resin. She emphasizes that she's doing this indoors, because the resin will harden when exposed to light. She takes it outside to cure in the sunshine and says it will take about 15 minutes to cure. When it's done, she rolls a ball of Pardo clay. She pops the molded piece out. She presses the molded resin piece...
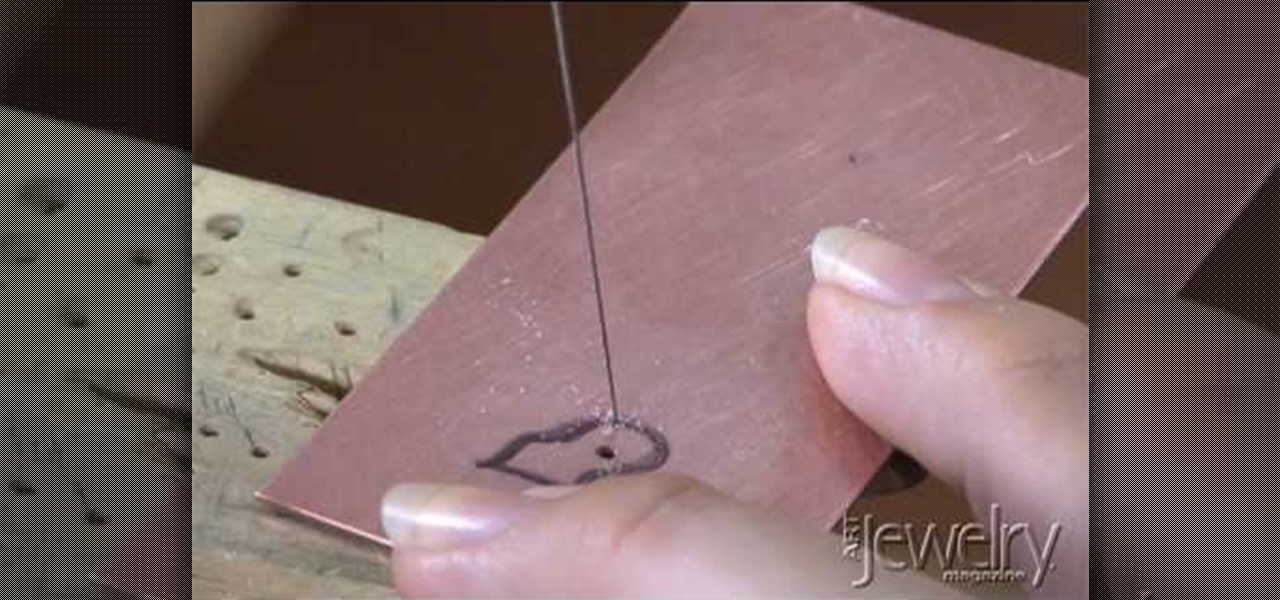
How To: Pierce & saw a shape out of a metal sheet for jewelry
Jewelry making tips from Addie Kidd. This video gives a step by step detailed guide on how to pierce a piece of metal for jewelry making, using a saw and lubricant. This video shows Addie putting a piece of metal that she has a design drawn on, onto a saw blade and cutting it out, using a synthetic lubricant to keep the saw flowing (you can use bee's wax instead). In this video Addie threads the metal onto a saw blade and uses this to cut out a design she has designed and sawing around to mak...

How To: Craft a button brooch
This cute and colorful flower button is a perfect Spring craft project for the kids. Not only do you get rid of unwanted buttons but you can keep the kids busy and make a cheerful brooch all at the same time.
How To: Make a woven hemp bracelet
For anyone interested in hemp and learning how to make a bracelet, follow the steps outlined in this video tutorial. To be able to do this craft project, you will need scissors, a ruler, a bead, and some hemp. Hemp can be bought at any local craft supply store. After you have bought all of your supplies, you will need to cut the hemp that you will be working with. You will need two pieces cut. One piece should be 20 inches, the other should be 10 inches. Take the middle of both strands and ti...
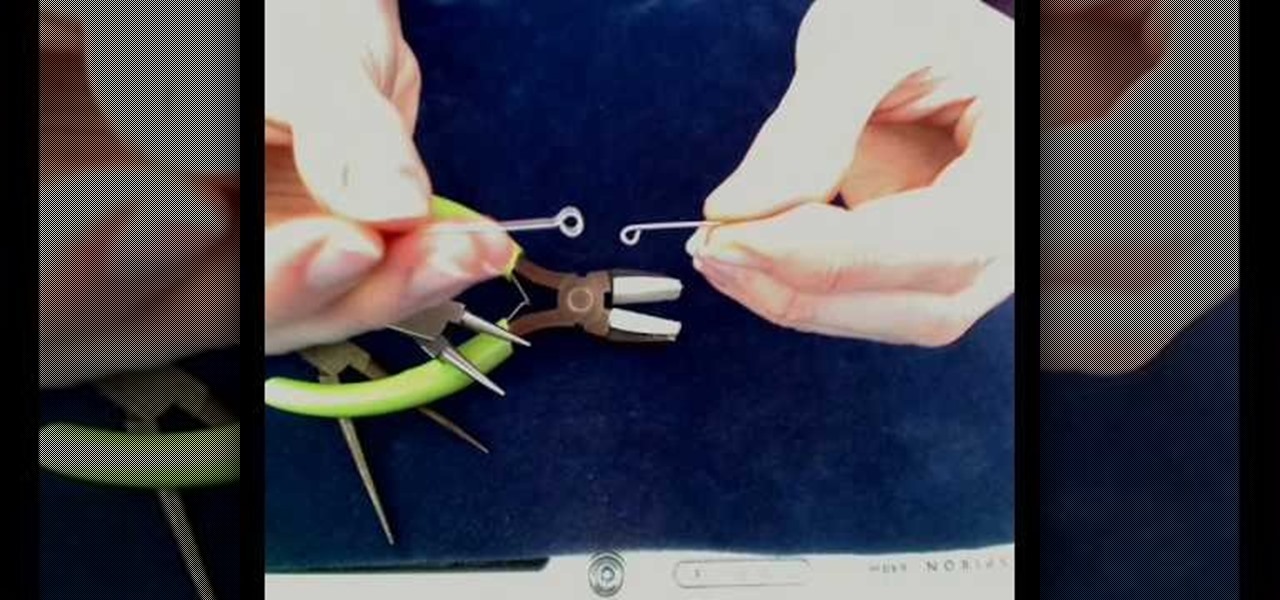
How To: Make a wire loop
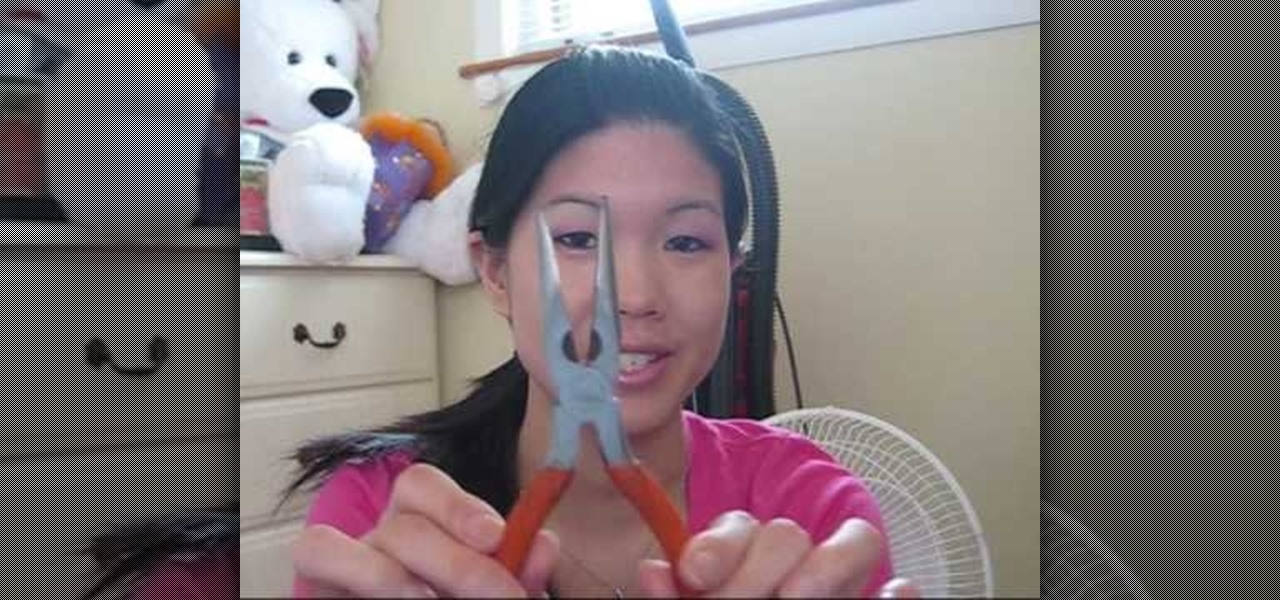
Starting out with a brief summary of what type of pliers to use when making a wire loop with tips on how to prevent markings on wire when using a certain type of plier. This video is used to teach crafters on how to make loops with wires that are useful for many jewelers Making the loop requires 2 certain types of pliers, one called needle-nose plier used to create the loop. Tips near the end on how to fine-tune the loop so it ends off perfectly as well as explanation on why a 45 degree angle...

How To: Anneal metal to make art jewelry
Take a metal piece and use the gas gun and blow with appropriate pressure so that one can observe the color change. You can see a white layer on the metal. Apply flux on the metal piece and rub it gently so that the small holes are covered. Let it dry for sometime. Start heating the metal gently with high flame for about five minutes. You can see water evaporating out of the flux on the metal. It protects metal from fire scale and will not allow oxygen to stay there. Now turn off the gas gun ...
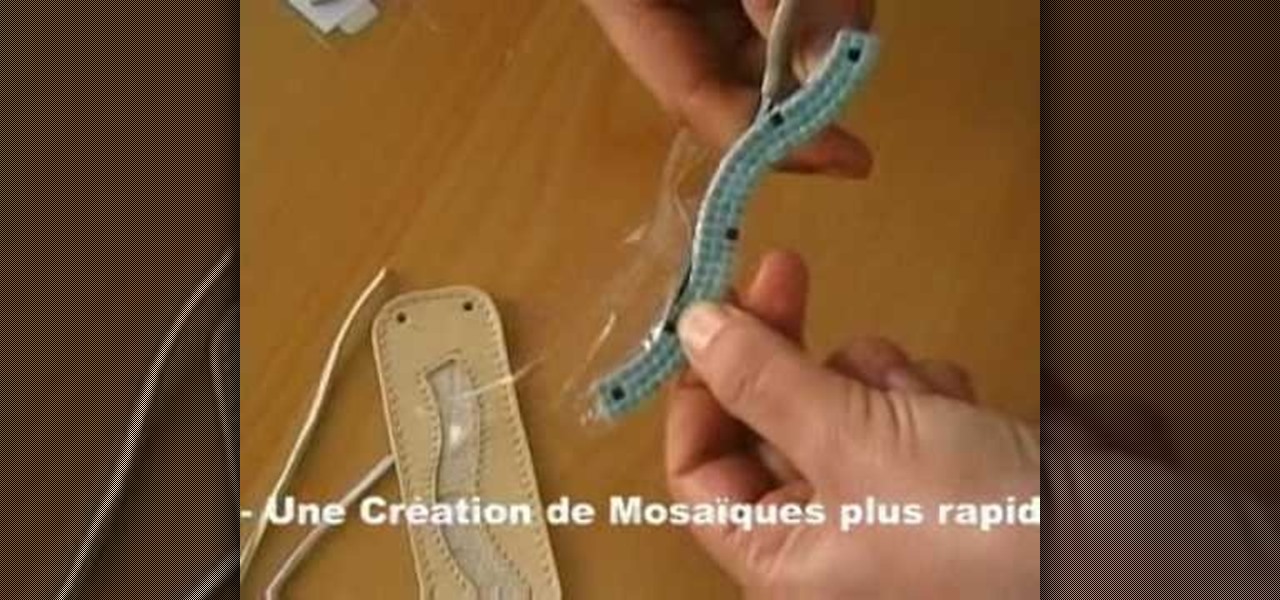
How To: Make a mosaic leather cuff bracelet
Alea Mosaic shows you how create a beautiful stone-inlaid jewelry bracelet. This video clearly and concisely lays out the steps. First, you affix a pattern underneath clear adhesive foil. Next, you peel the the cover off to expose the adhesive. You then place the stones according to the pattern, and fix a transparent foil on top. Once that is done, trim the plastic from around the stones. Then, you apply glue to the bracelet base, then place the stones inside.